The improved editor in Decktopus V3 gives you a simple and effective tool to make visually attractive presentations that captivate your audience. With the help of Decktopus V3's simplified interface, we'll demonstrate in this article how to successfully integrate these media elements to create captivating and dynamic presentations.
After adding a slide to your deck, click on the "Media" option from the left side of your editing panel.
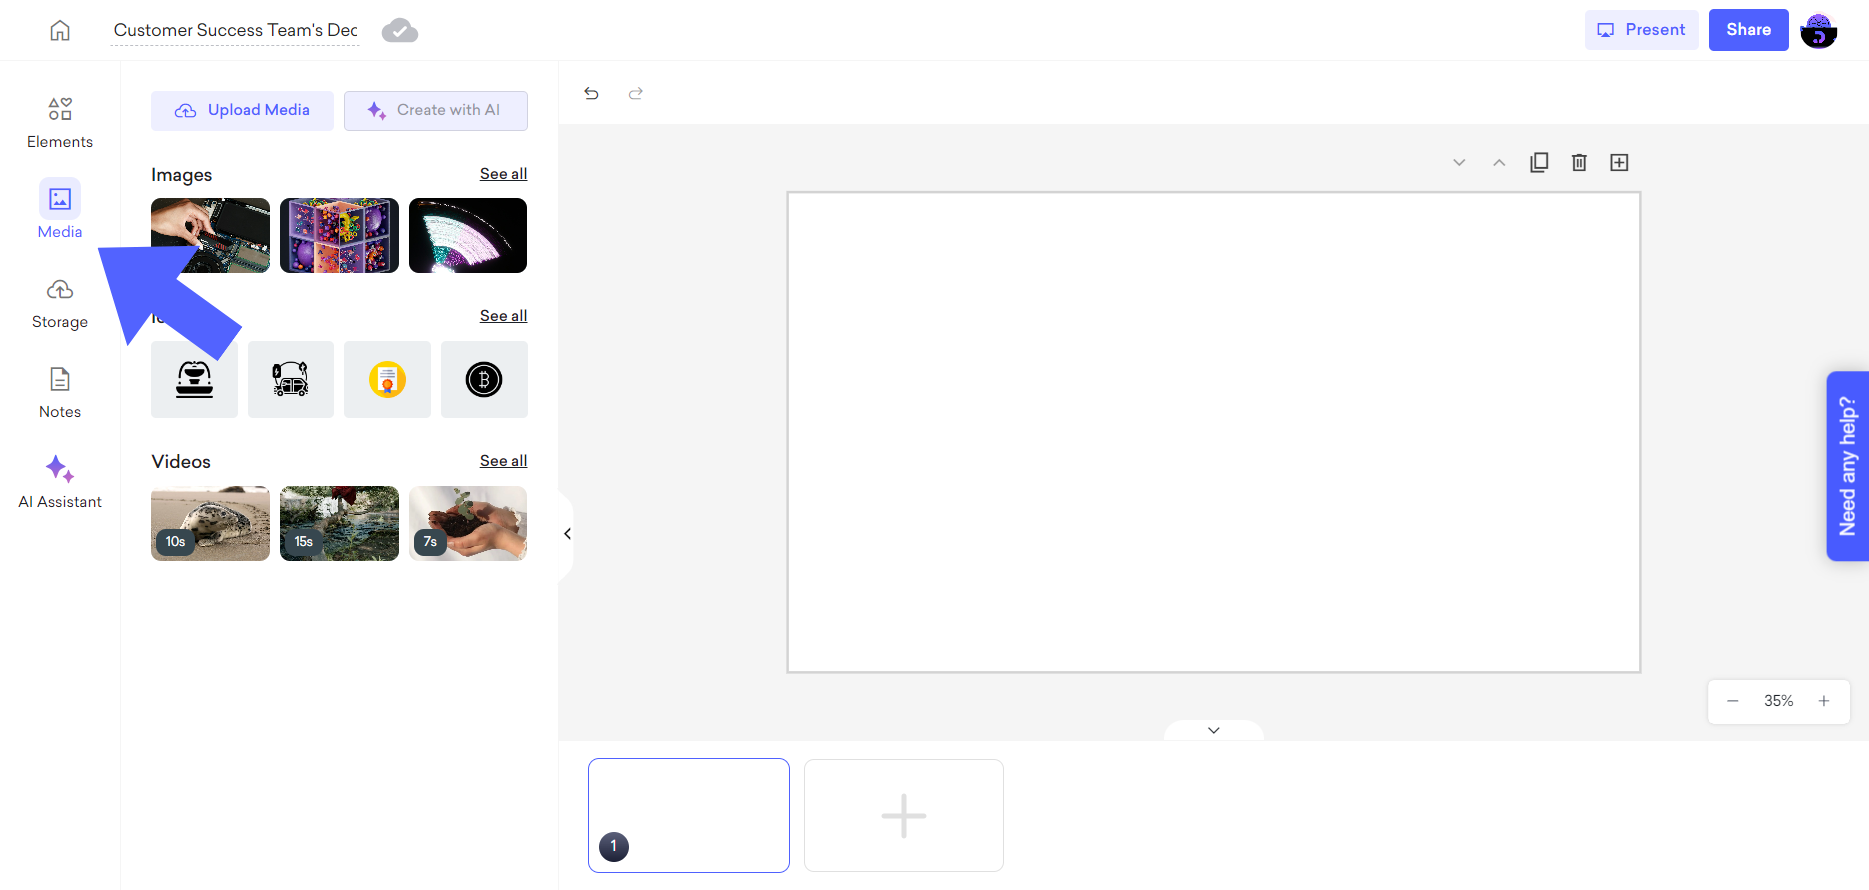
To add an image to your slide, you can search and choose from the vast image library of Decktopus, and click or drag&drop it to your slide.
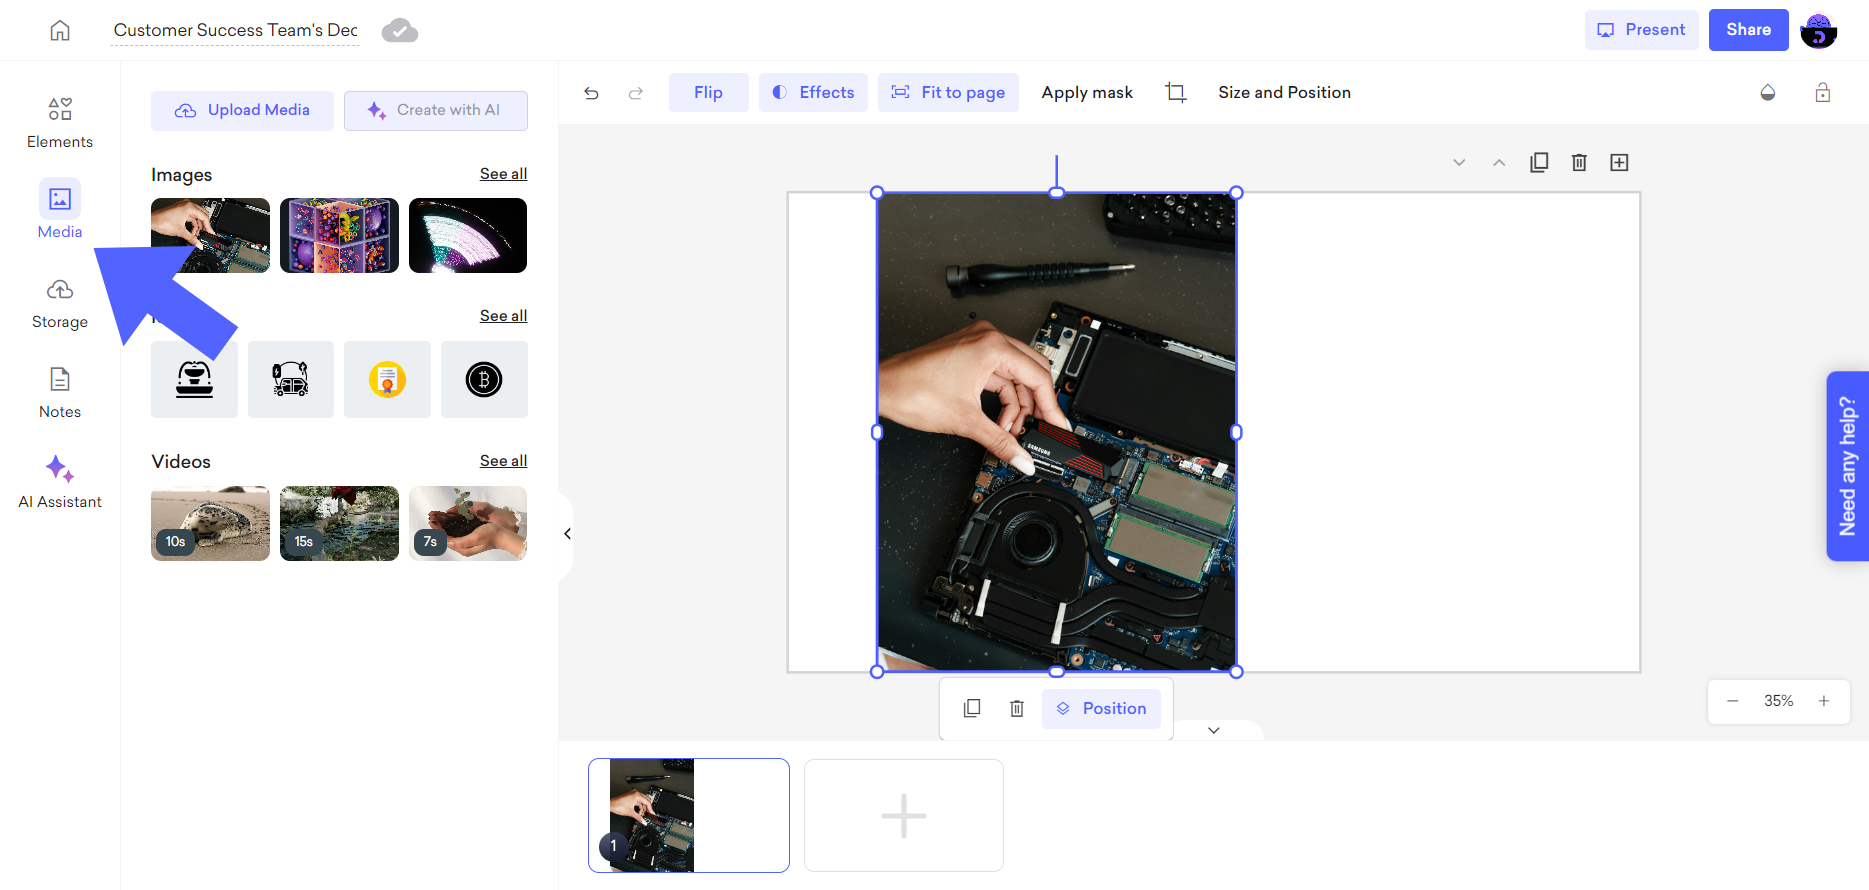
If you'd like to upload your own image, click on the "Upload Media" option and import your image.
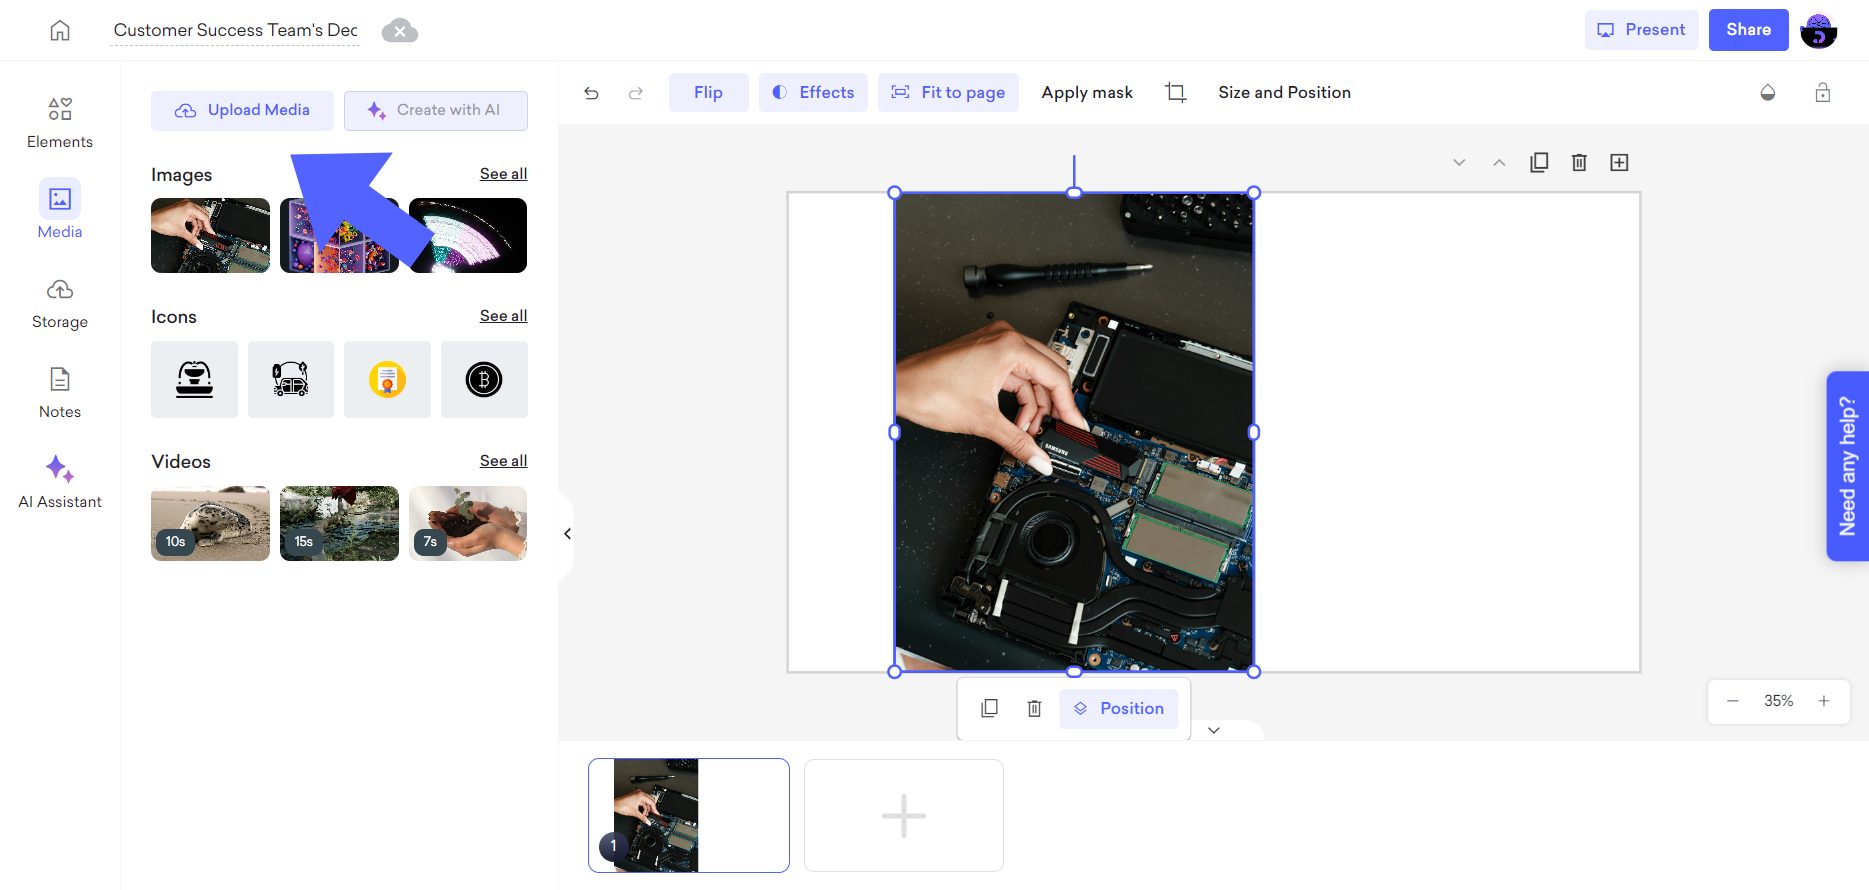
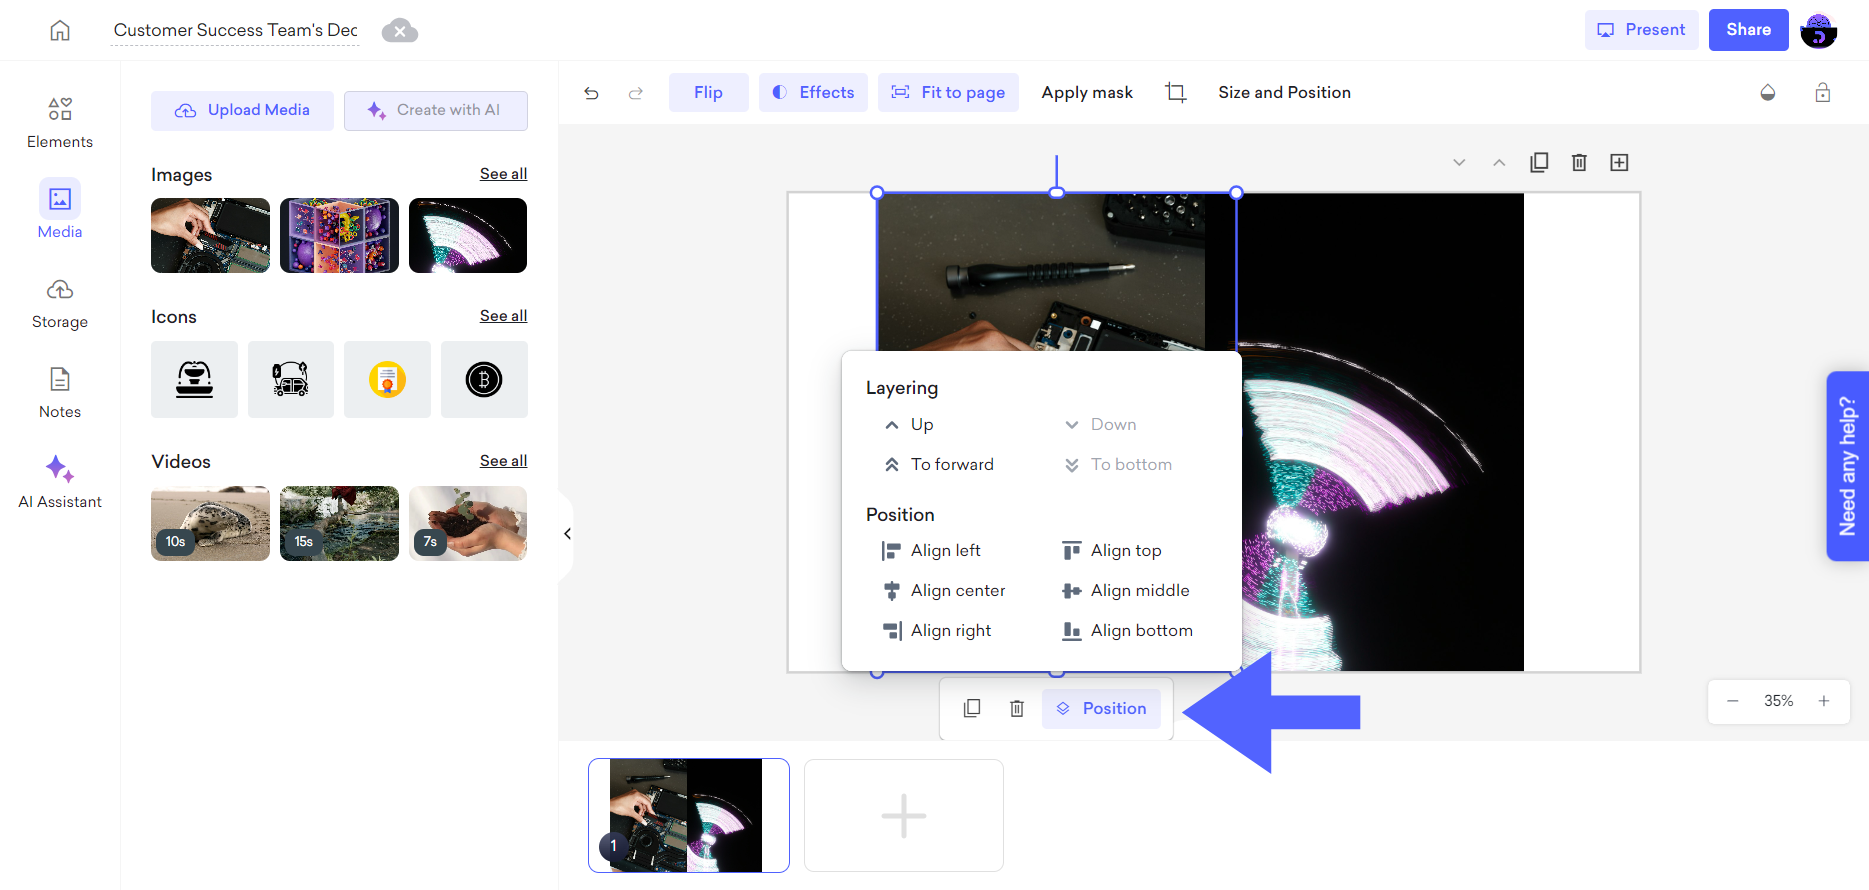
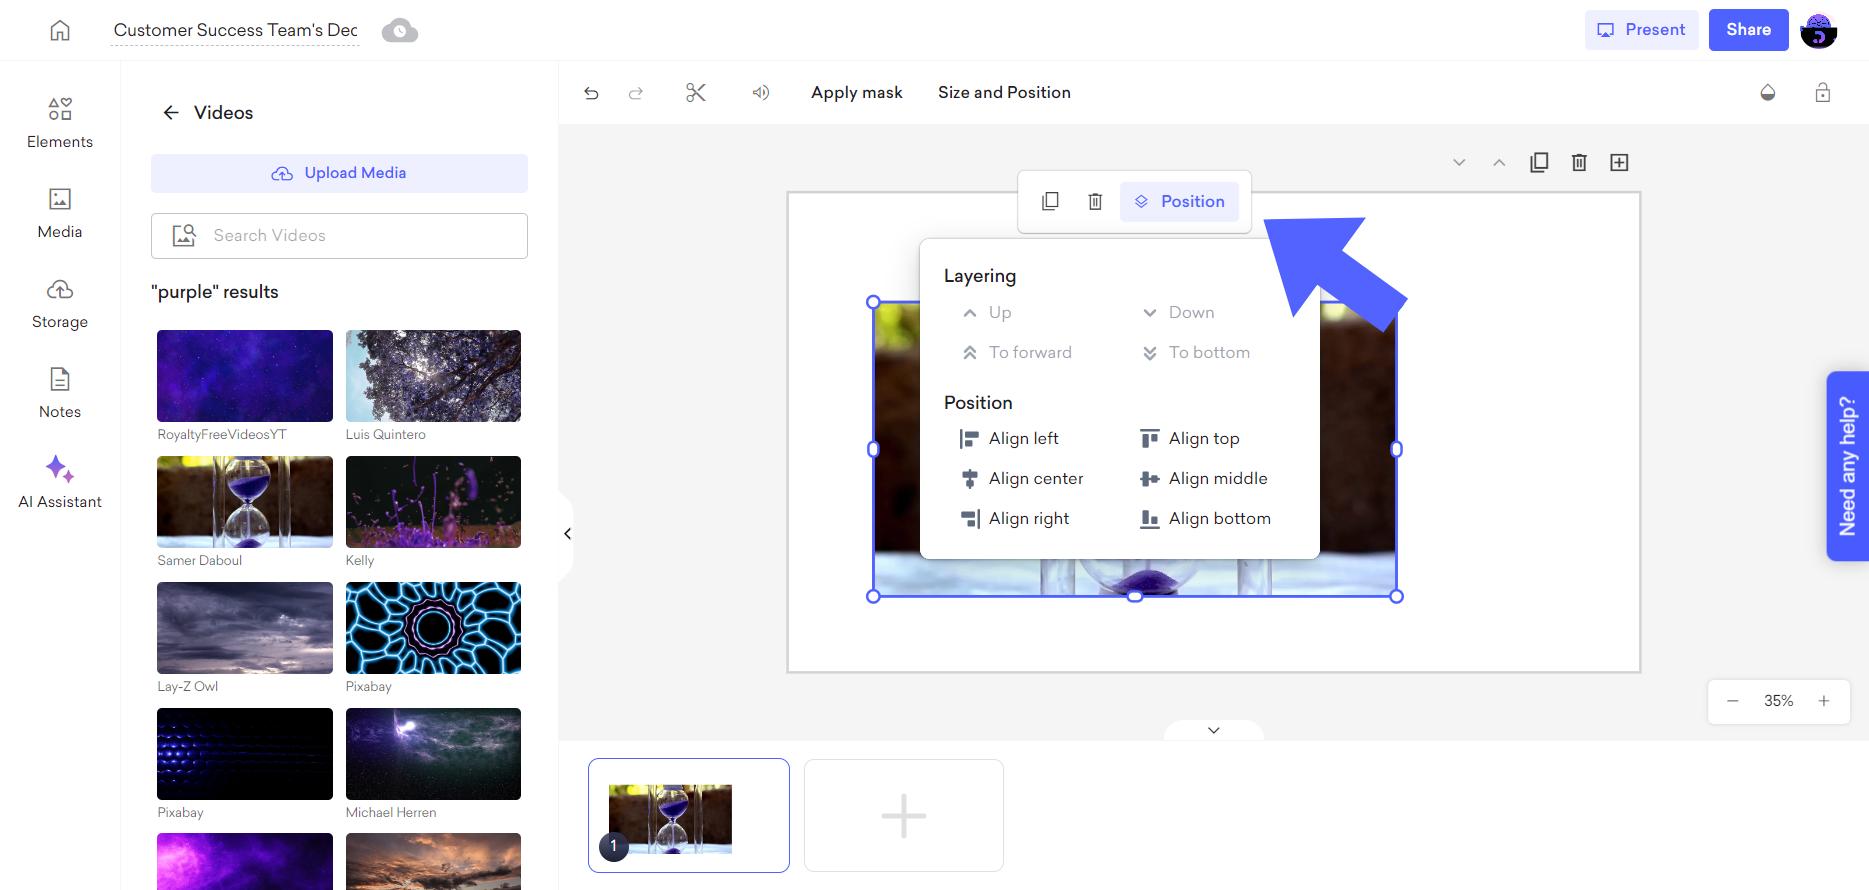
After adding the image to your slide, you can adjust its position and customize it to your liking by clicking on the "Position" option.
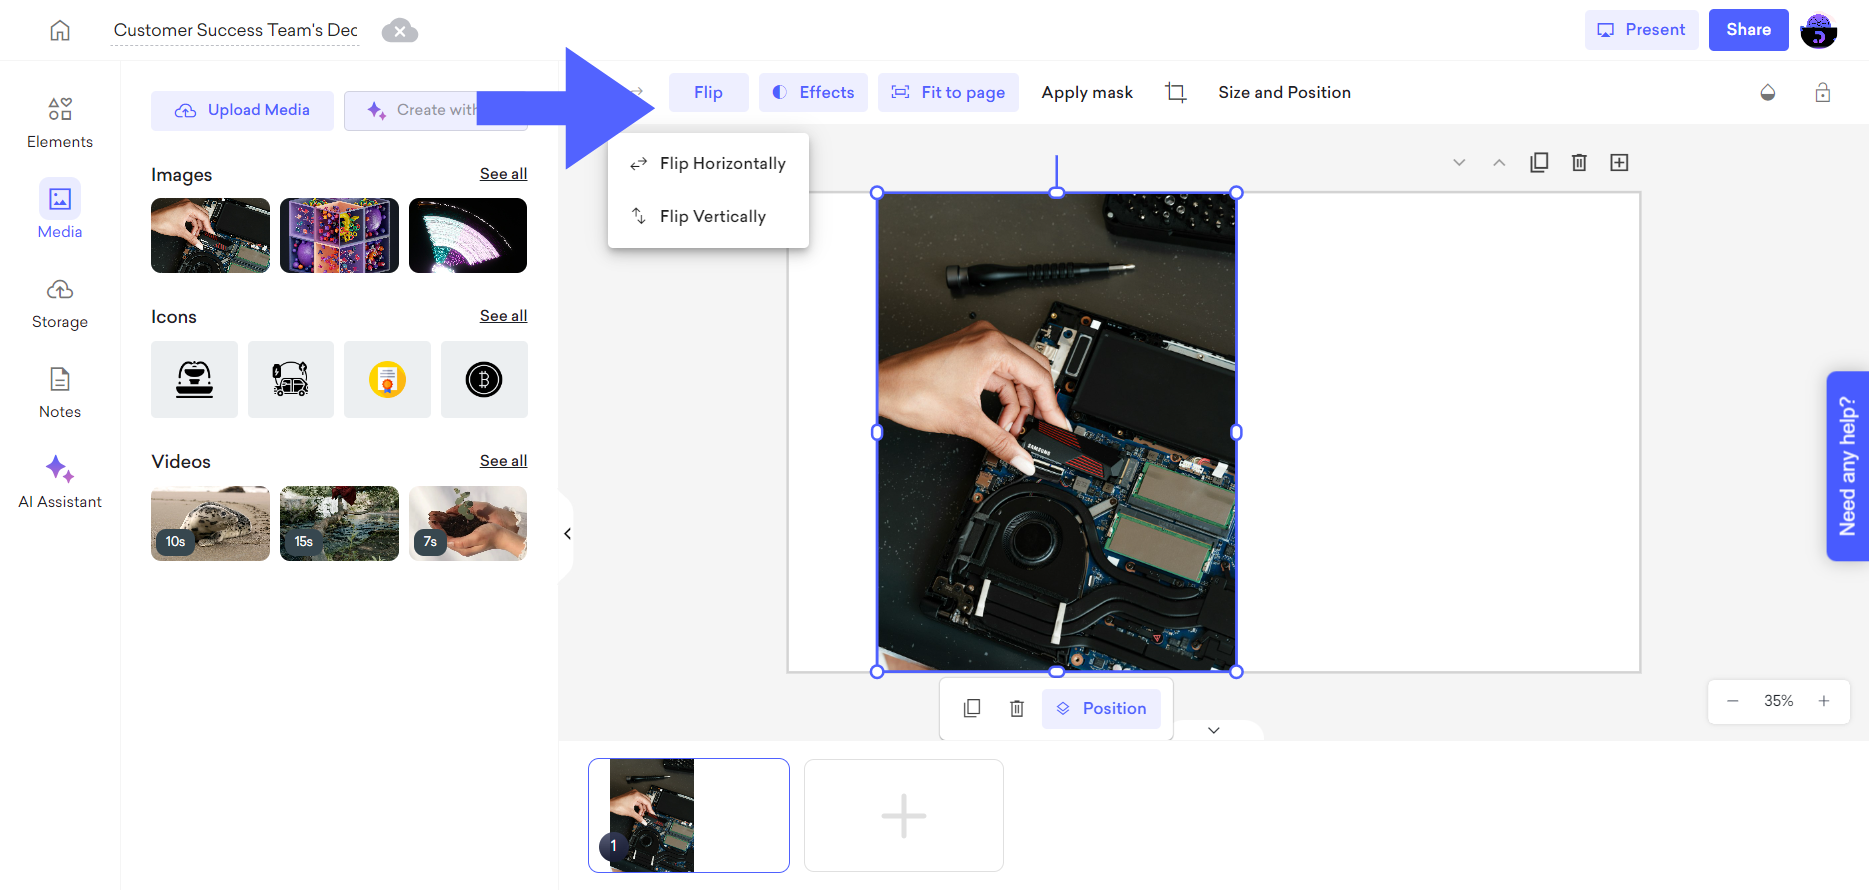
From the "Flip" option, you can flip your images horizontally or vertically to customize your image and create a more original look.
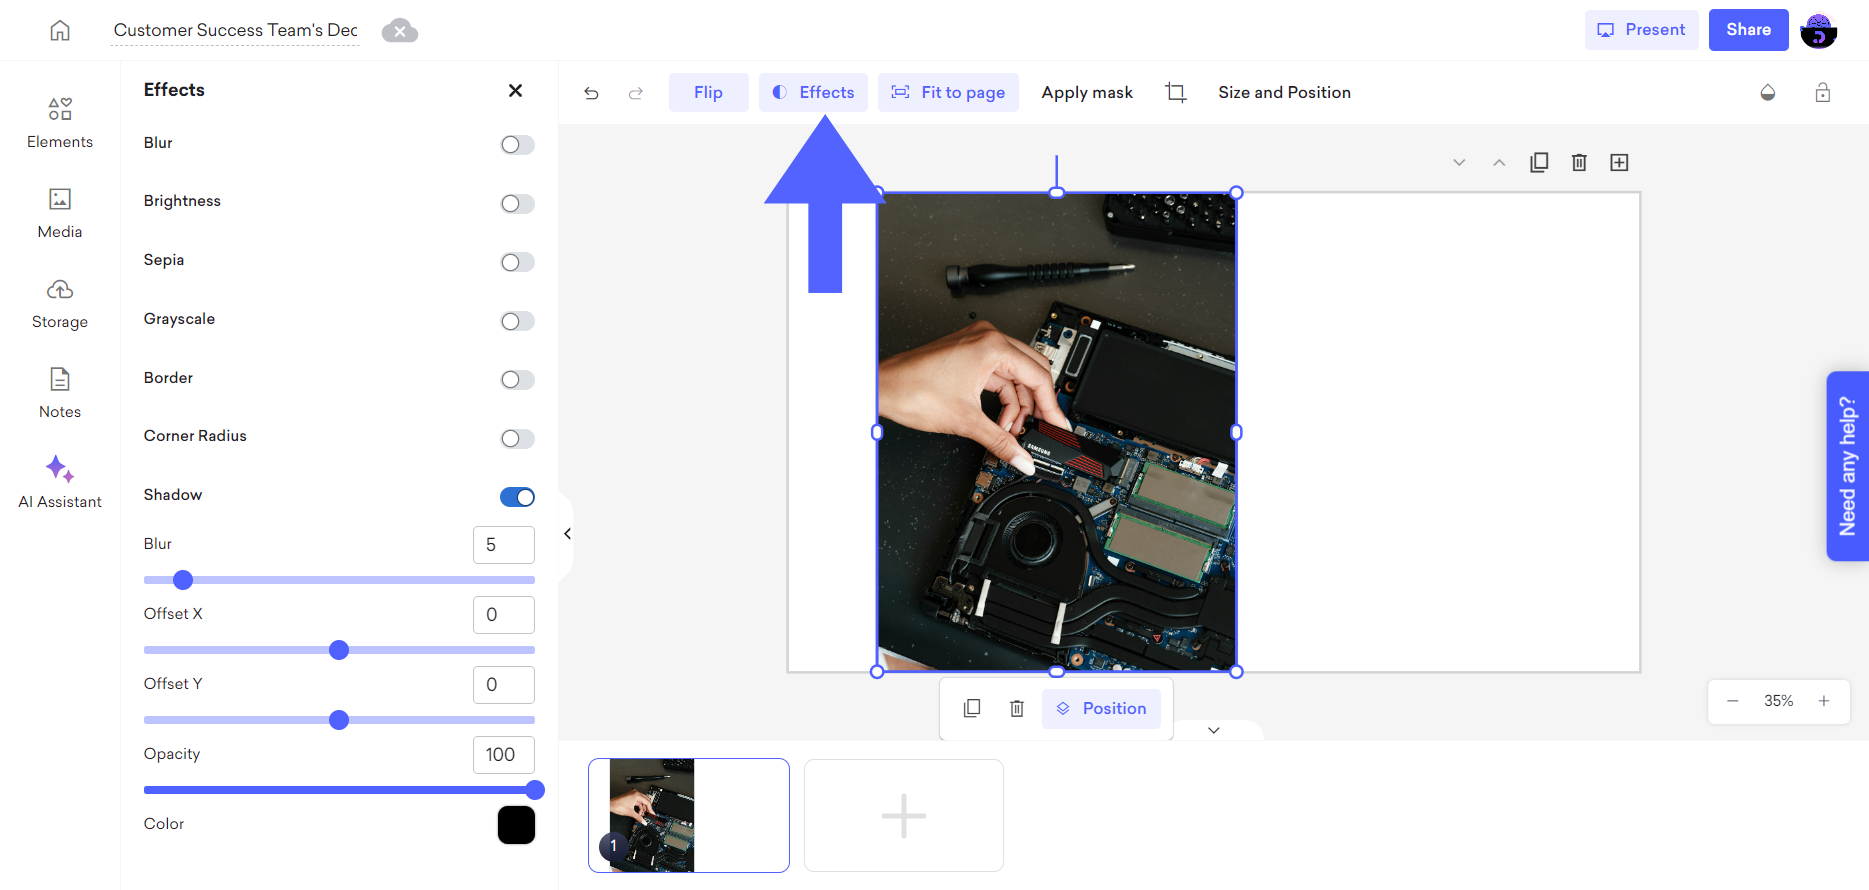
By choosing the "Effects" option, you can modify your image's appearance and edit it according to your preferences.
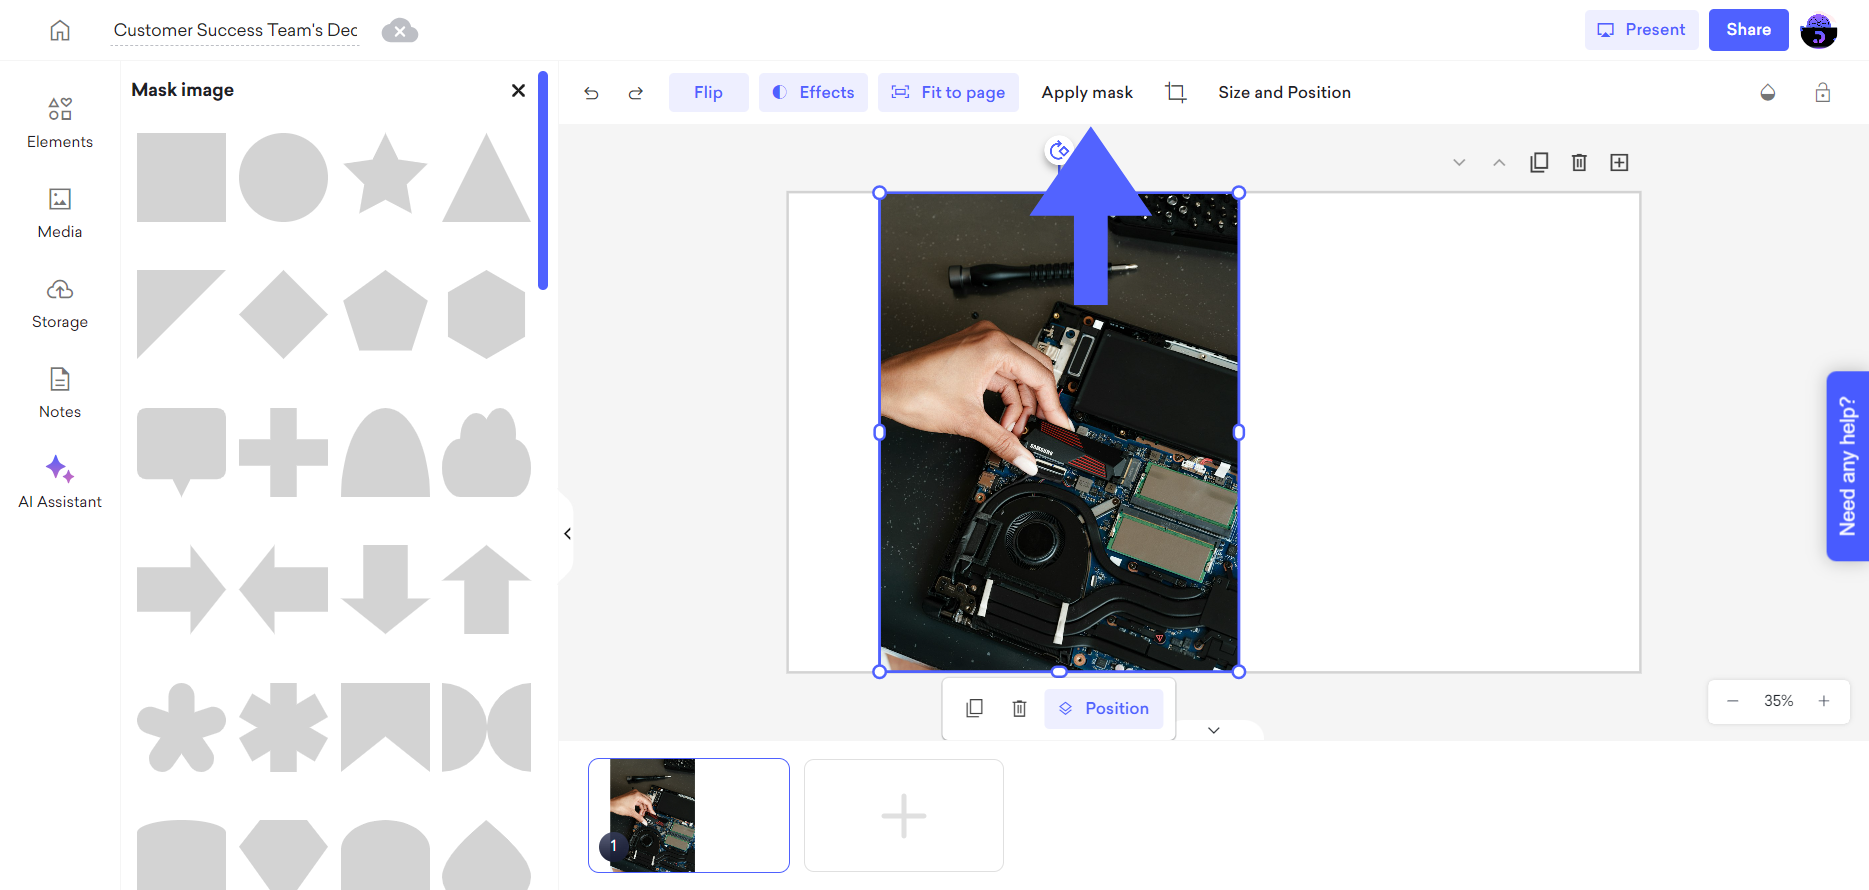
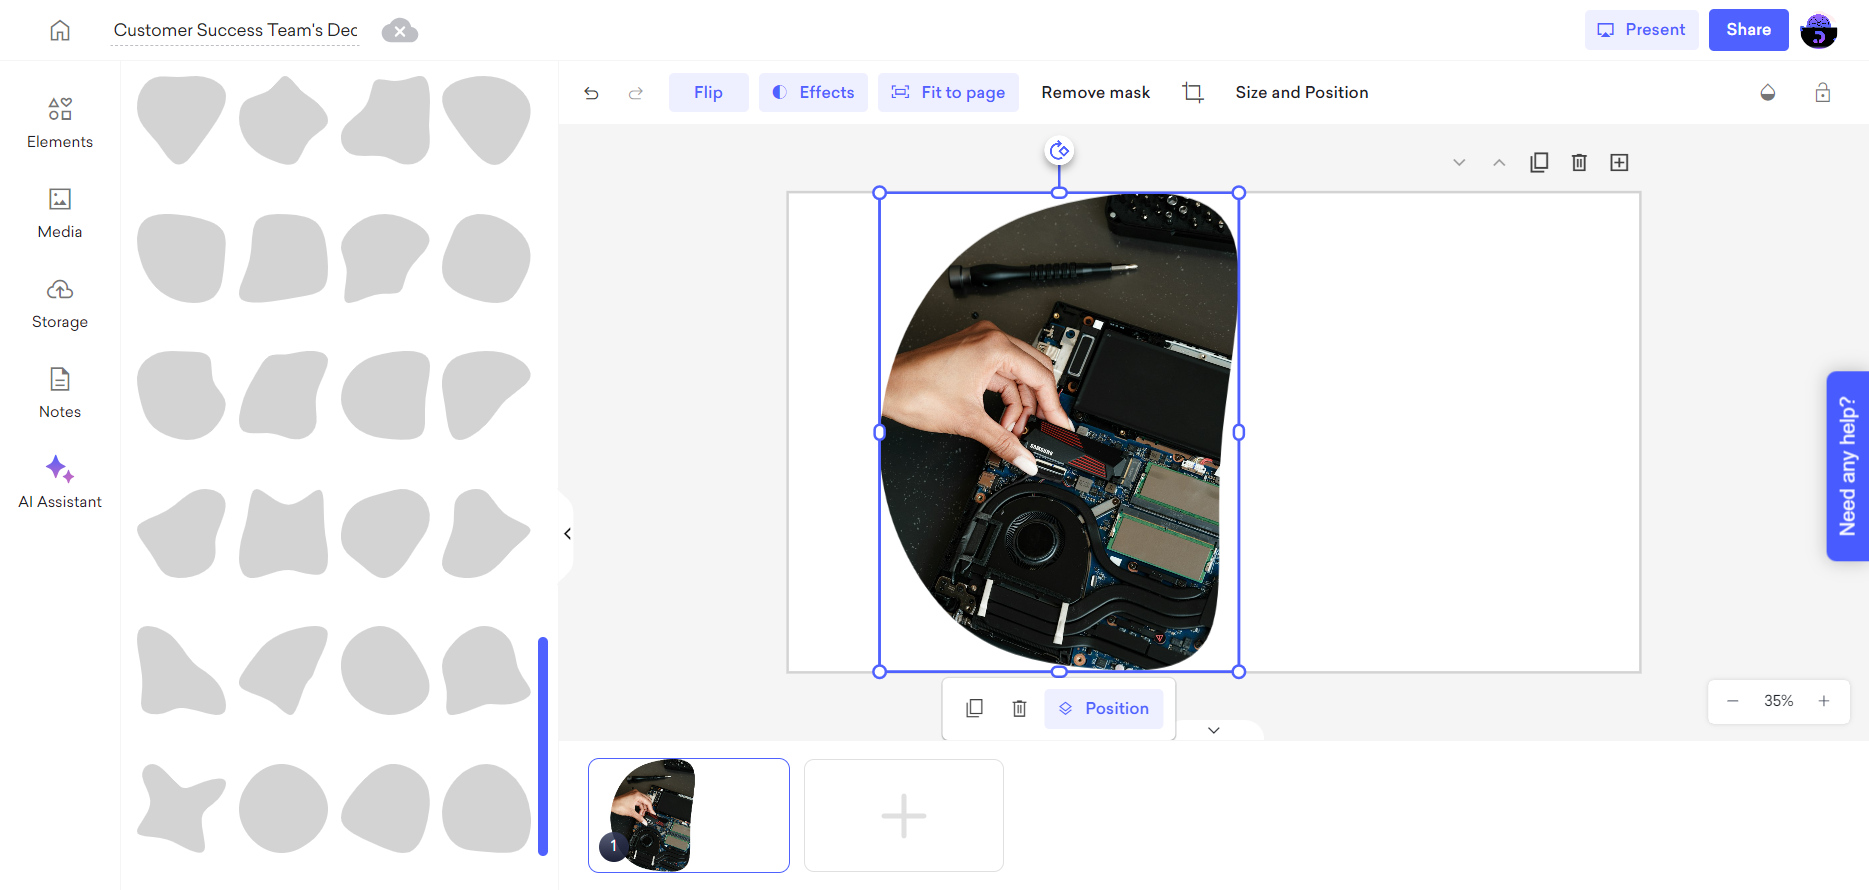
You can alter the appearance of your image by applying a mask. To do this, click on the "Apply mask" option and select from the various shapes available. If you don't use any mask, you can simply click on the "Remove mask" option and undo your latest adjustment.
To crop your image, you can click on the square crop icon and adjust it to your preferences.
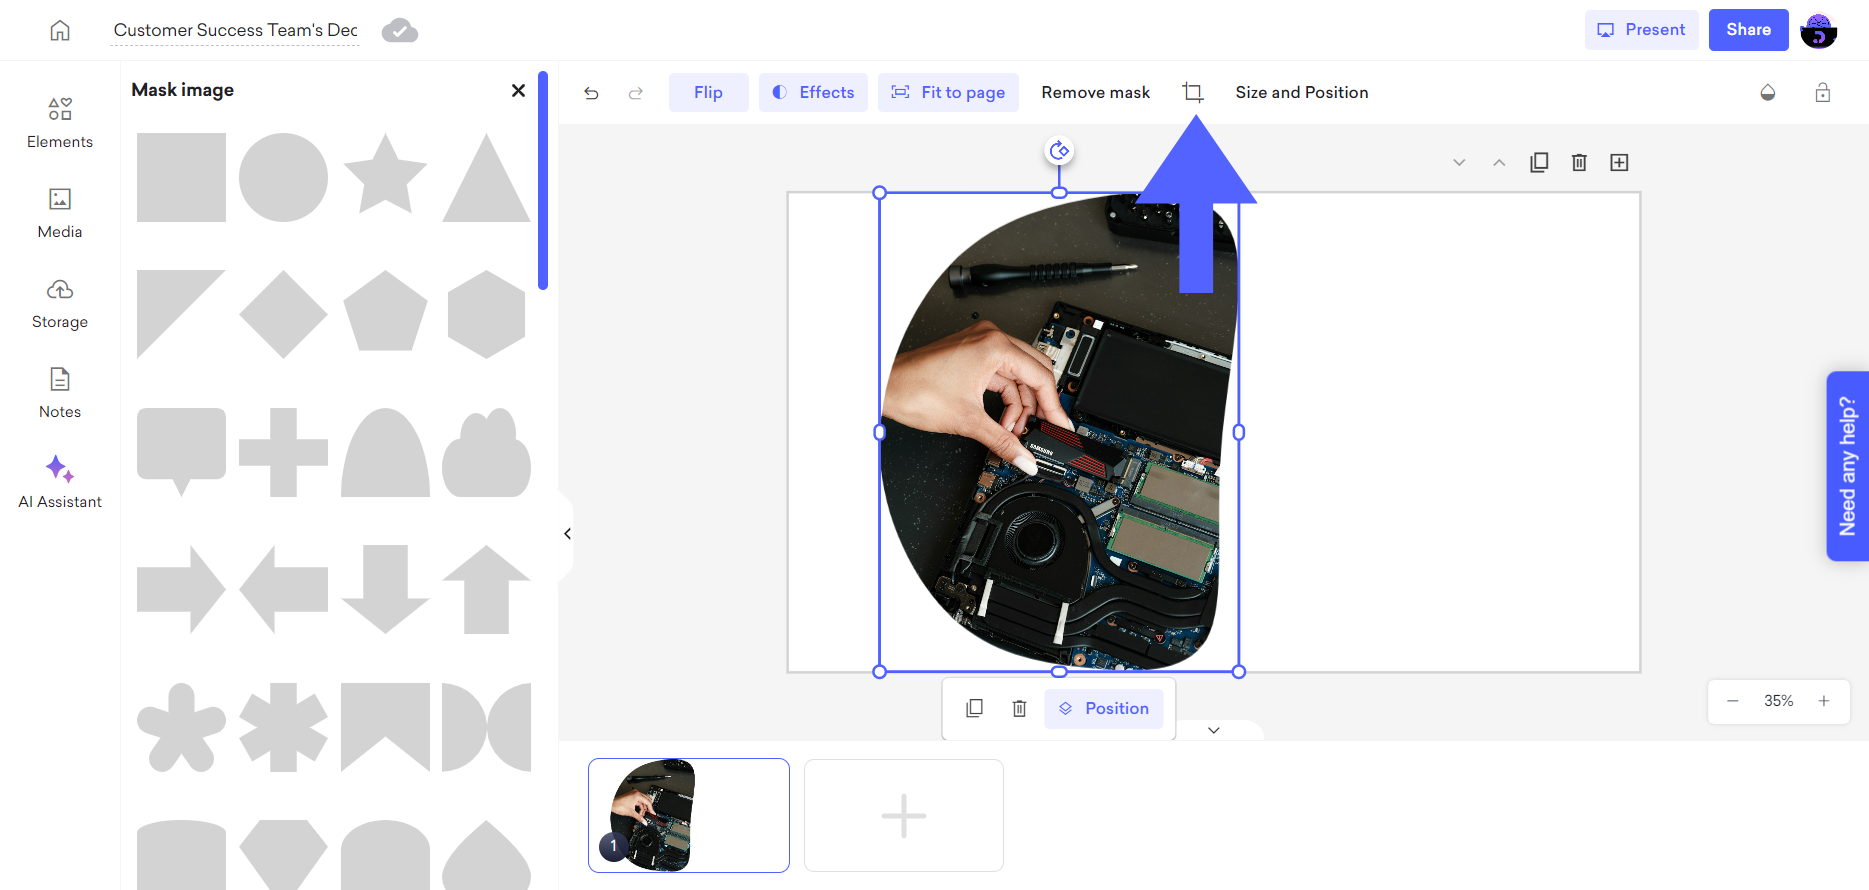
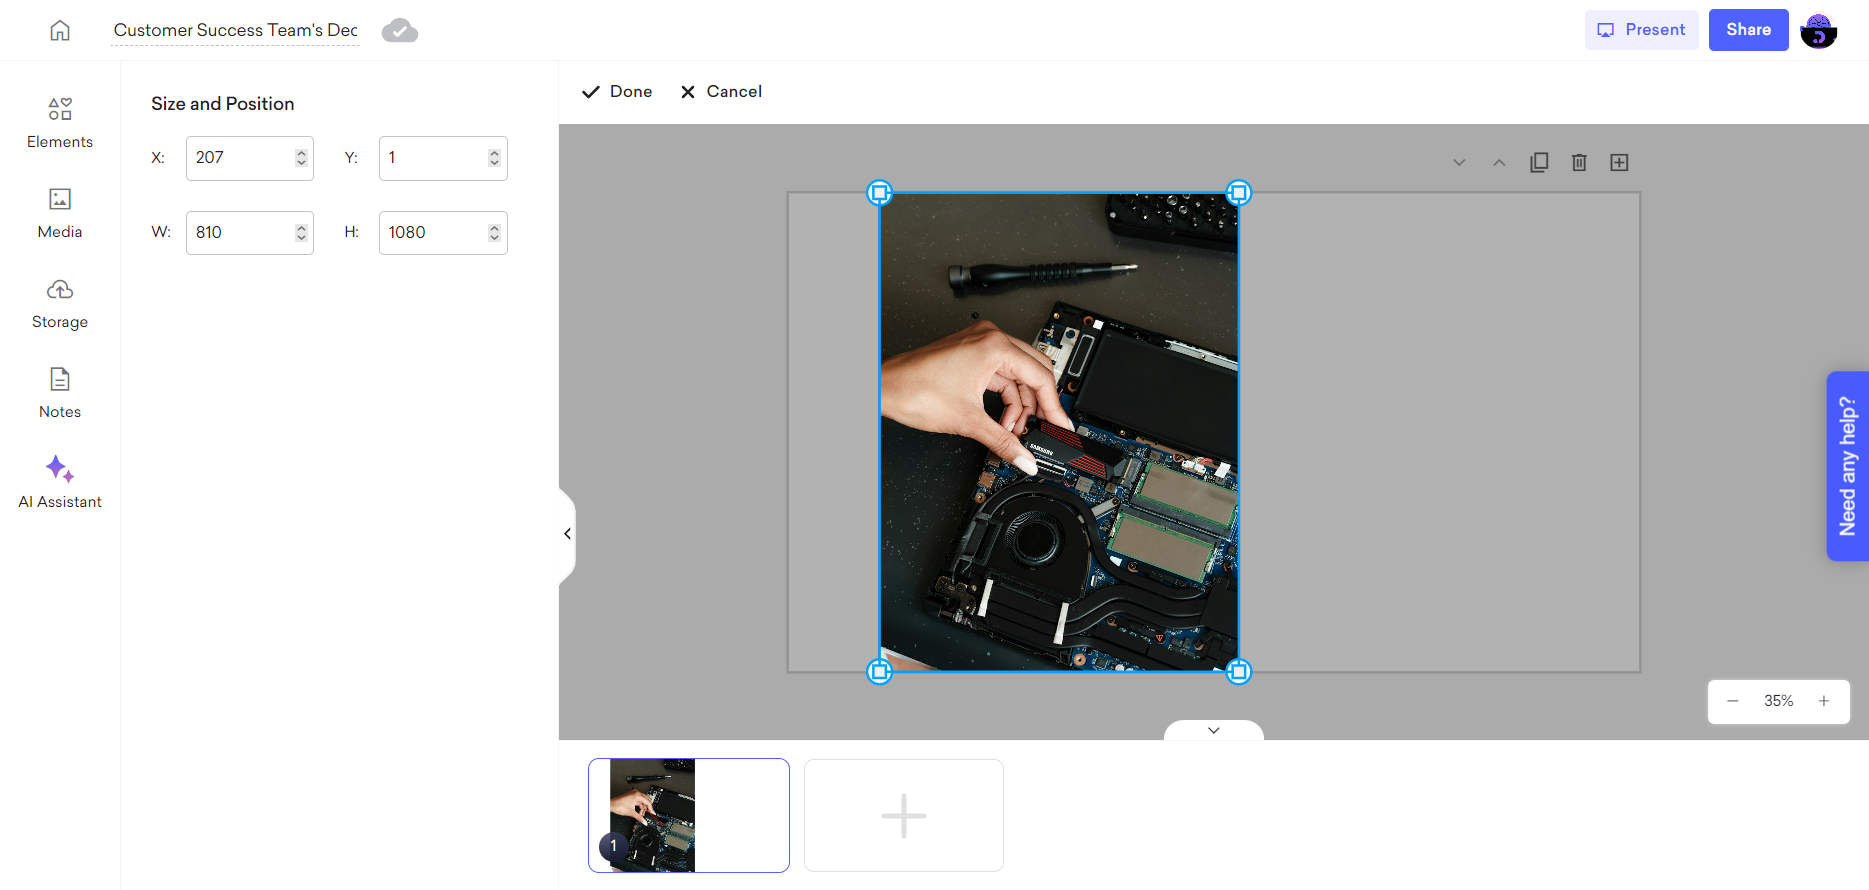
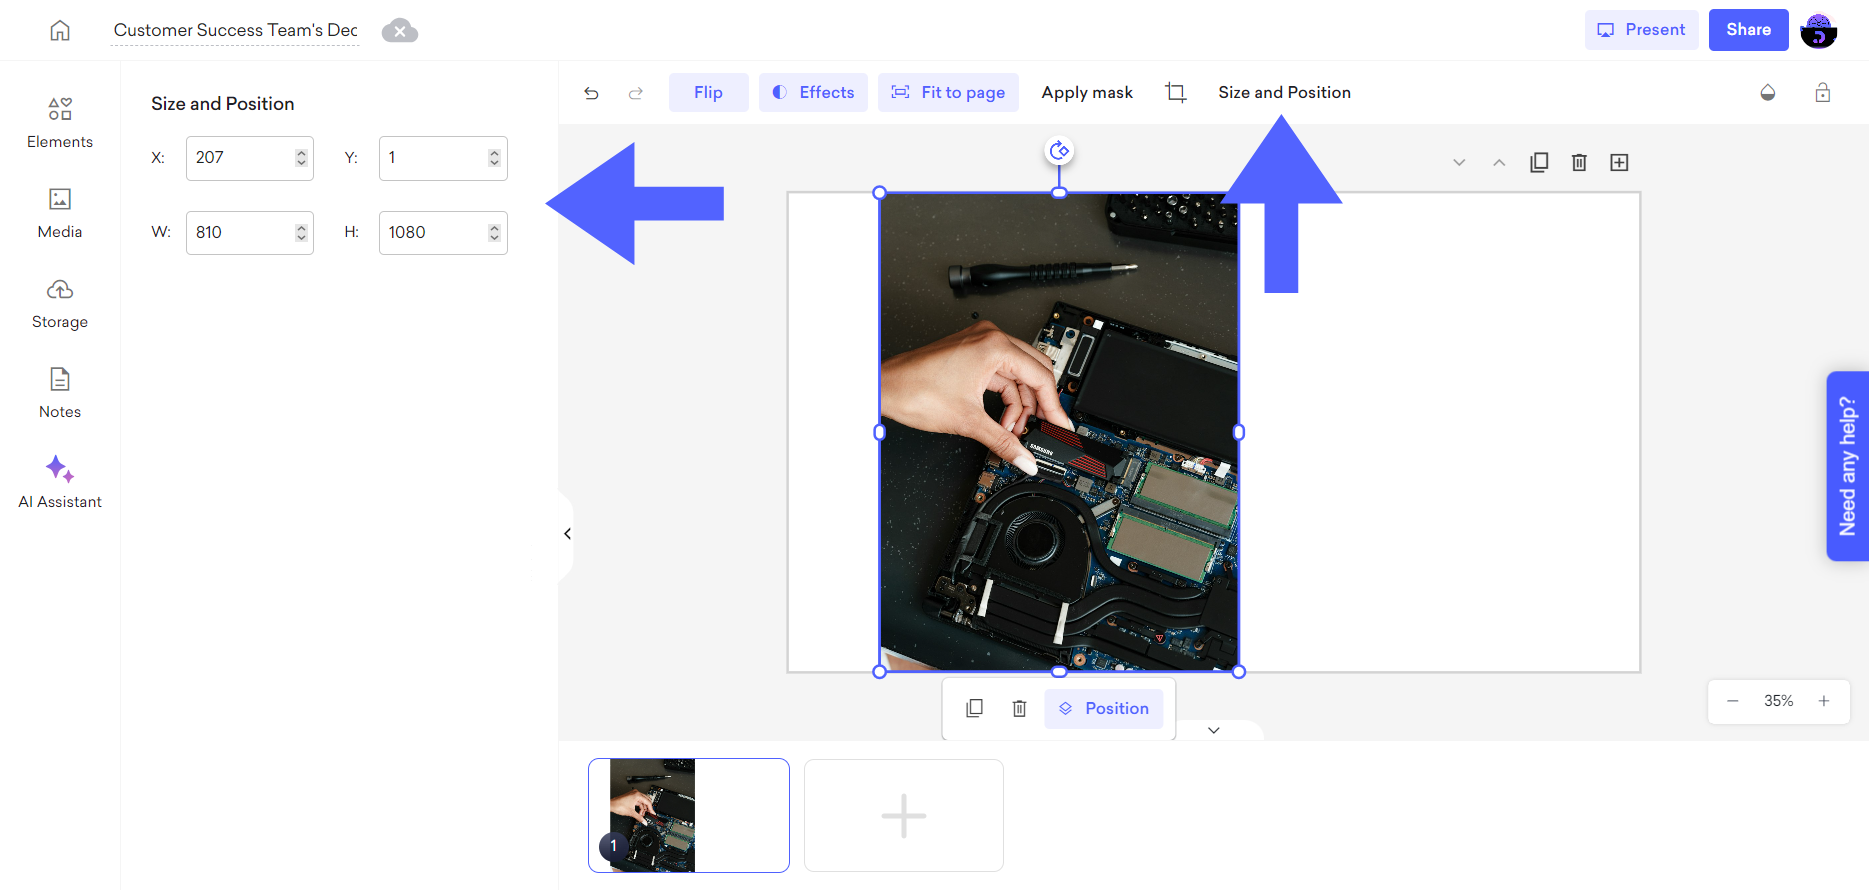
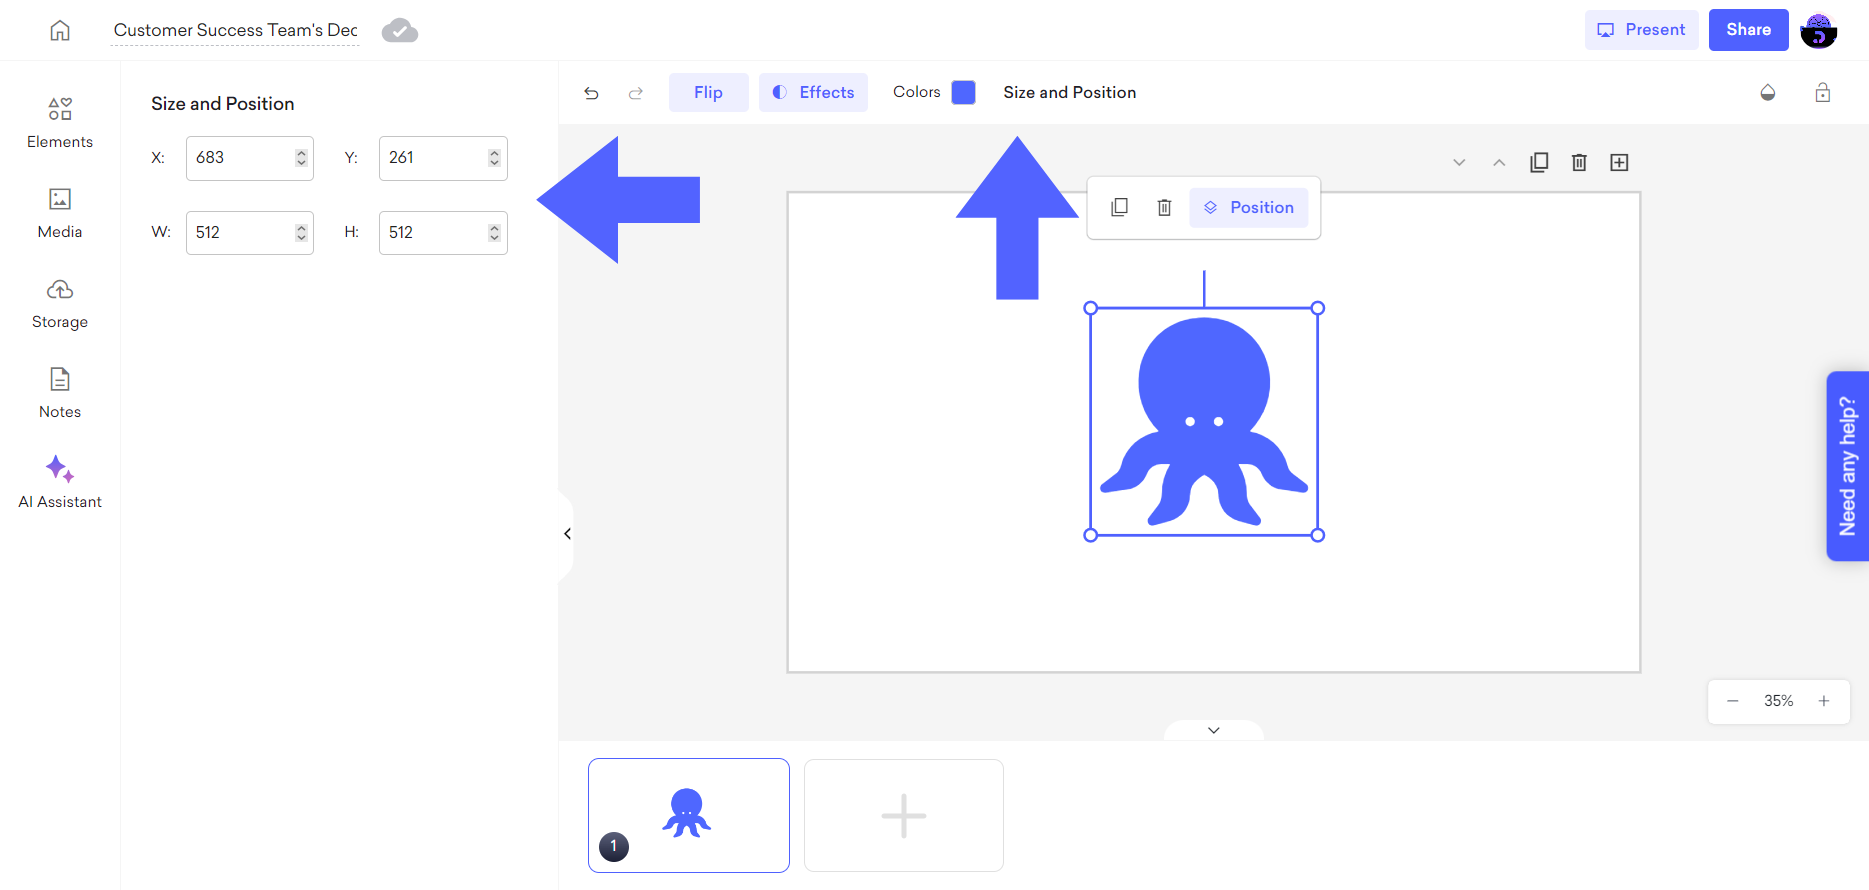
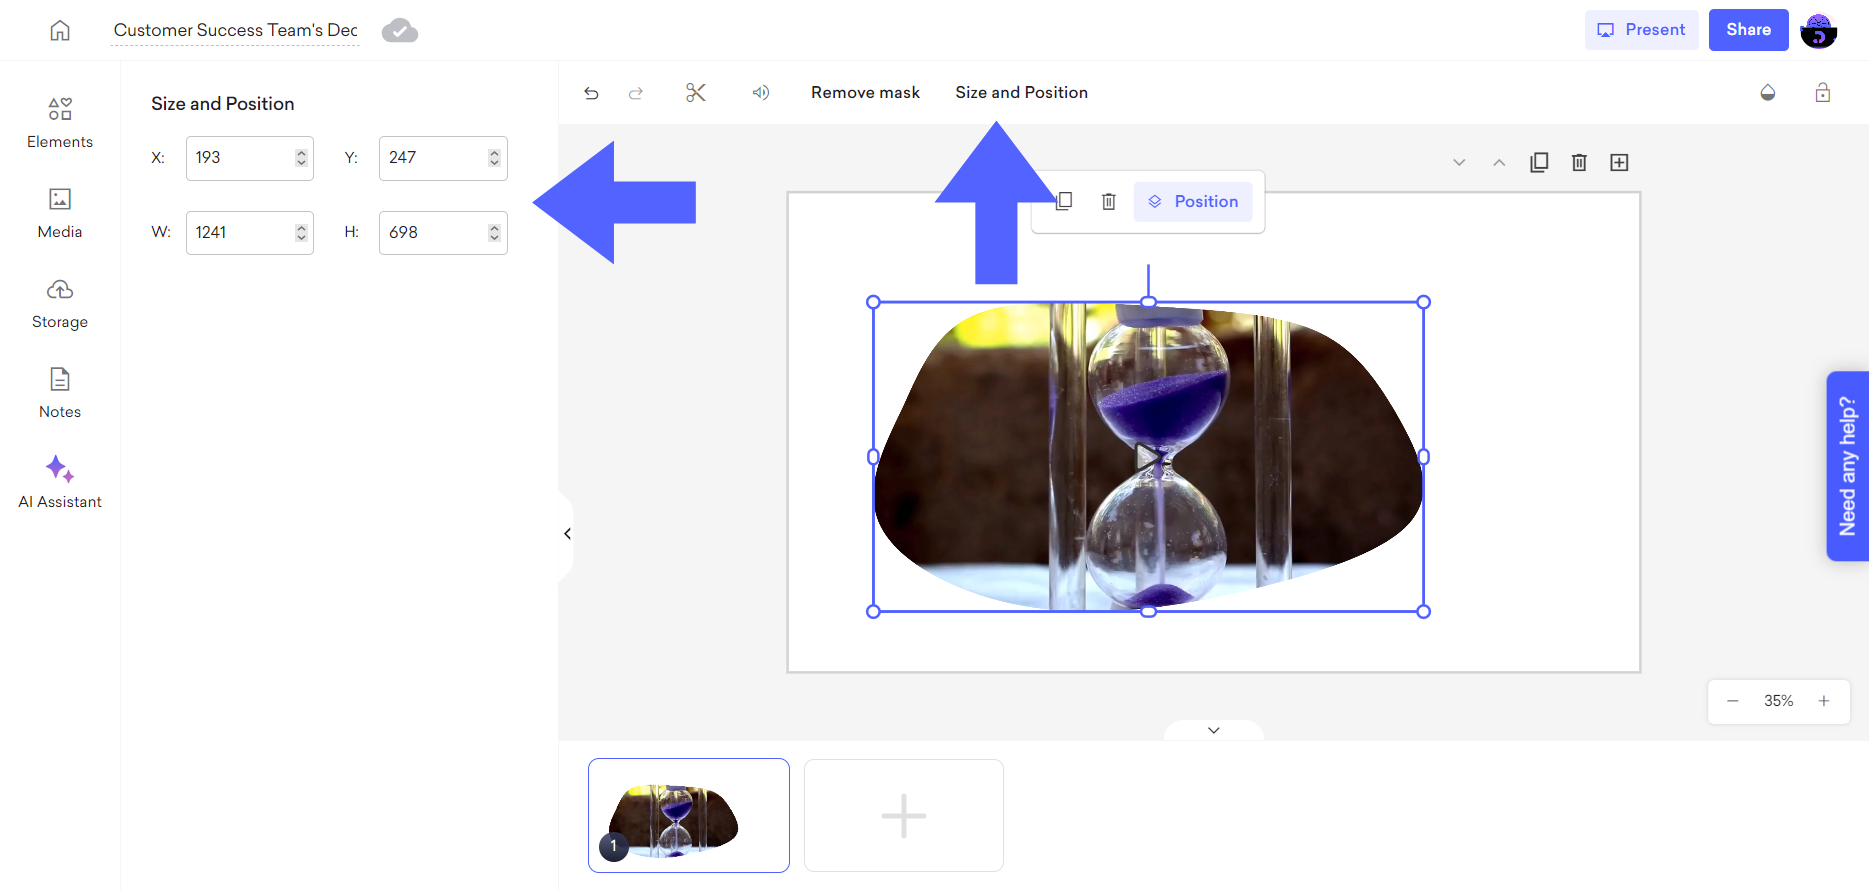
To effectively adjust your image's size and position, click on the "Size and Position" option and make the necessary changes.
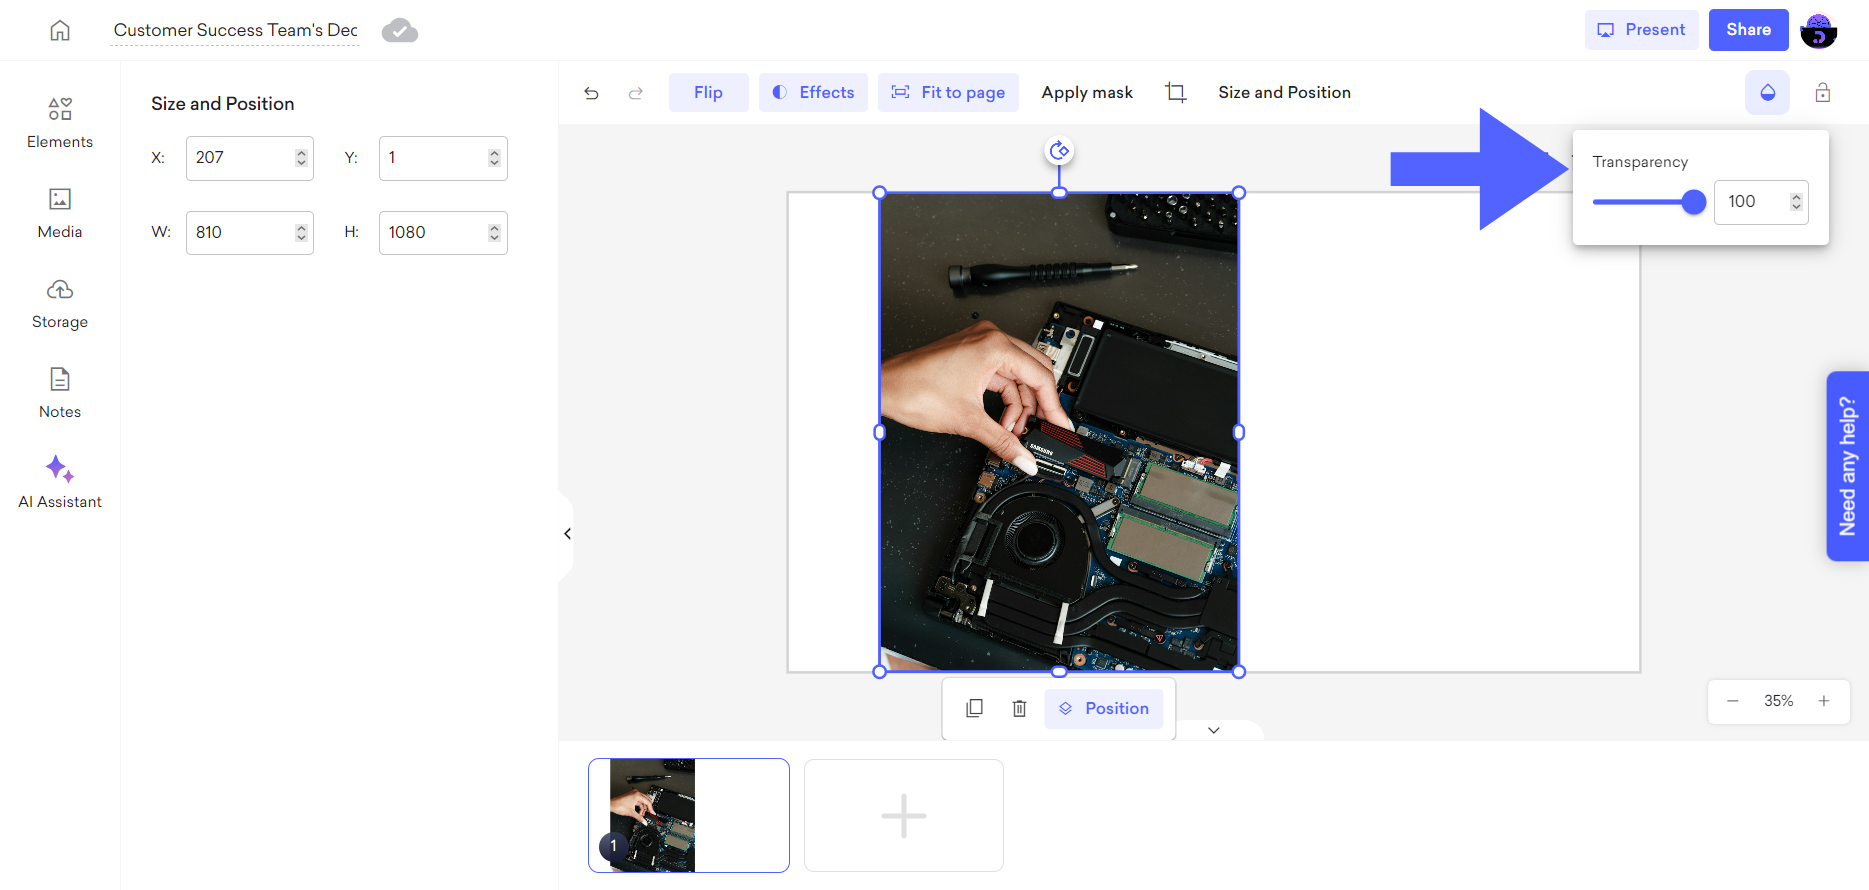
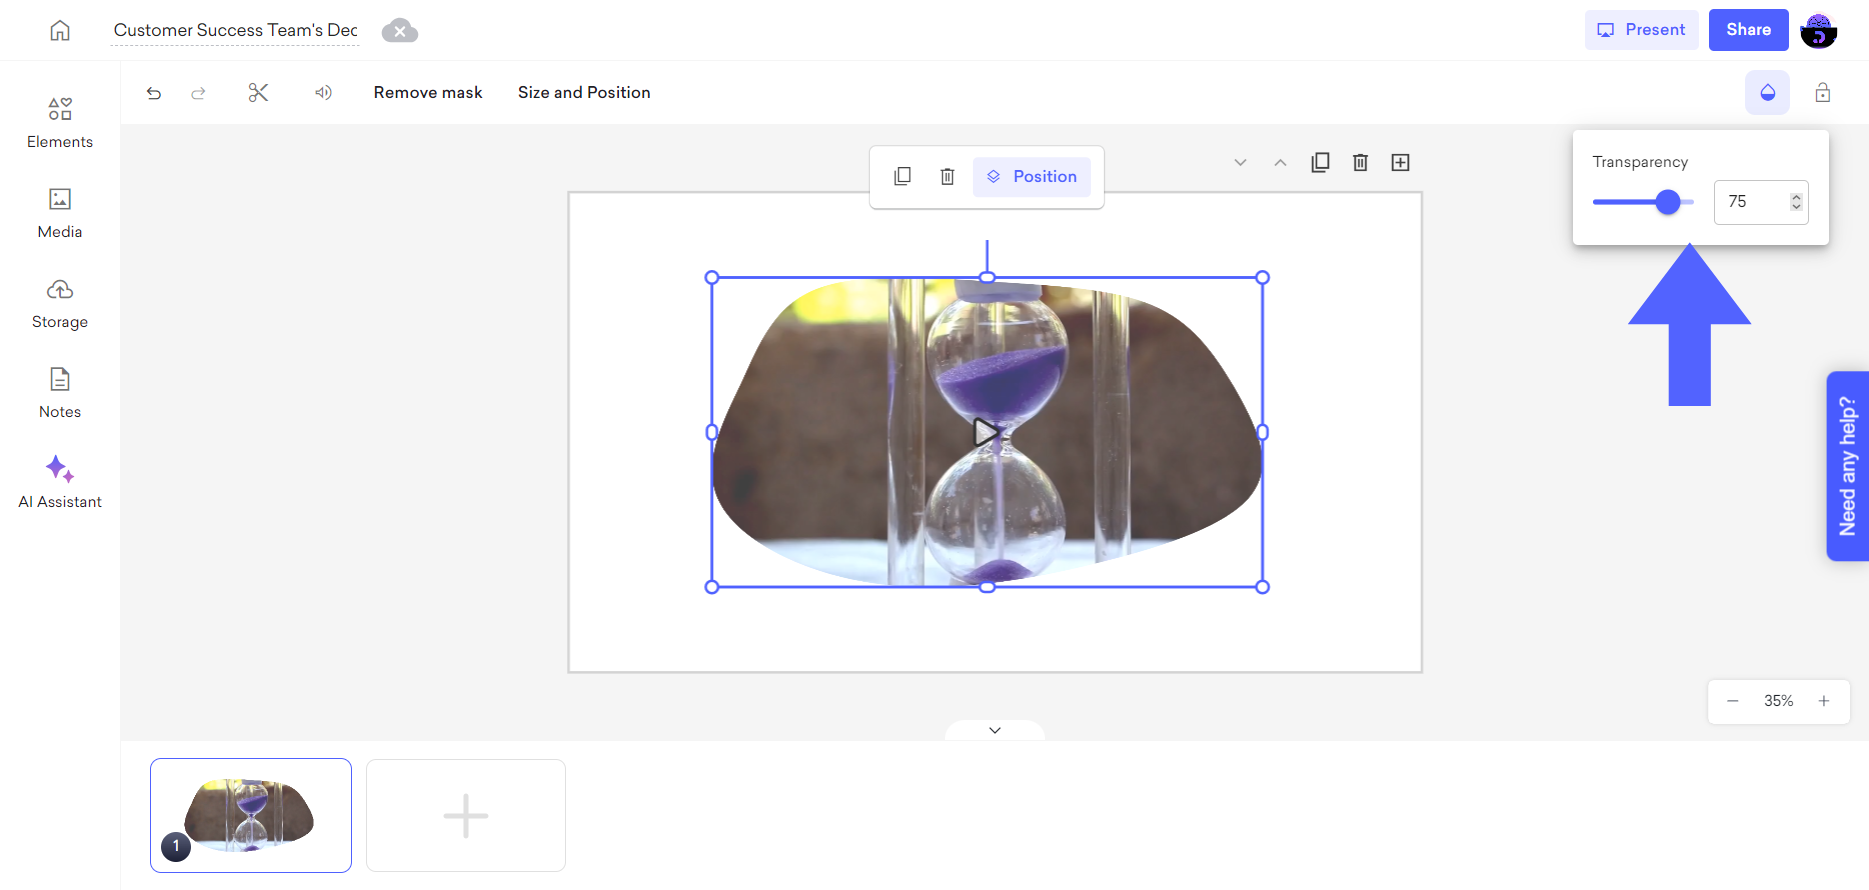
If you want to adjust your image's transparency for a more polished look, click on the "Transparency" icon and set the percentage to your preference.
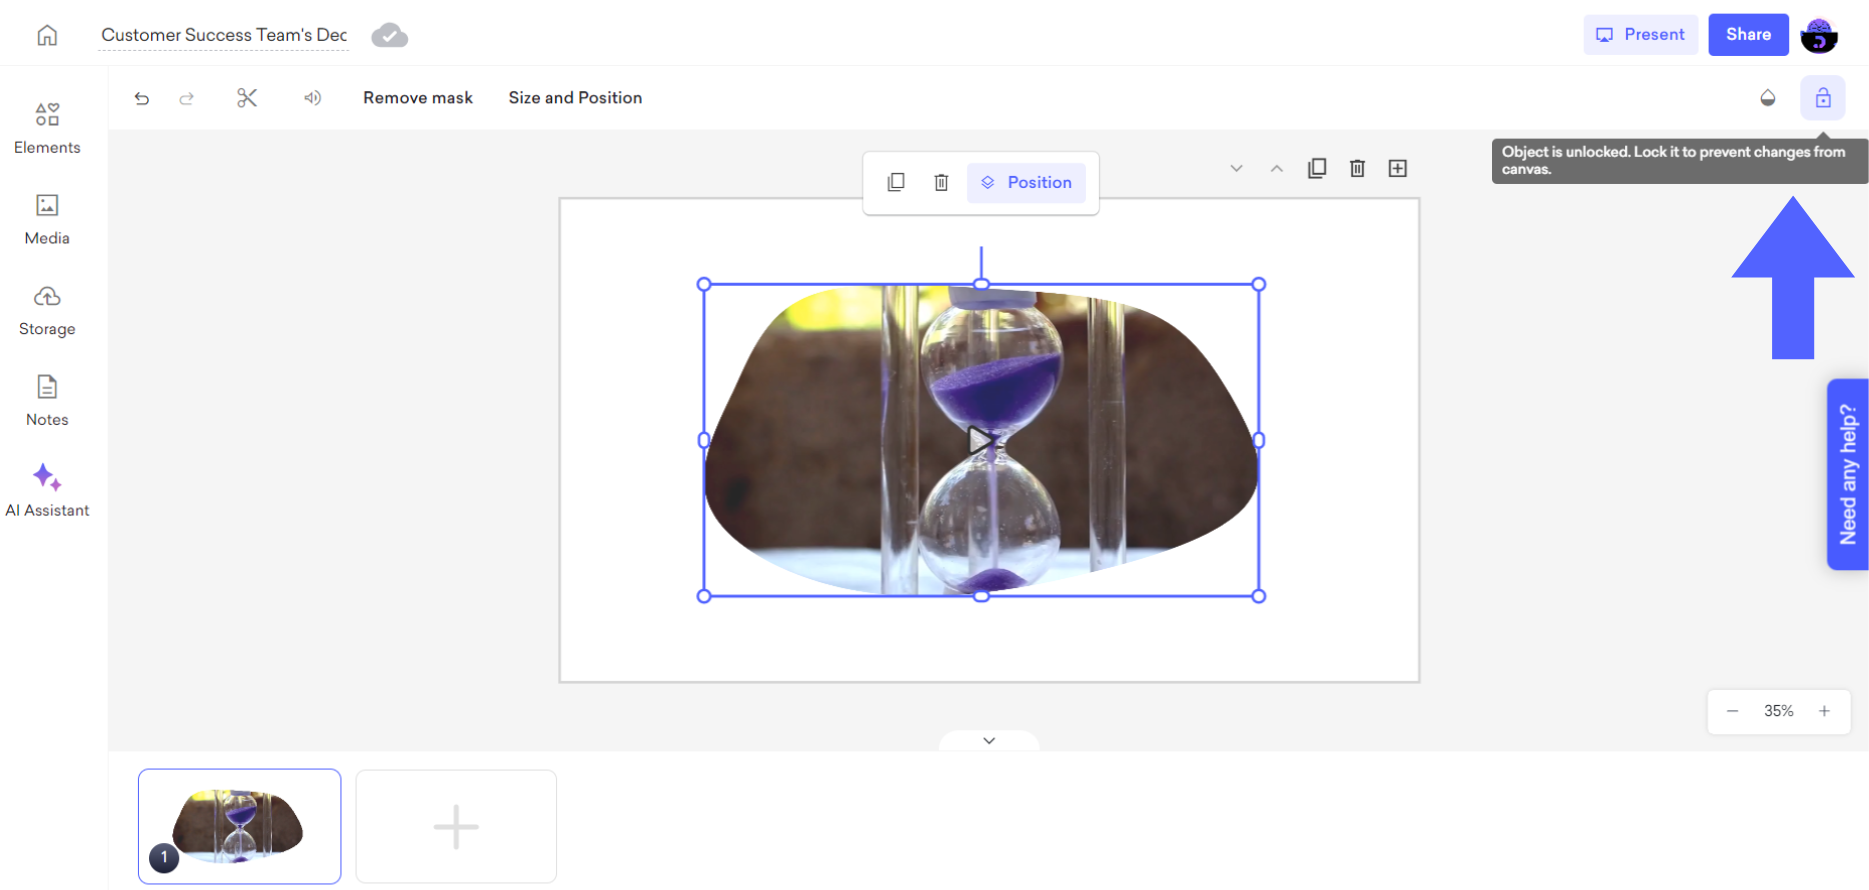
To secure the changes in your image element, simply click the lock icon to prevent any further alterations.
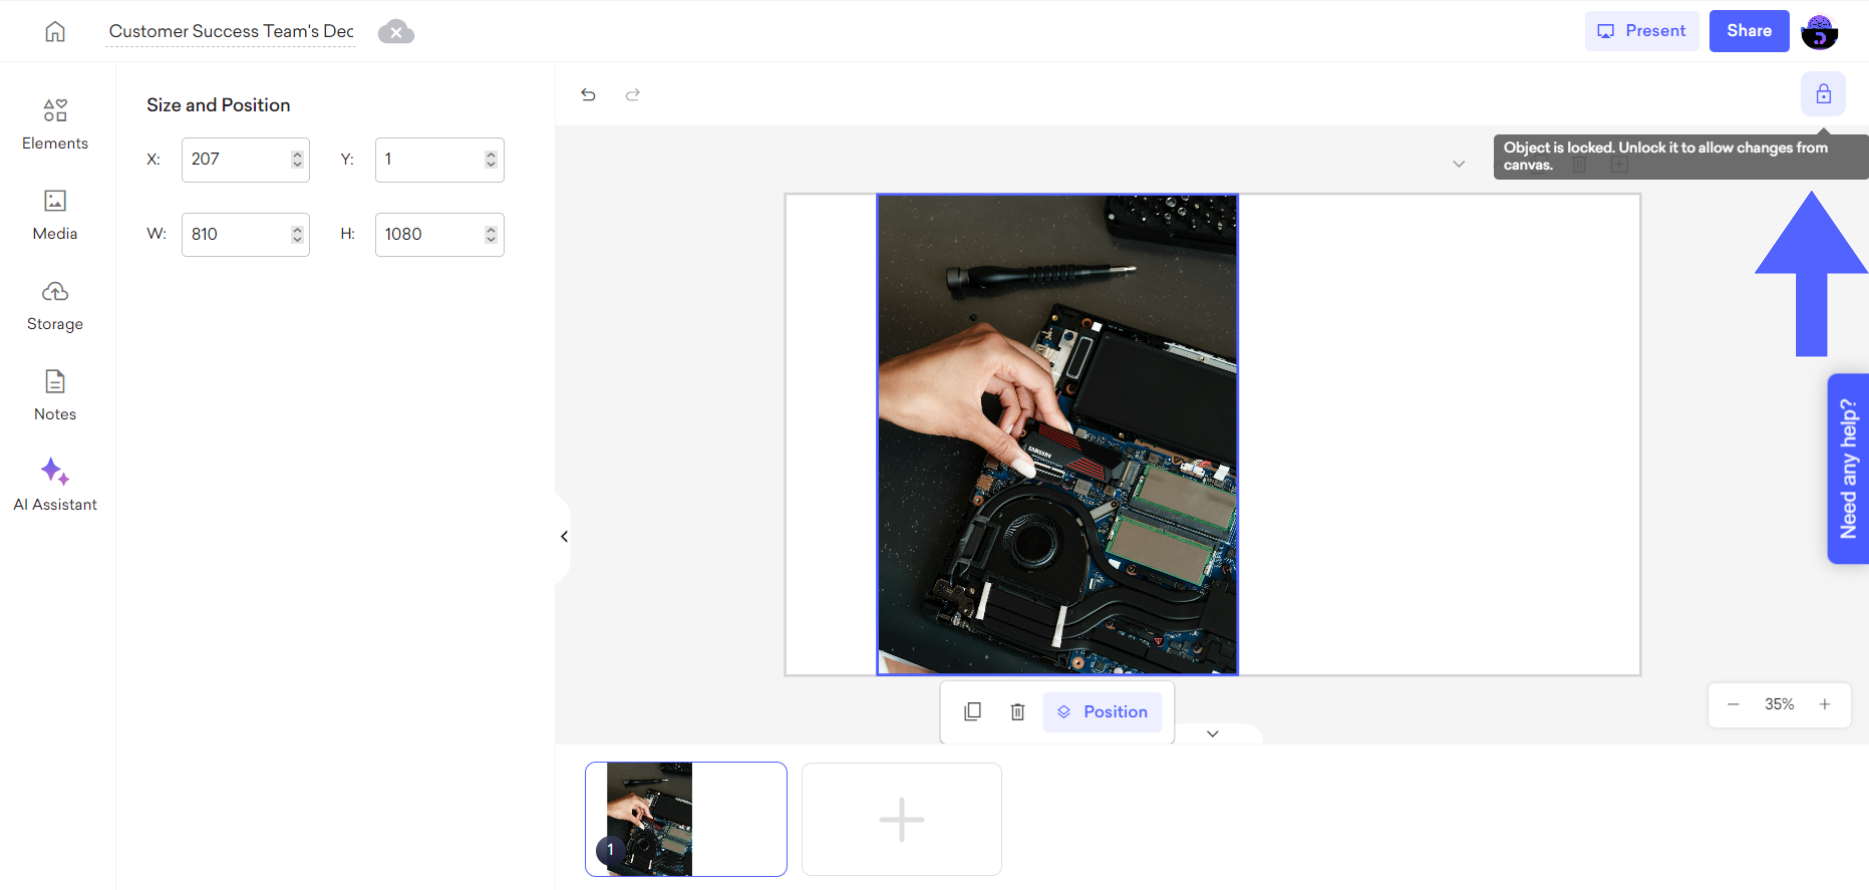
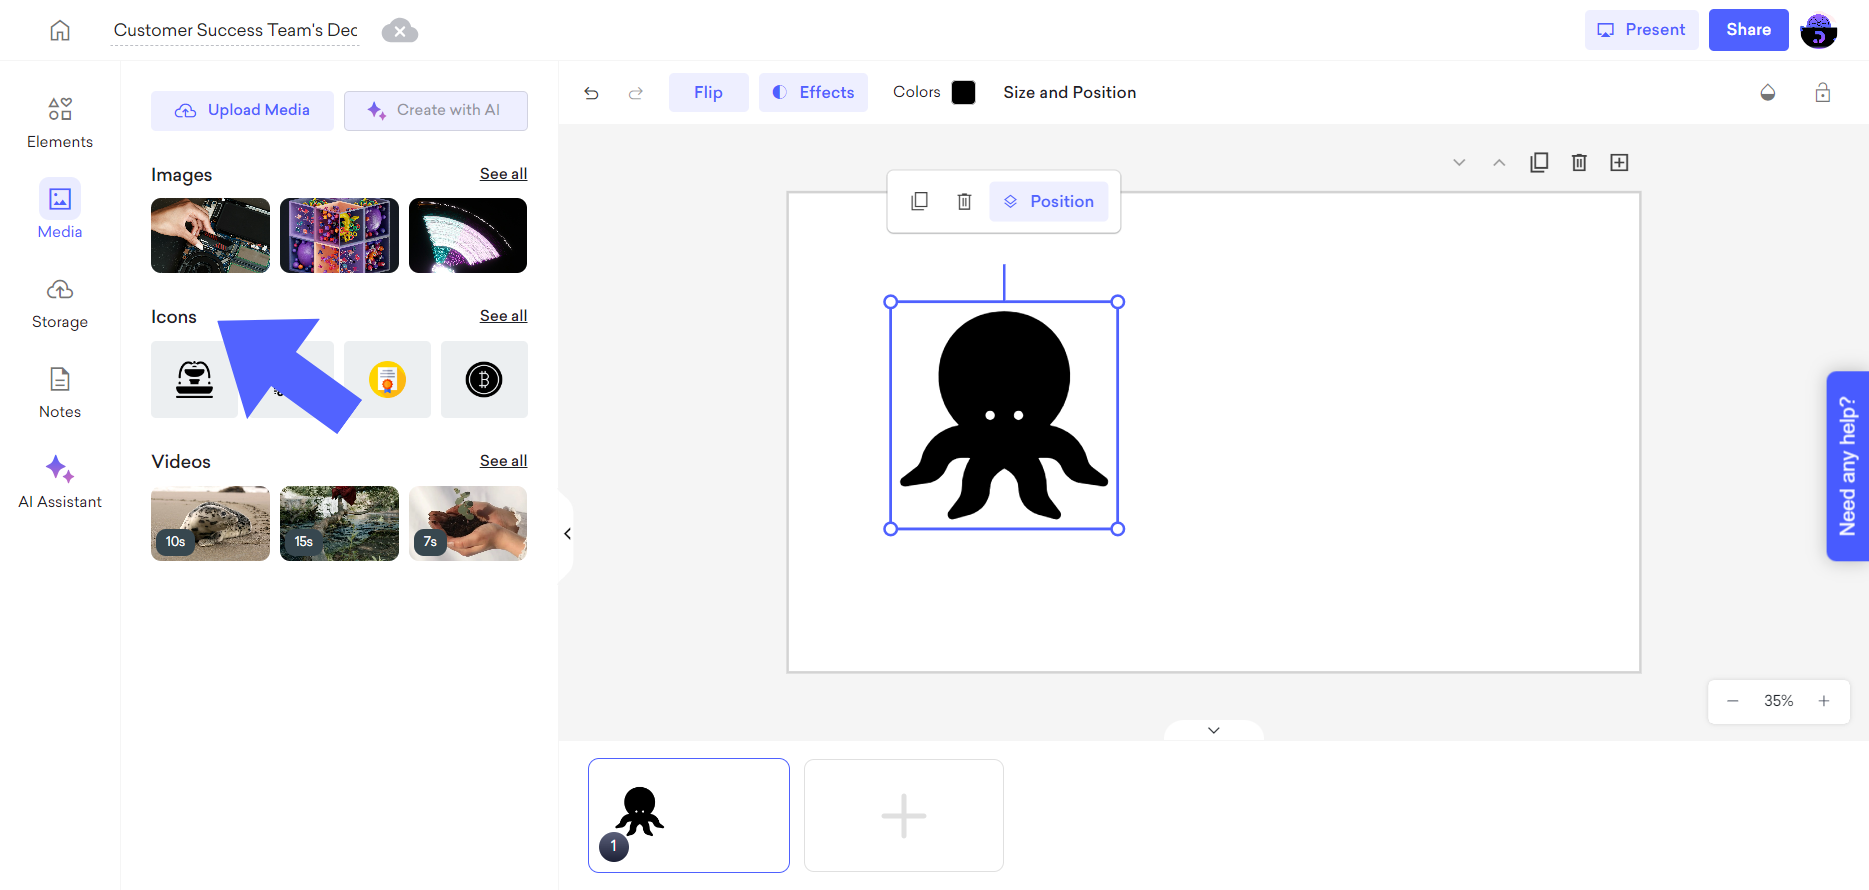
To add an icon to your slide, you can search and choose from the vast icon library of Decktopus, and click or drag&drop it to your slide.
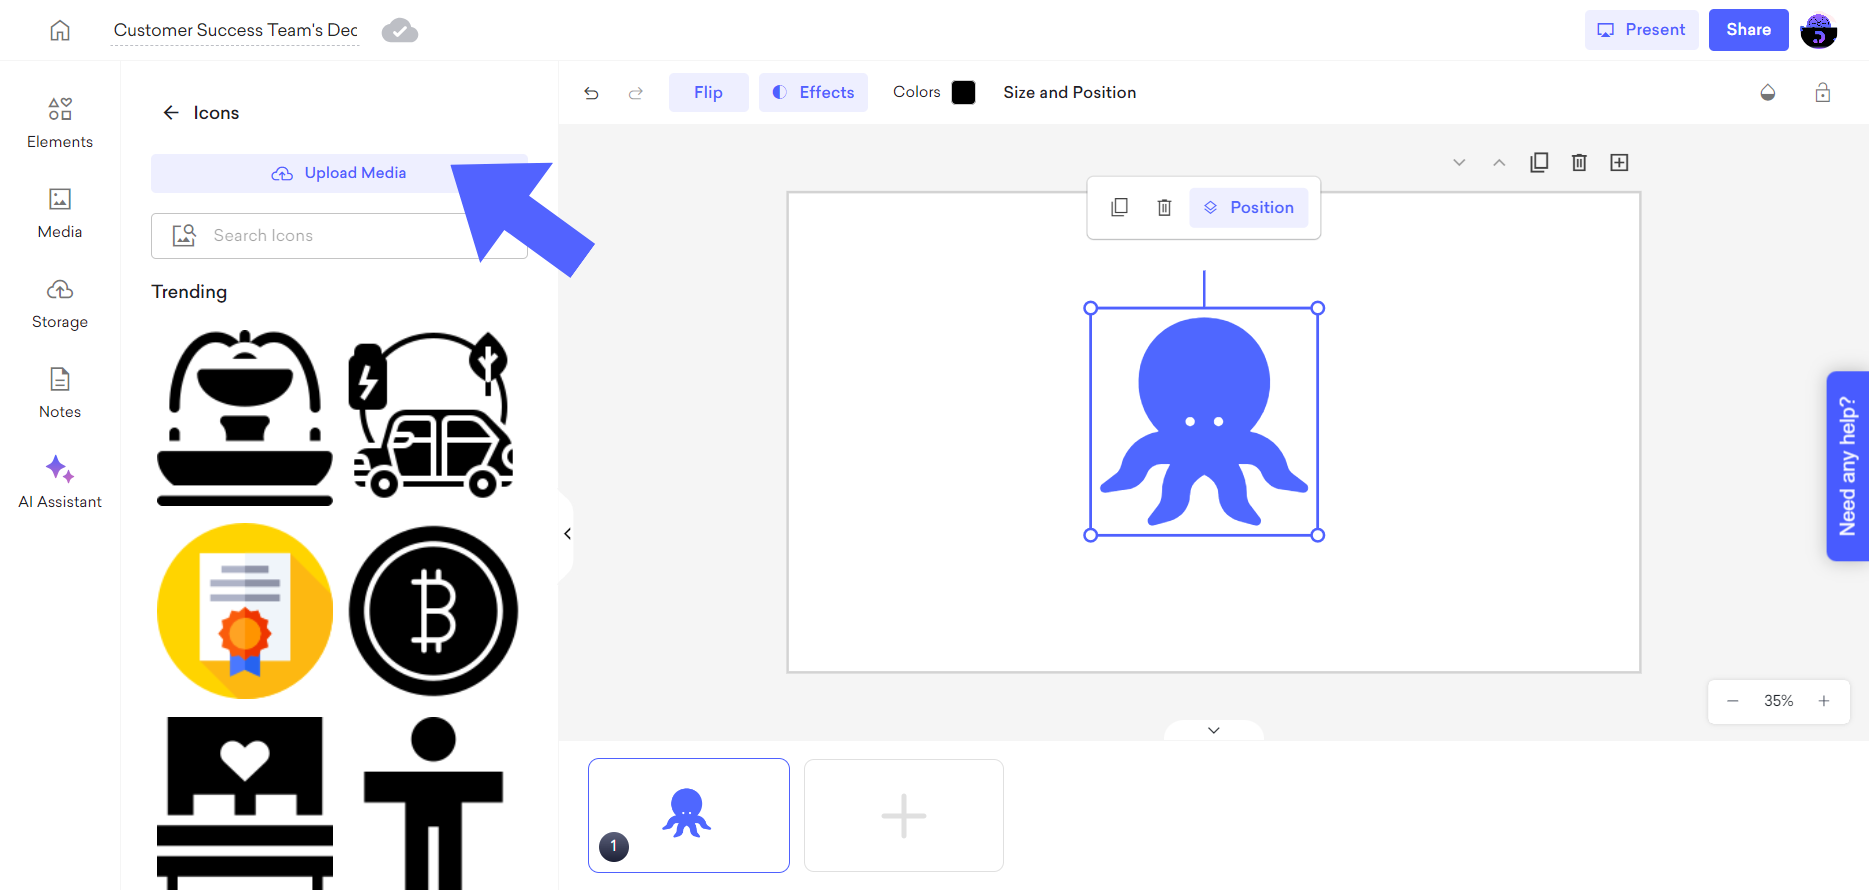
Or, you can import your own icon by clicking on the "Upload Media" option.
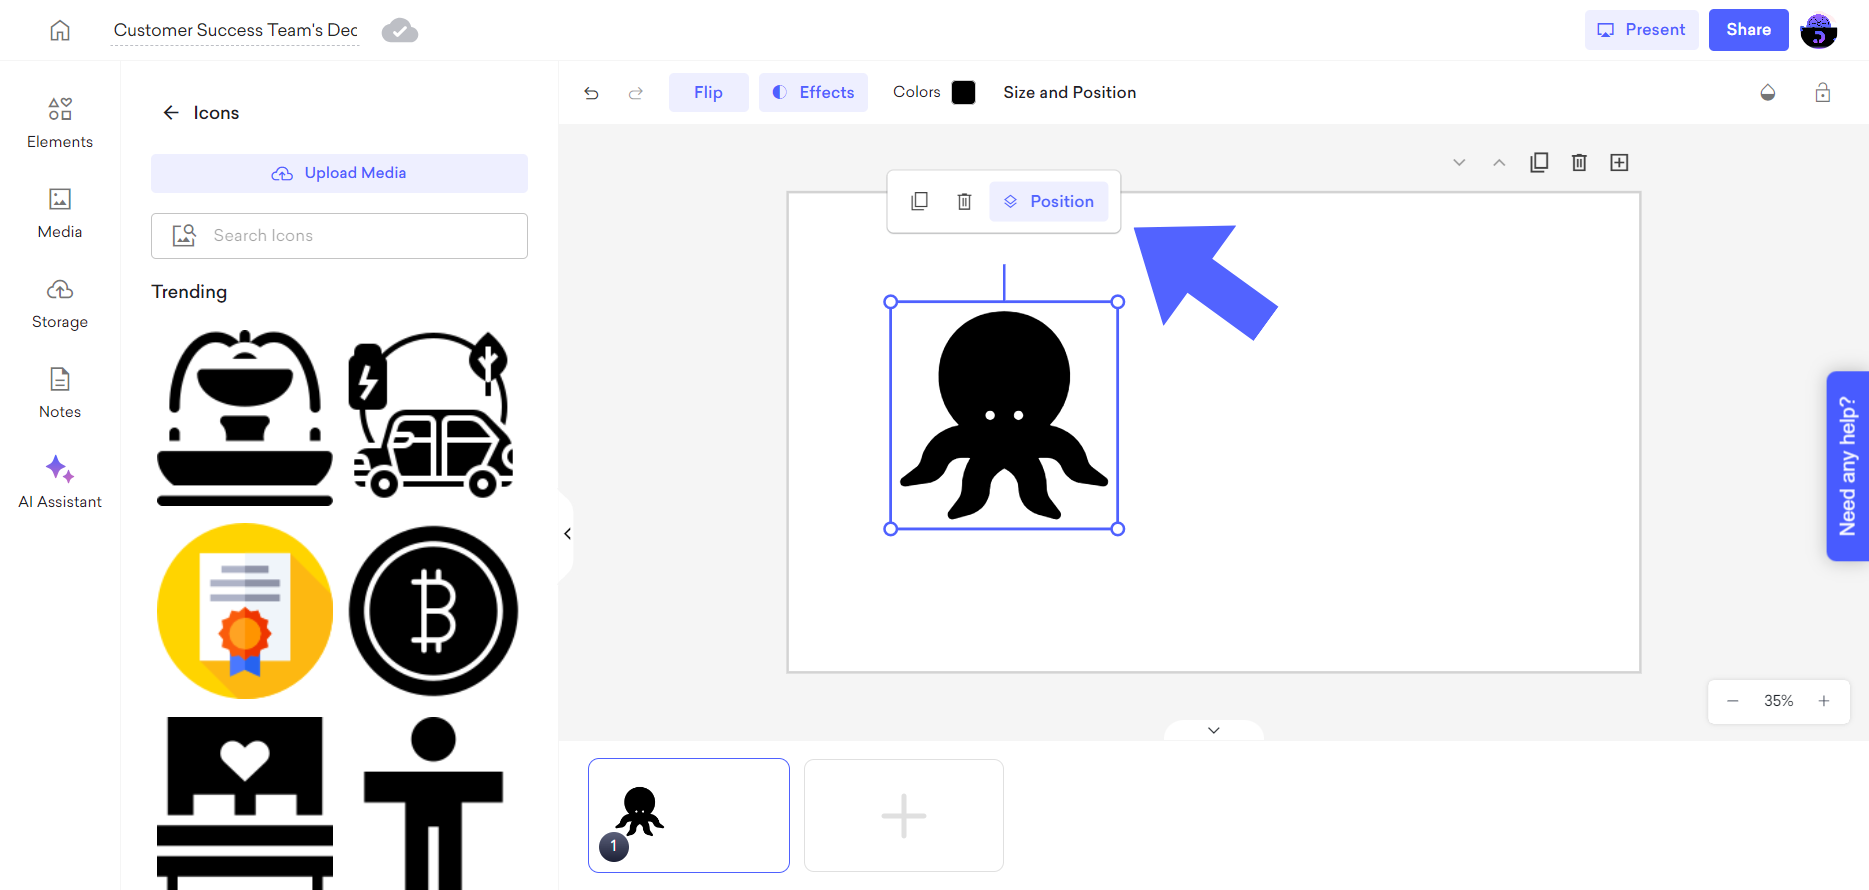
After adding the icon to your slide, you can adjust its position and customize it to your liking by clicking on the "Position" option.
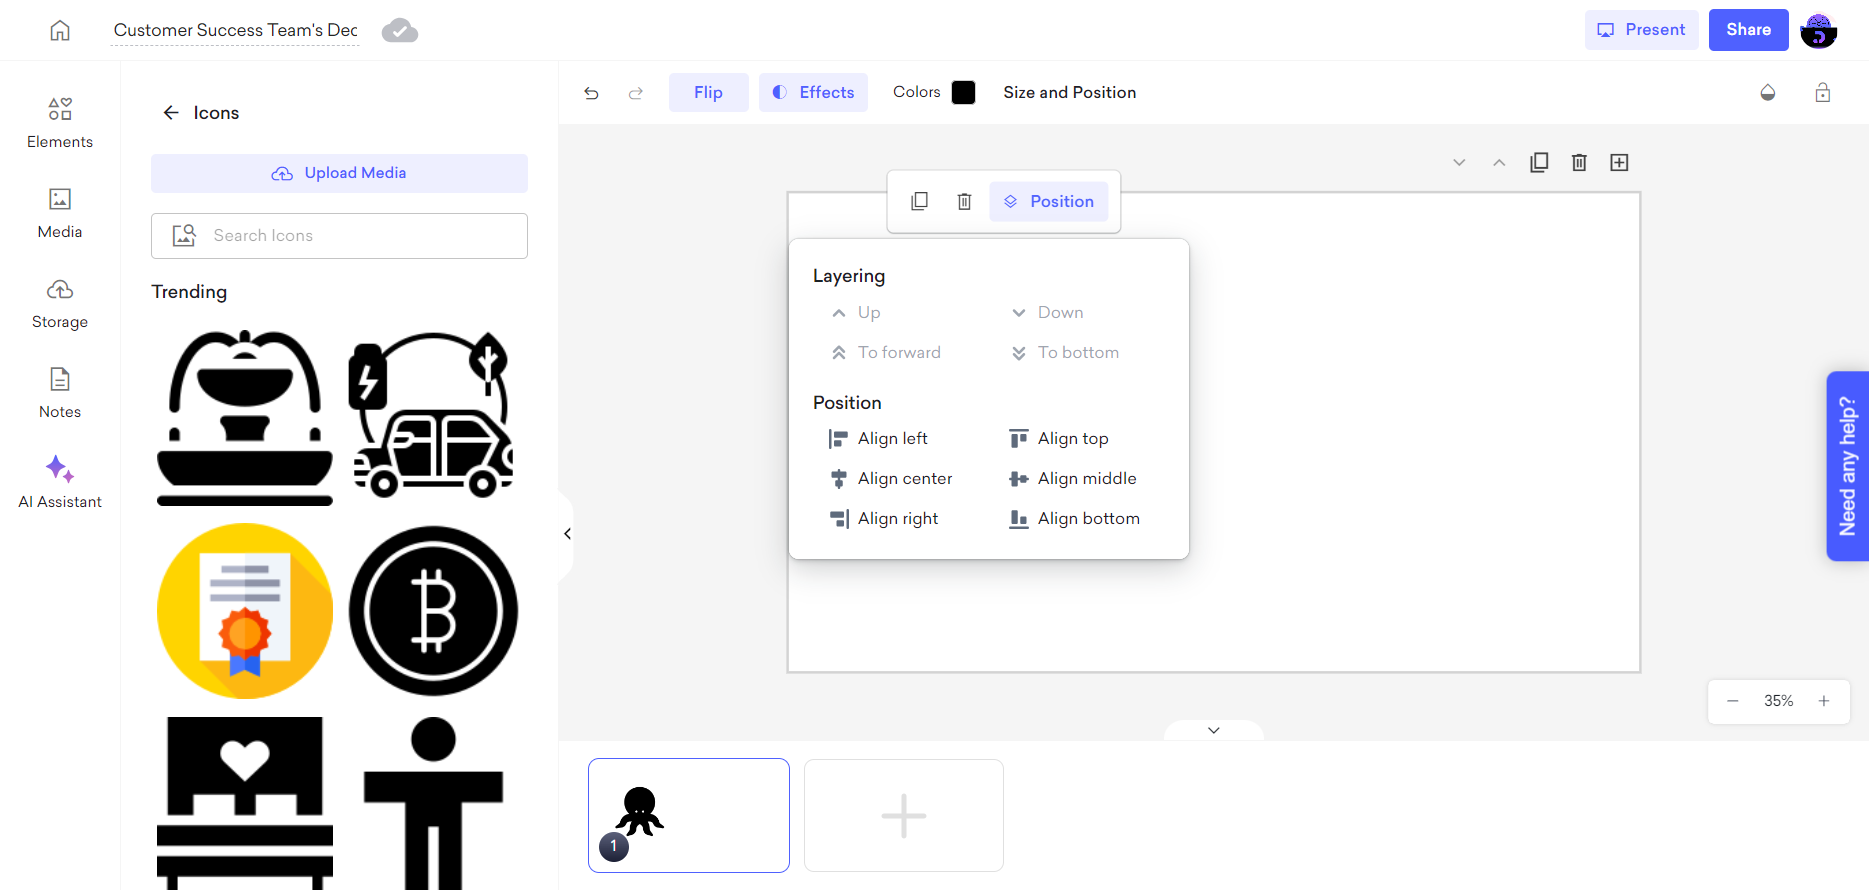
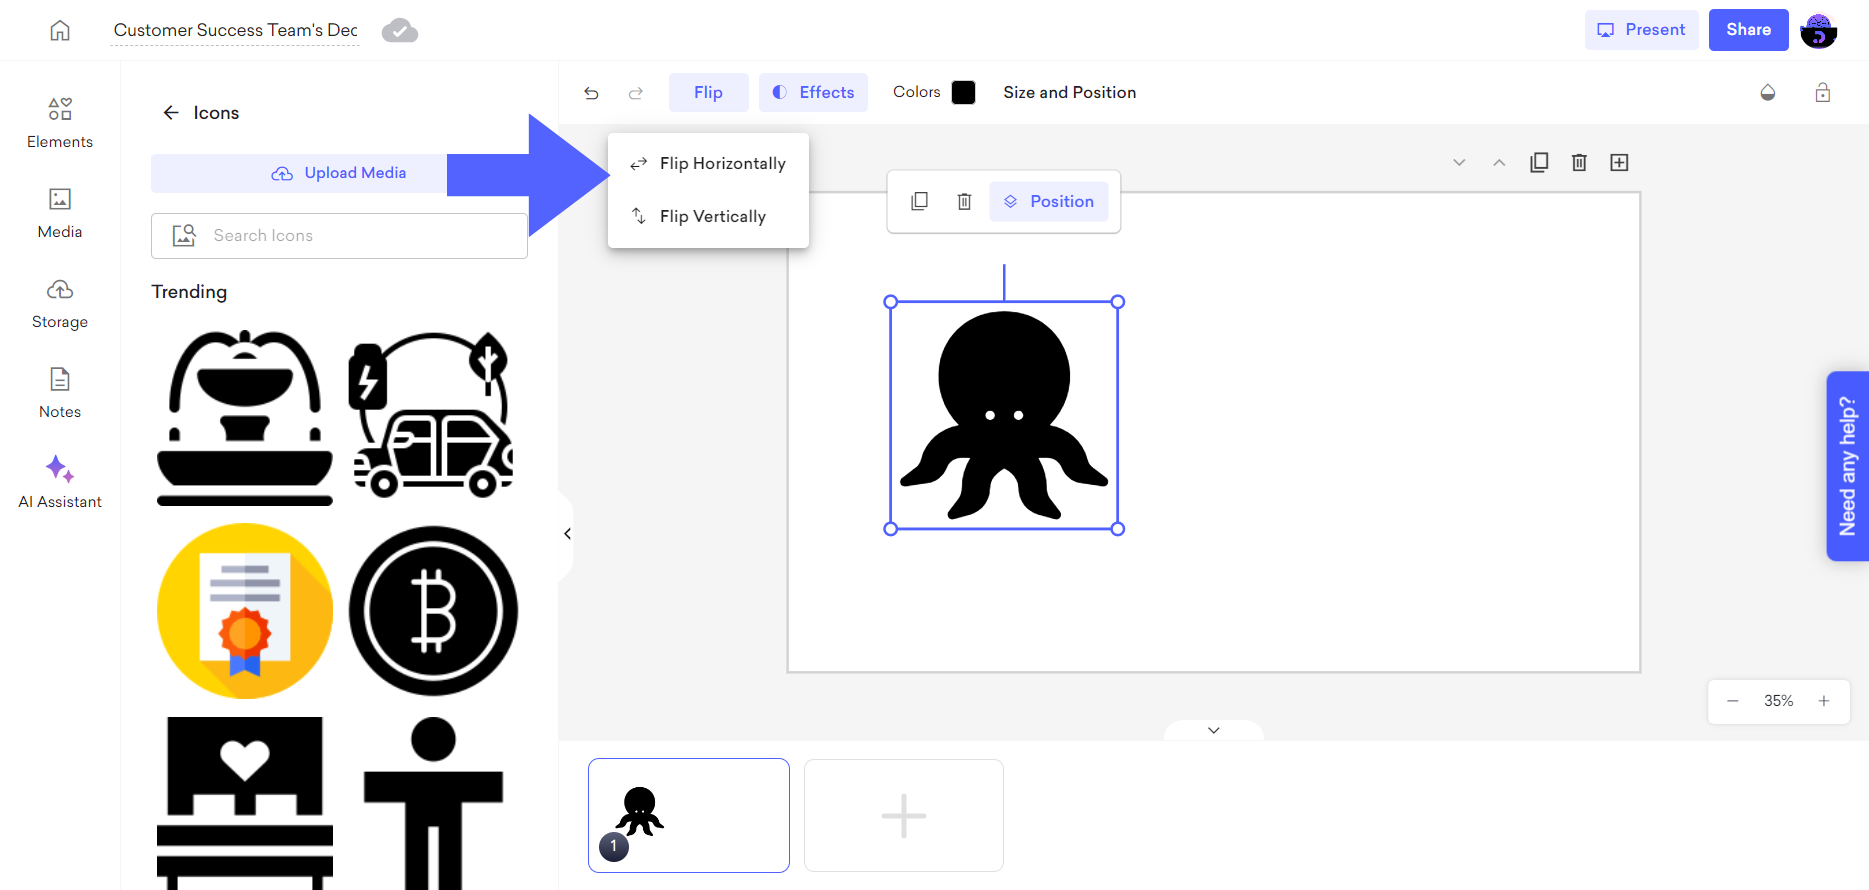
Using the "Flip" option, you can flip your icons either horizontally or vertically, allowing you to customize them and create a more unique look.
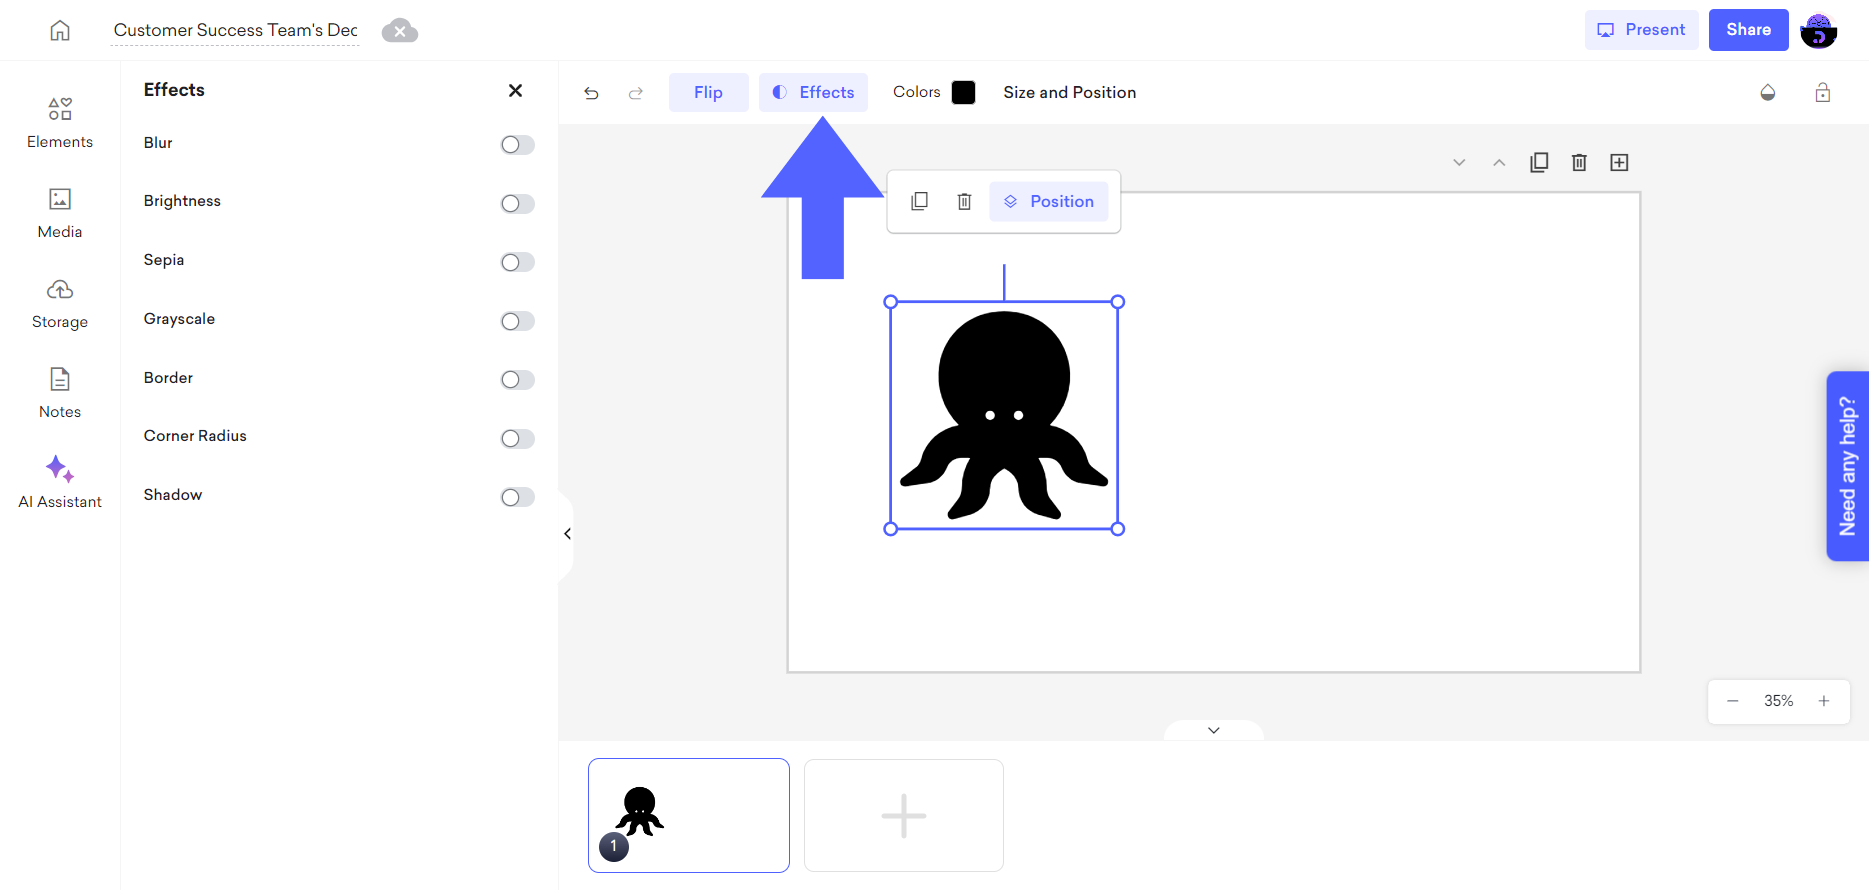
By choosing the "Effects" option, you can modify your icon's appearance and edit it according to your preferences.
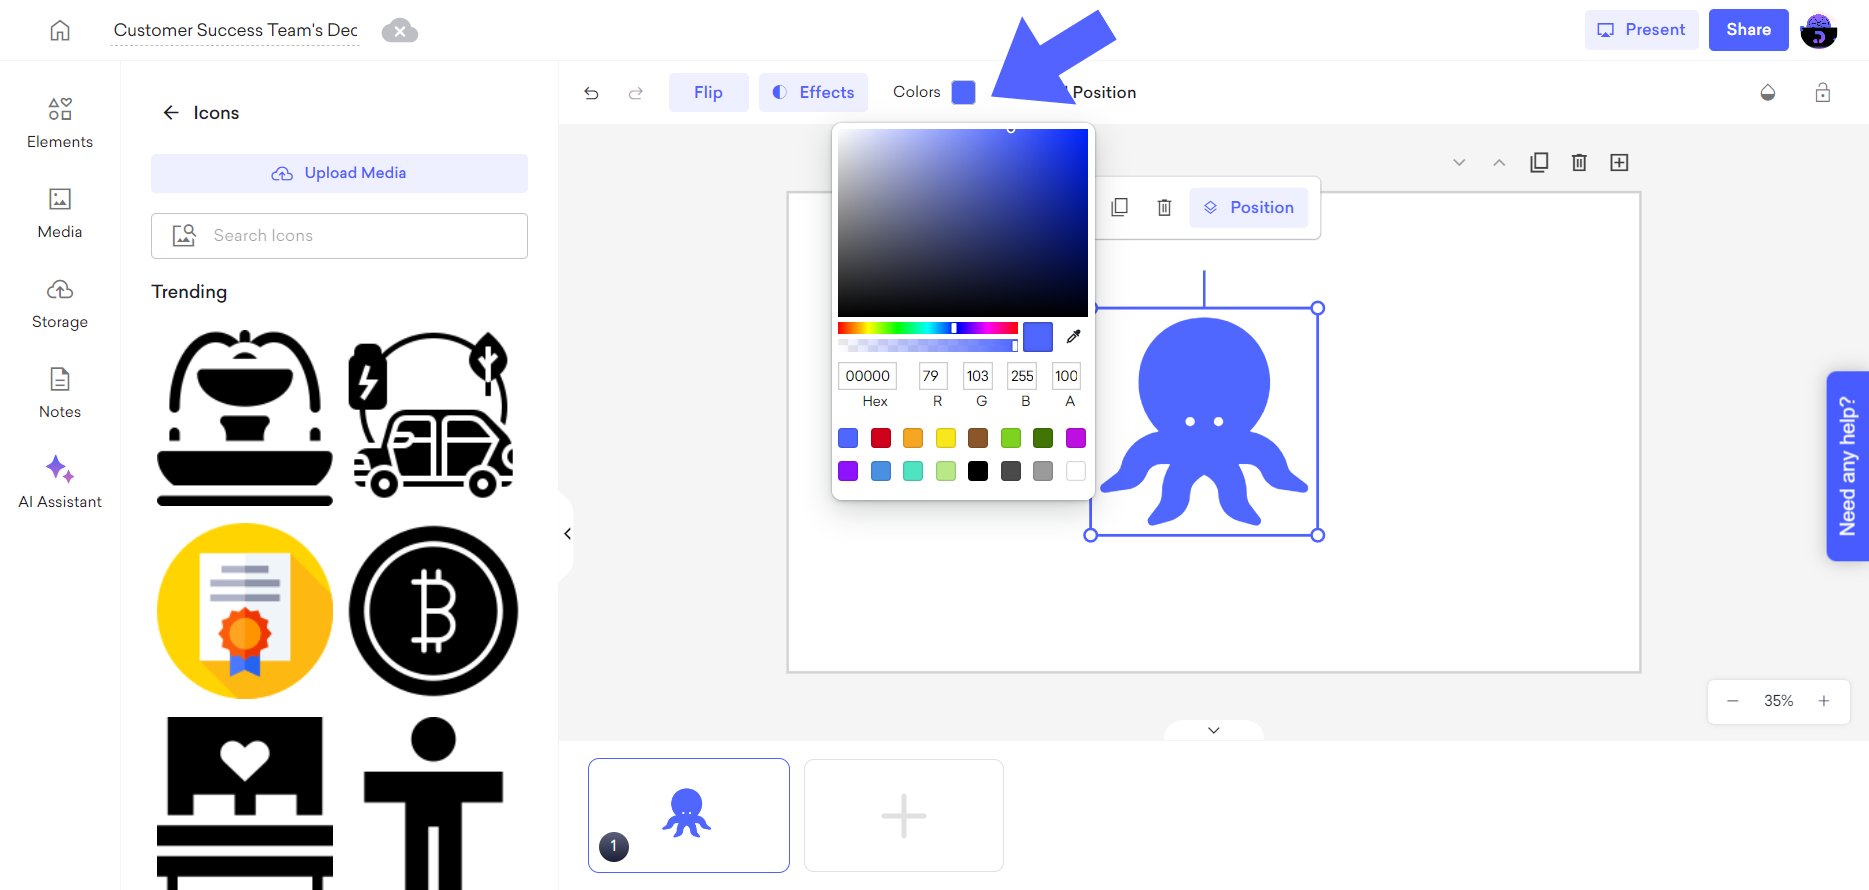
To change your icon's color, click on the "Colors" option and drag your mouse to the color you'd like to use or write down the color code.
To adjust your icon's size and position effectively, choose the "Size and Position" option and make the necessary changes.
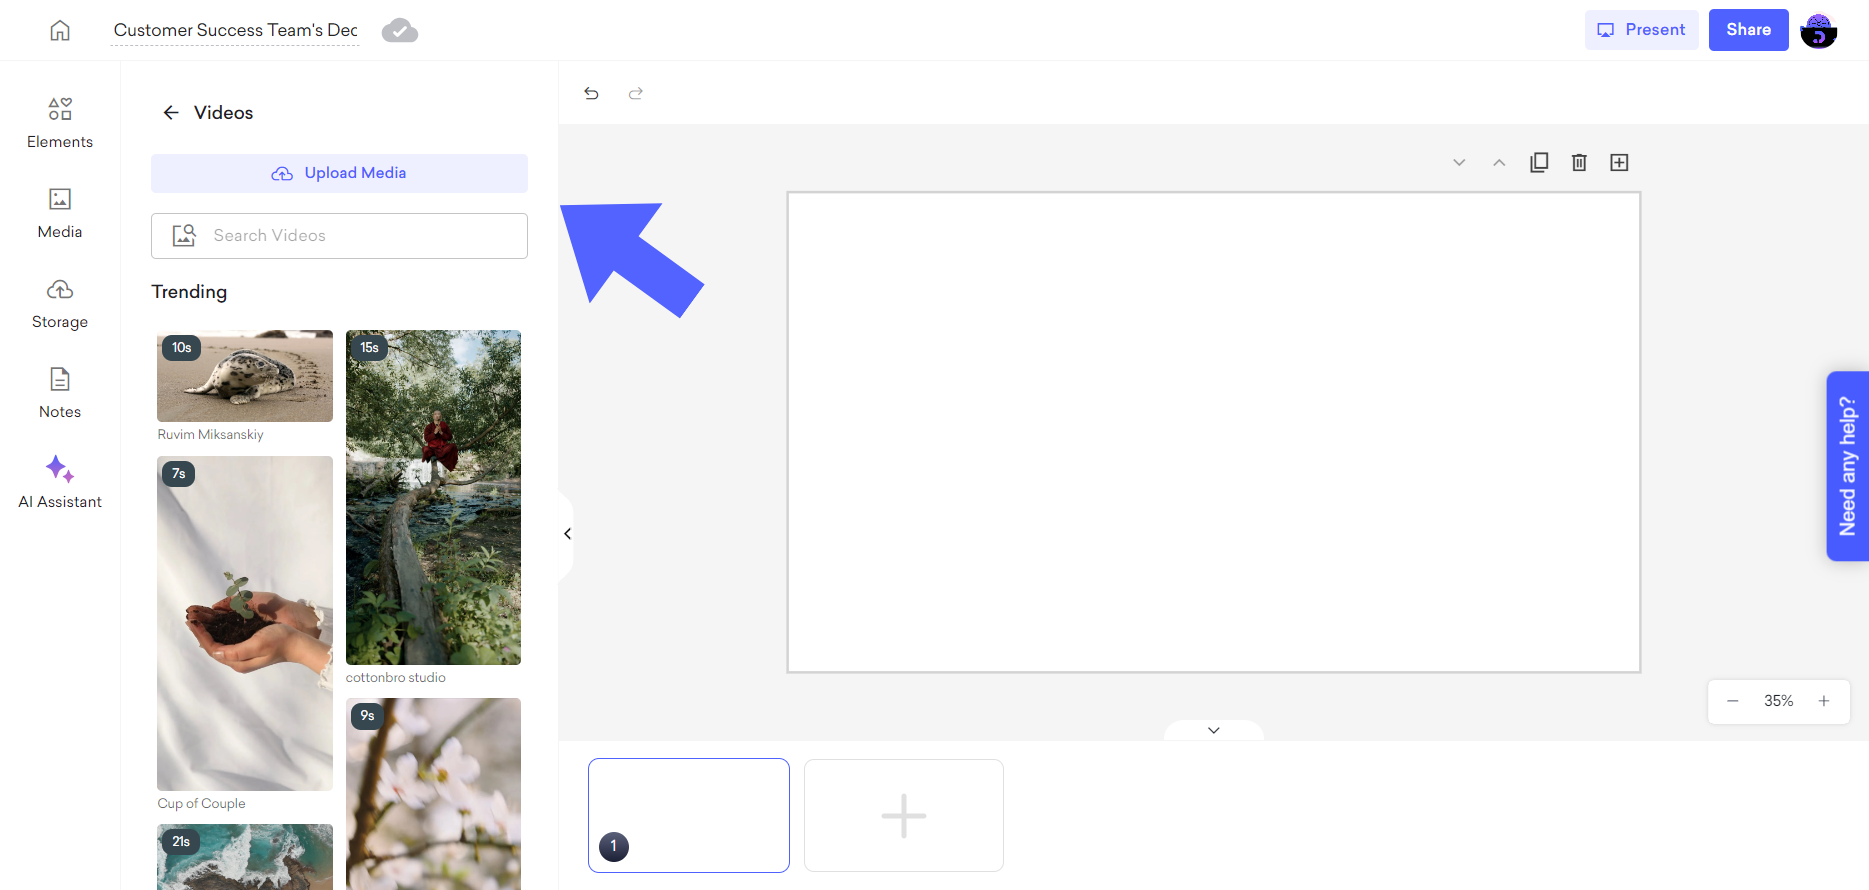
To add a video to your slide, you can search and choose from the vast video library of Decktopus, and click or drag&drop it to your slide.
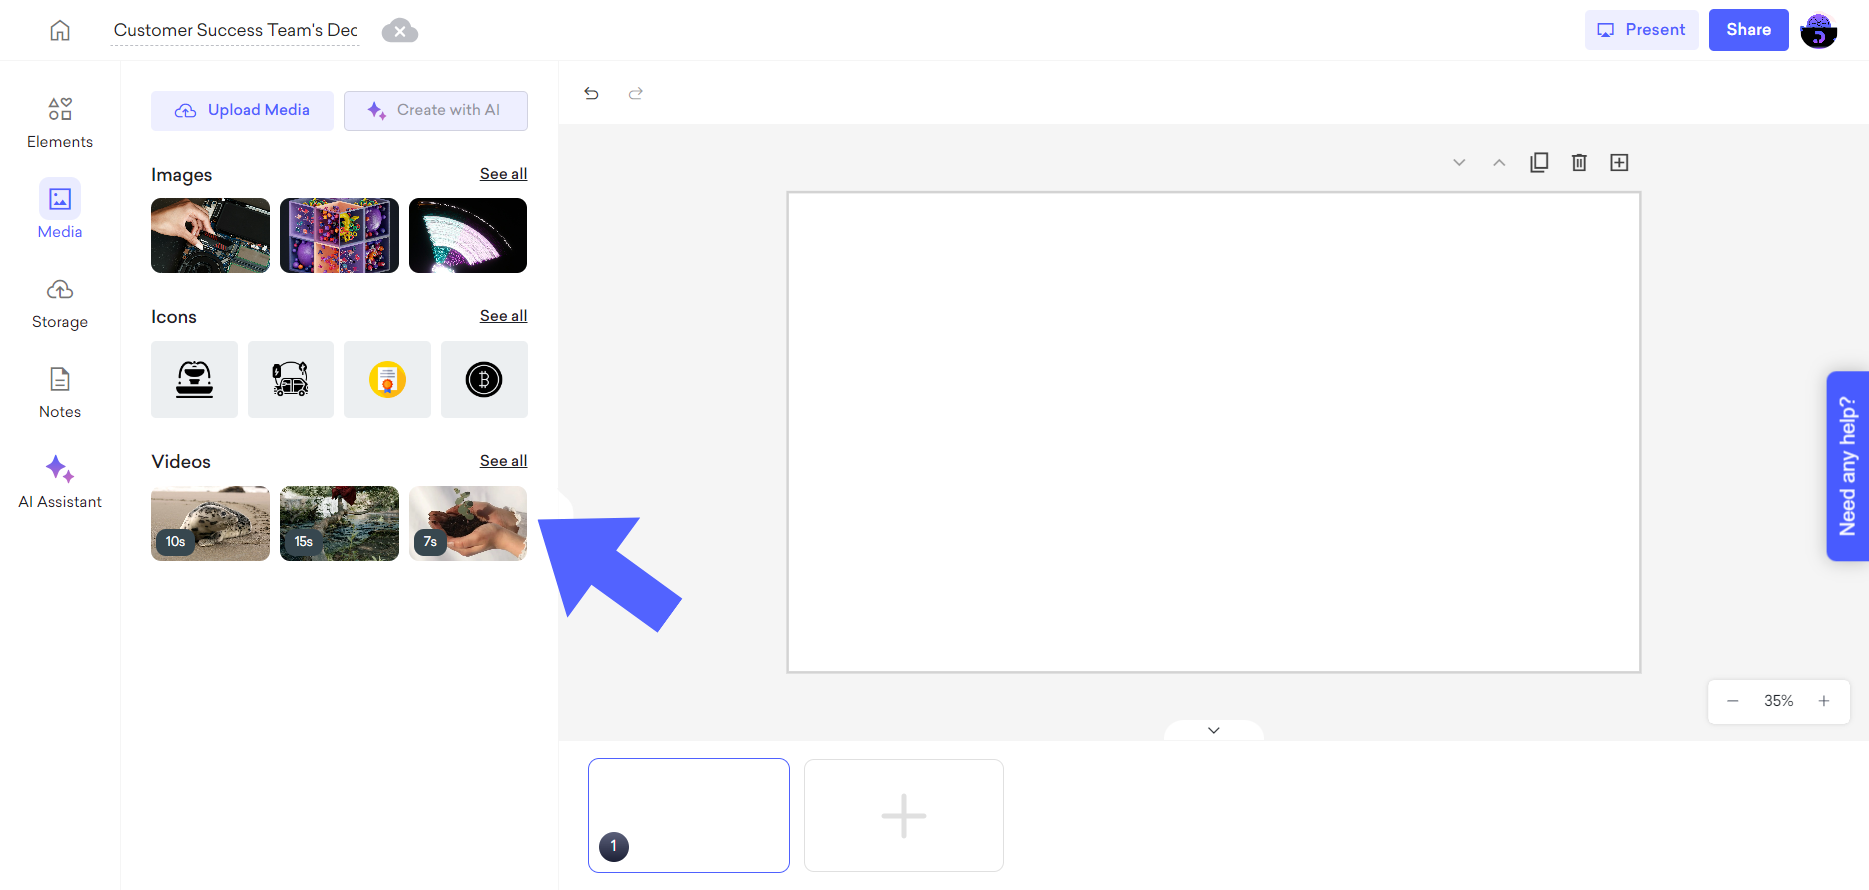
Or, you can import your own video by clicking on the "Upload Media" option.
After adding the icon to your slide, you can adjust its position and customize it to your liking by clicking on the "Position" option.
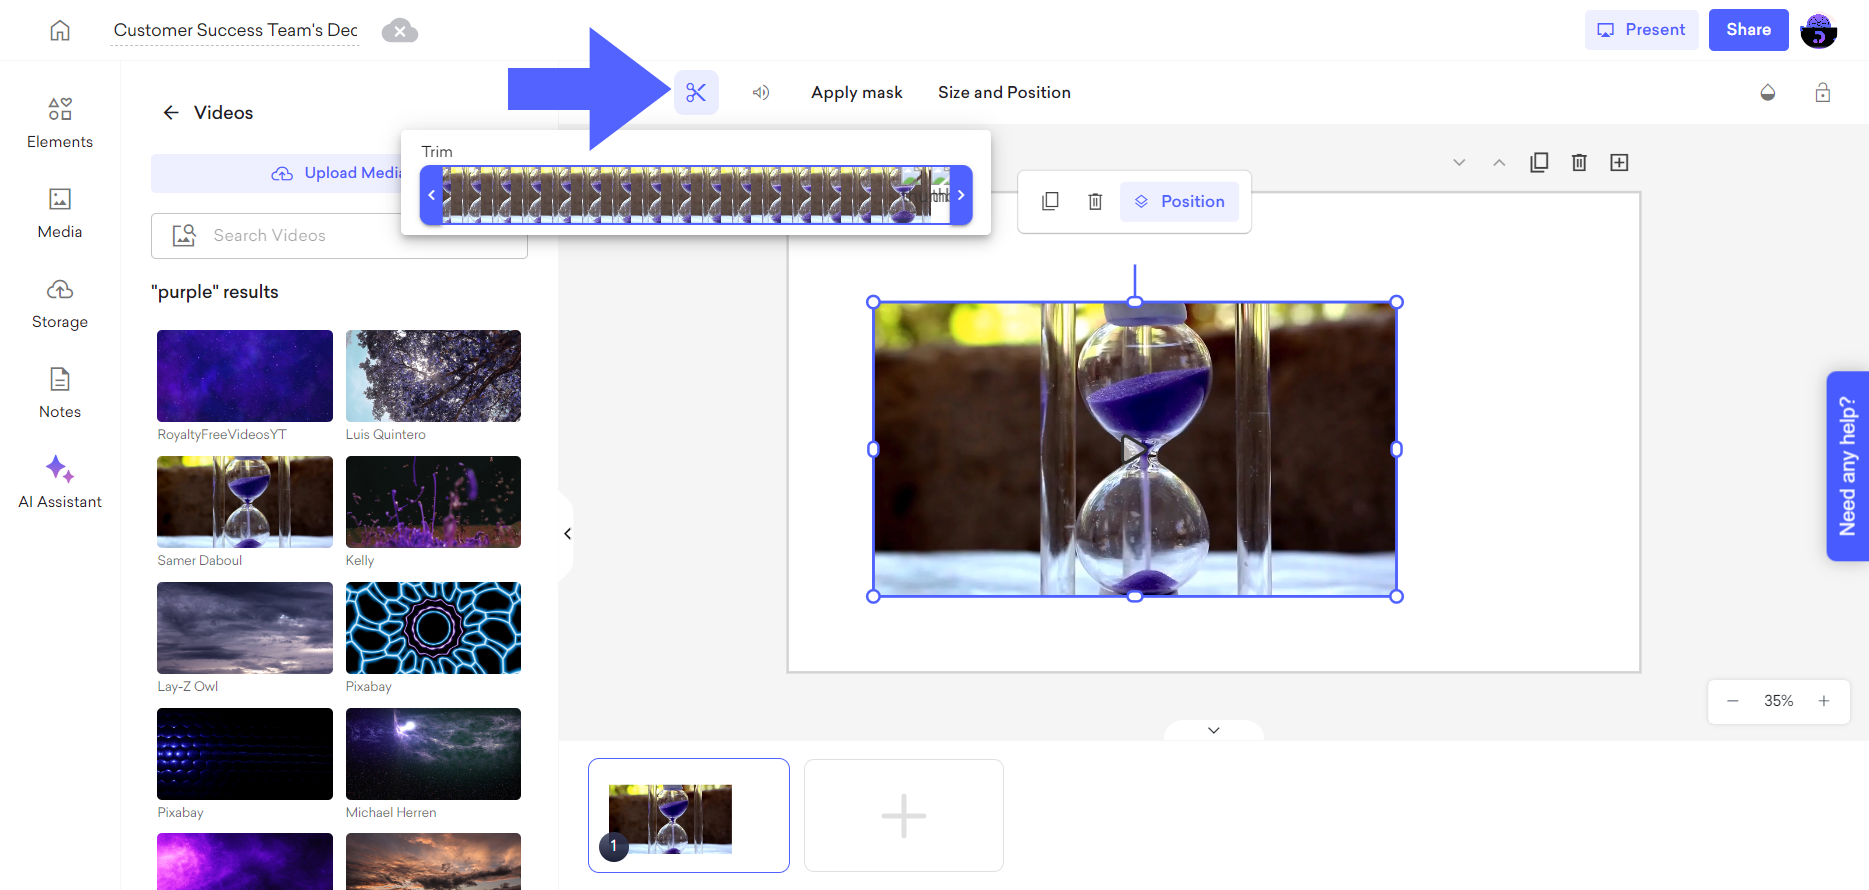
You can adjust your video's length bu choosing the "Trim" option.
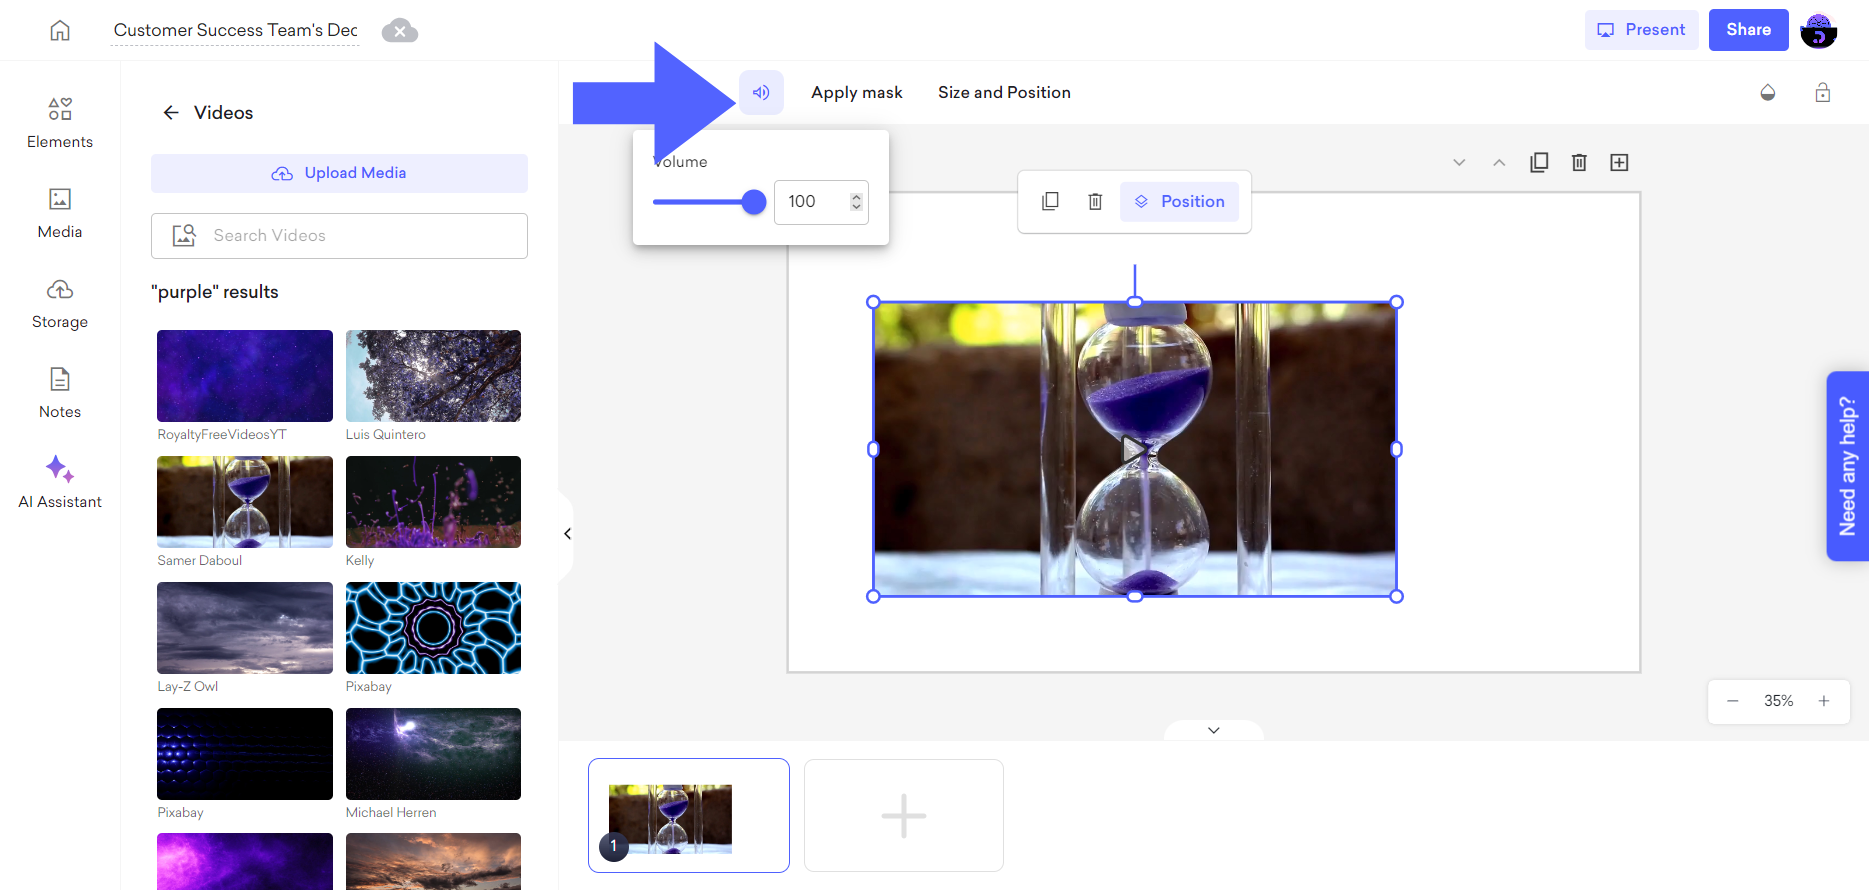
To adjust the volume of your video, click on the "Volume" icon and set it to your preferences.
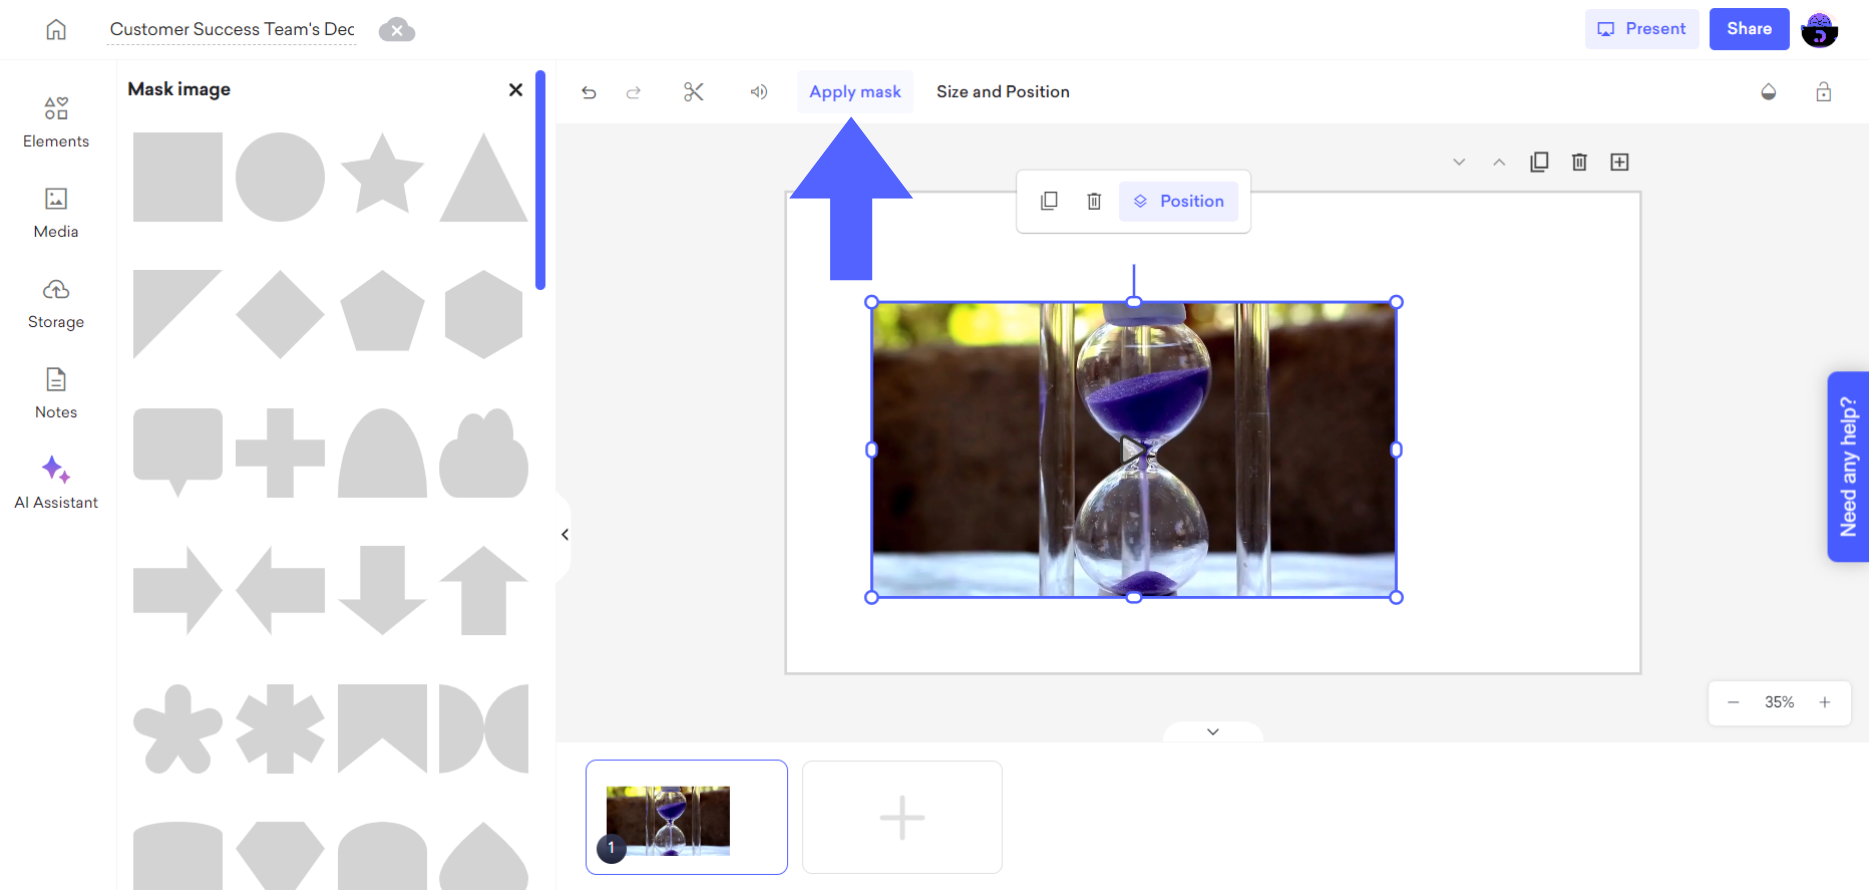
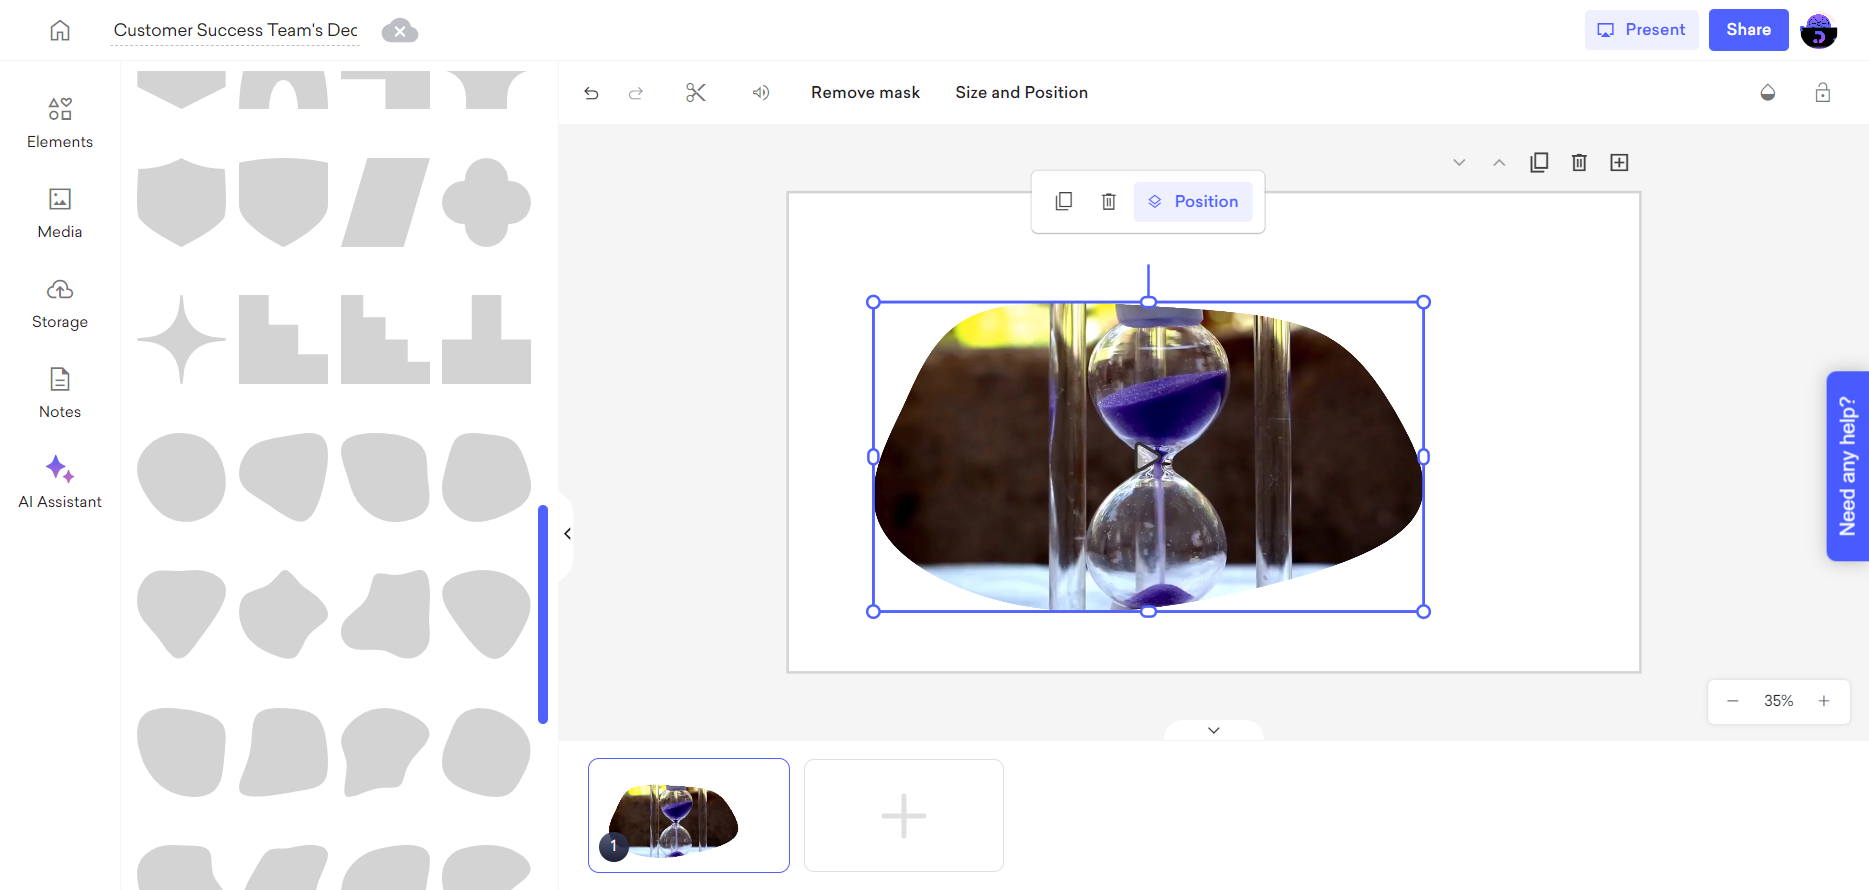
You can alter the appearance of your video by applying a mask. To do this, click on the "Apply mask" option and select from the various shapes available. If you don't use any mask, you can simply click on the "Remove mask" option and undo your latest adjustment.
To adjust your video's size and position effectively, choose the "Size and Position" option and make the necessary changes.
If you want to adjust your video's transparency for a more polished look, click on the "Transparency" icon and set the percentage to your preference.
To secure the changes in your video element, simply click the lock icon to prevent any further alterations.
That's all!
If you require any further assistance, please feel free to contact us at support@decktopus.com. We are more than happy to assist you!