In Decktopus, incorporating images into your slides is simple and intuitive, allowing you to enhance your content with striking visuals. From uploading your favorite photos to adjusting image settings like corner radius, we'll cover all the essentials to help you create visually stunning presentations. Let's dive in and explore how to effectively use images in Decktopus!
First, navigate to the editing panel of your presentation.
To add an image to your slide, simply click on "Elements" and then choose the "Image" button or select the image option and hover your mouse over the slide.
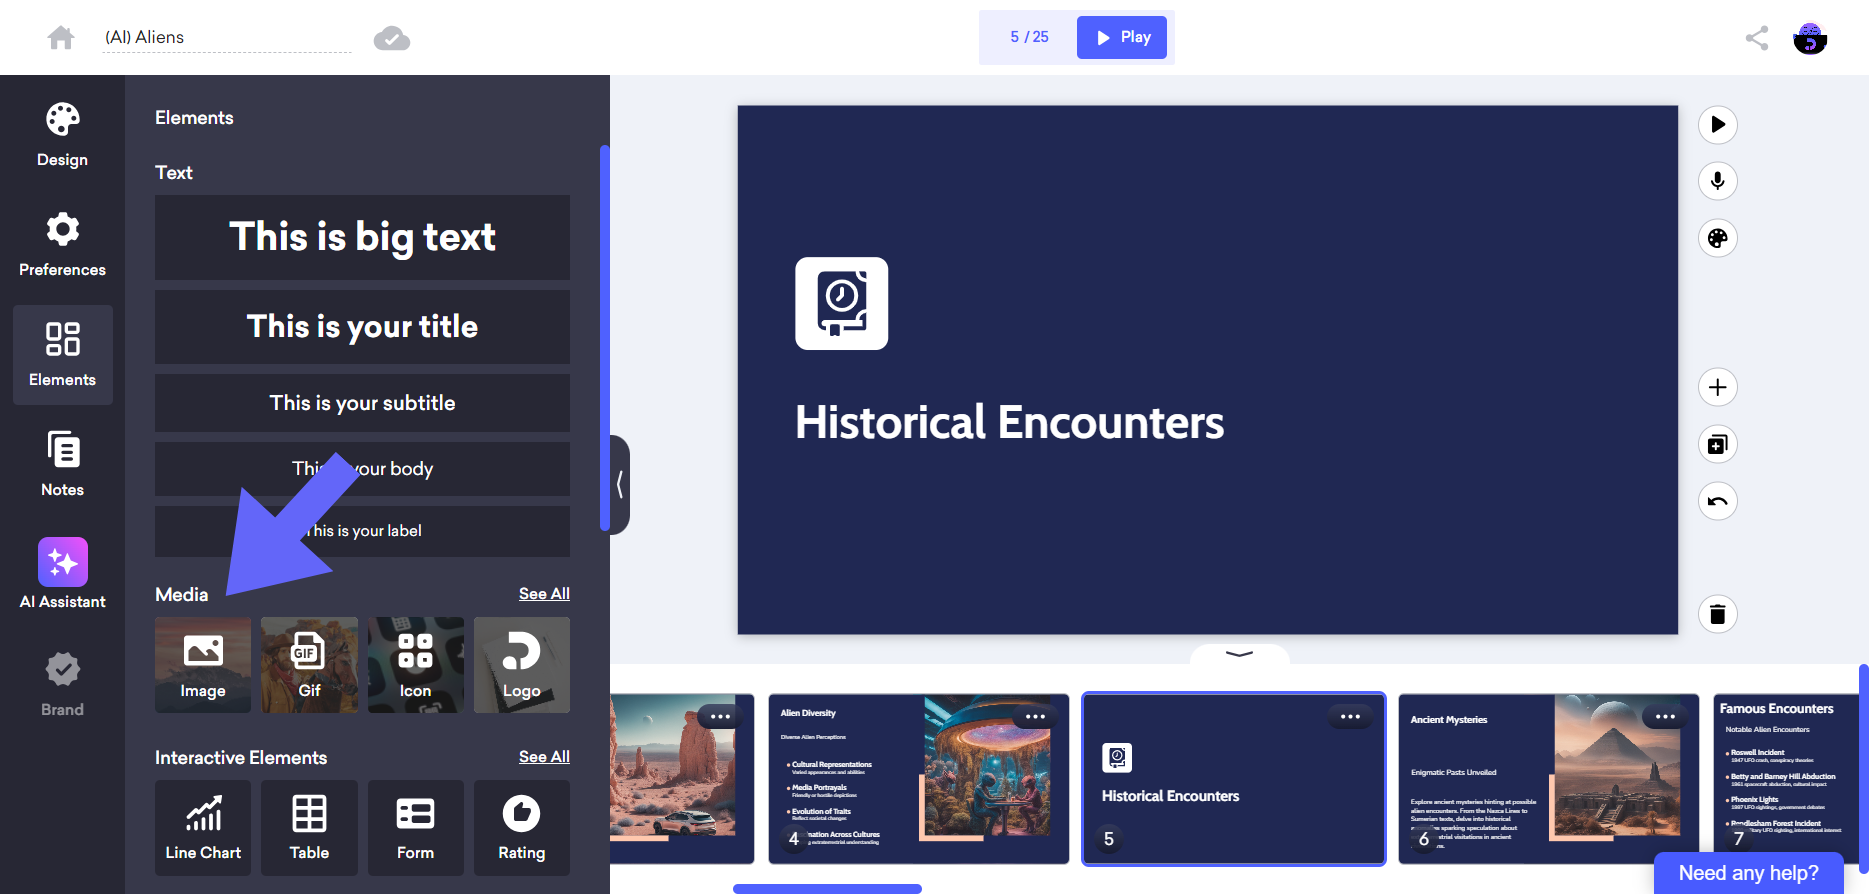
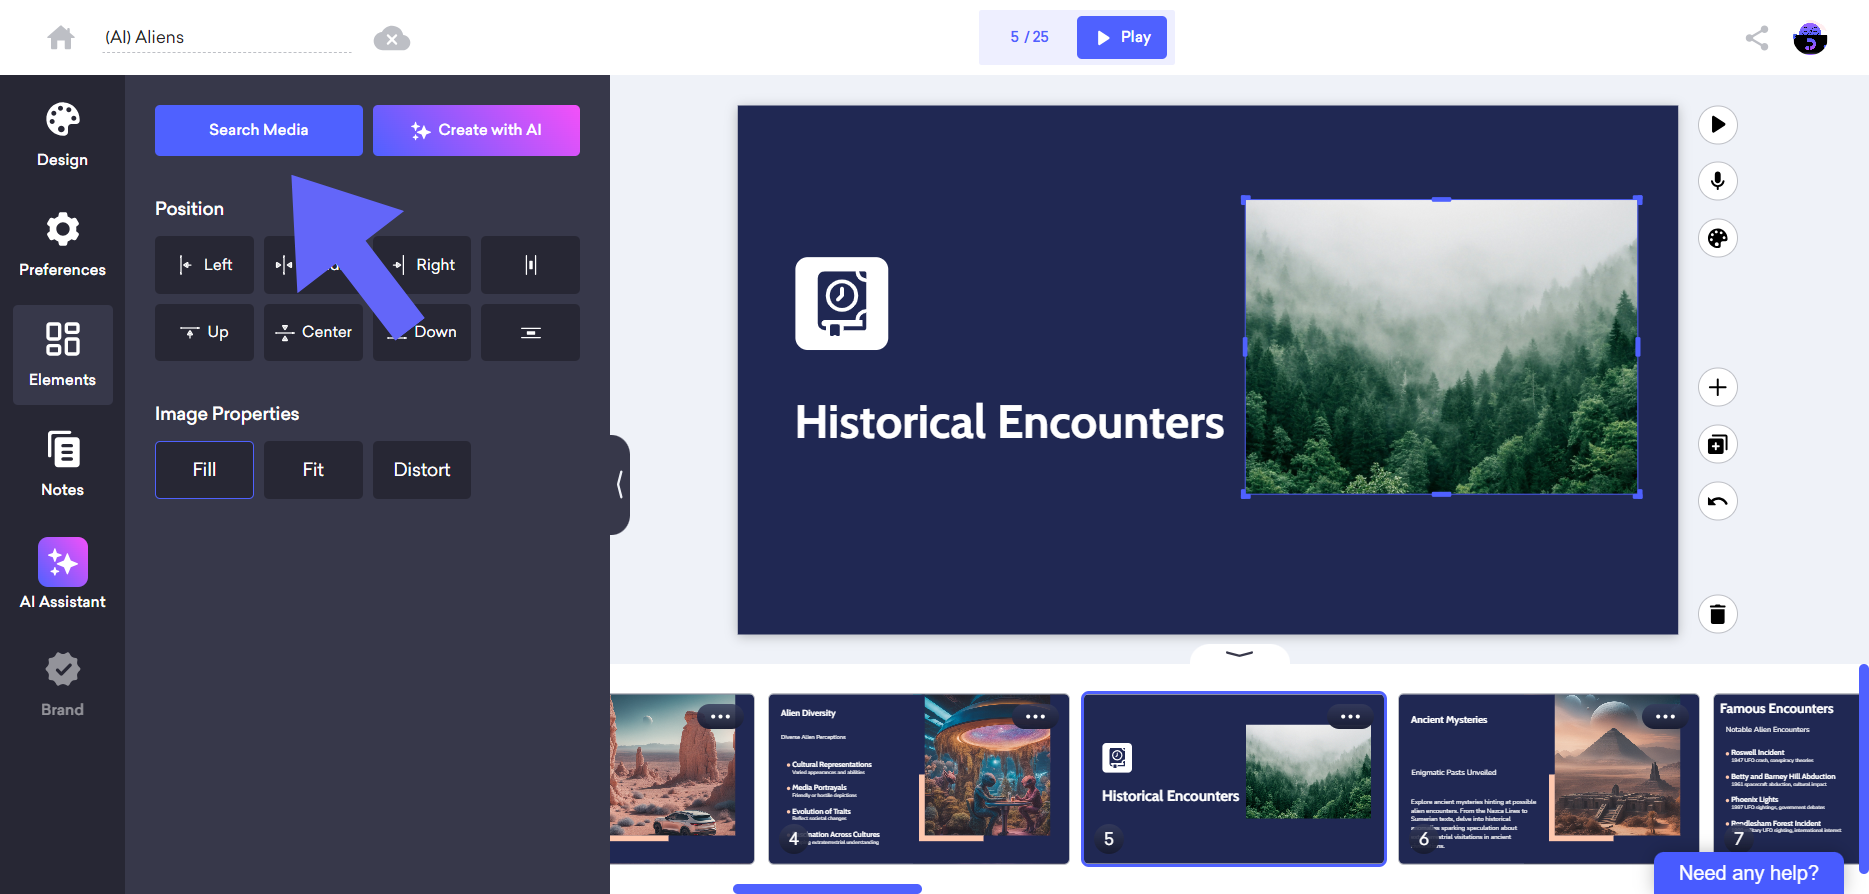
To modify the selected image, simply click on it within the slide and choose "Search Media" from the options.
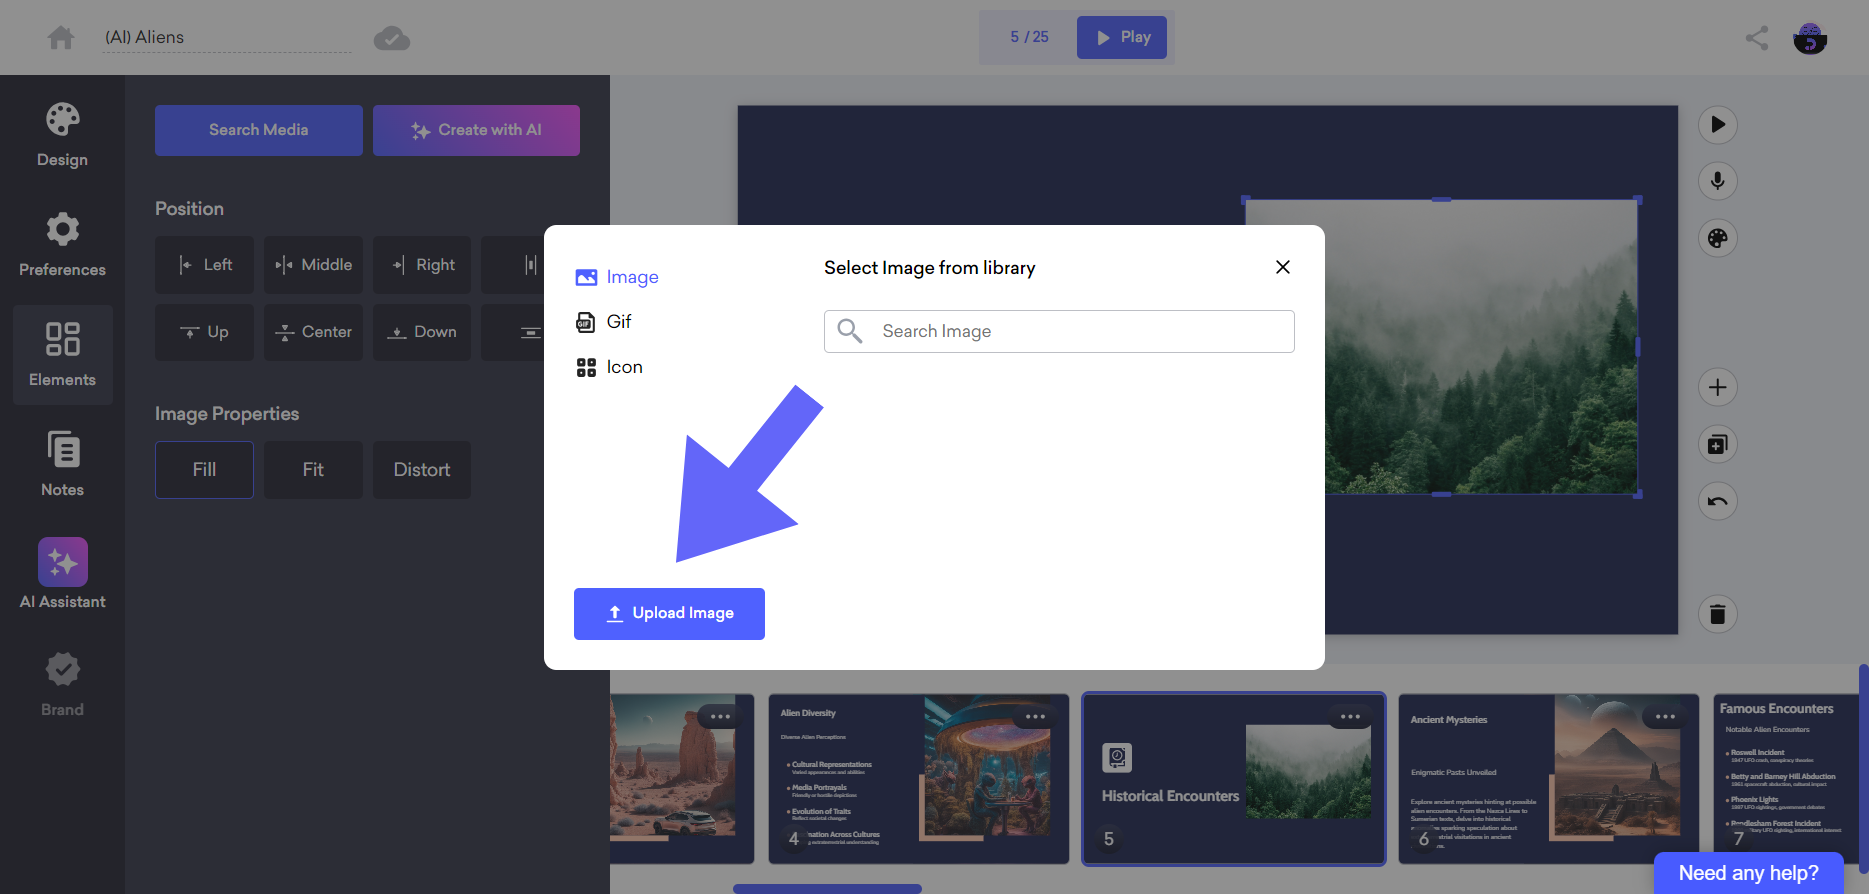
To import an image and utilize it, simply click on the "Upload Image" option, select the desired image, and seamlessly integrate it into your slide.
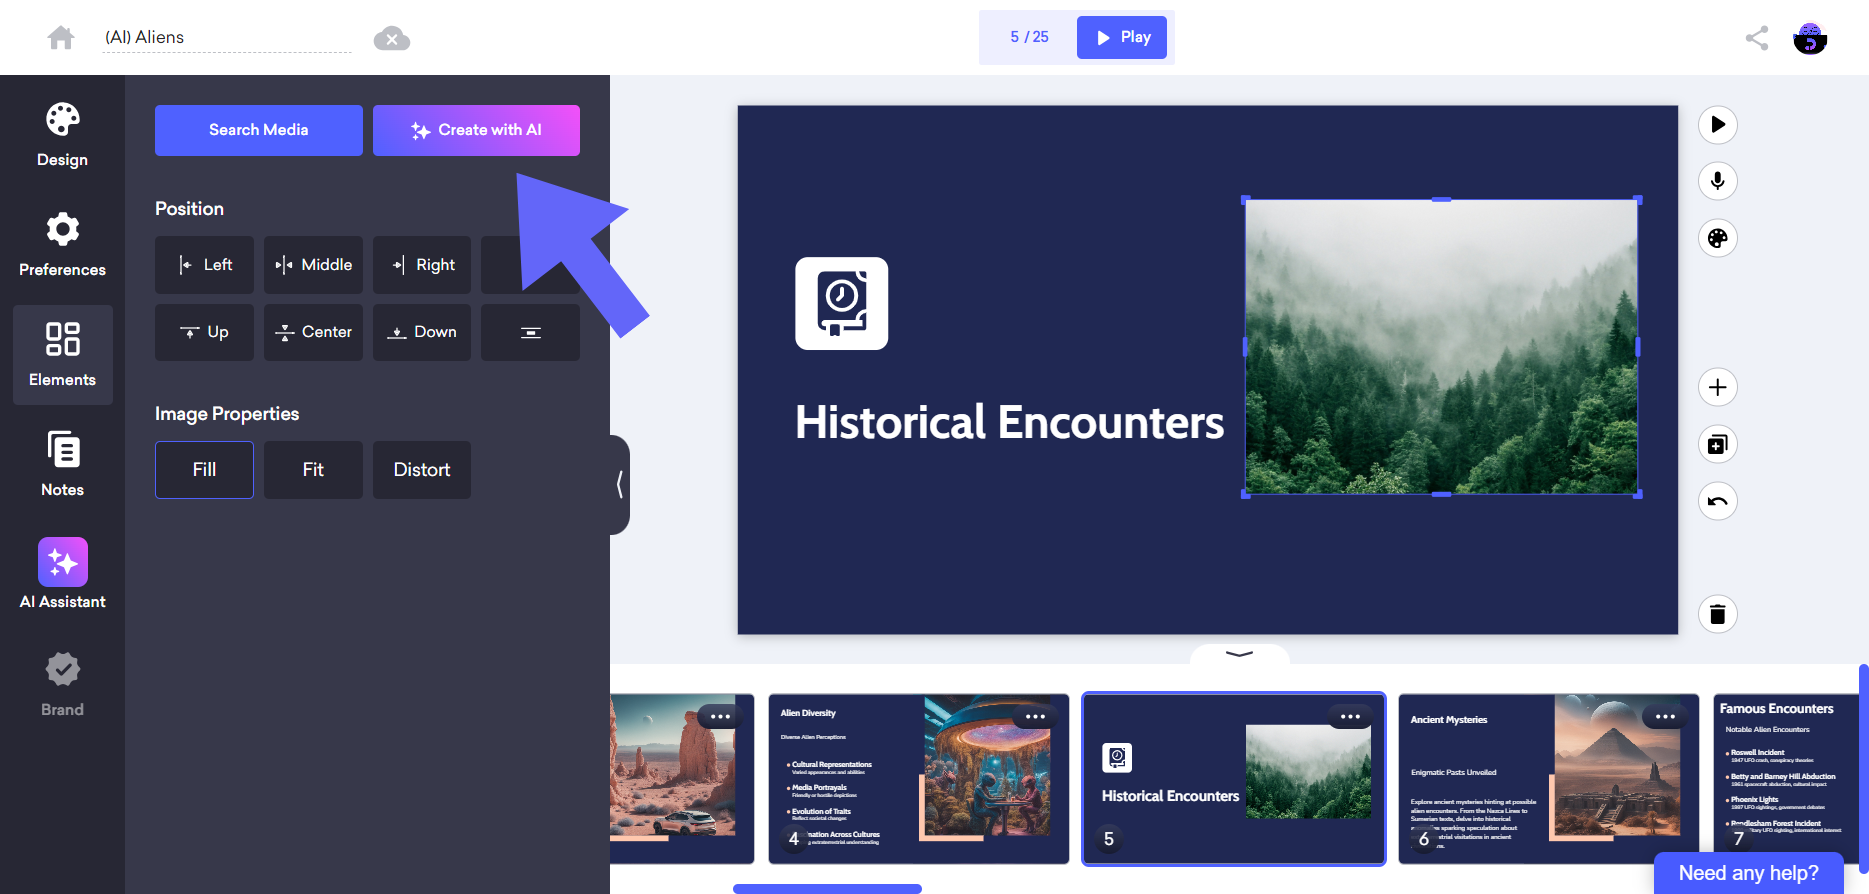
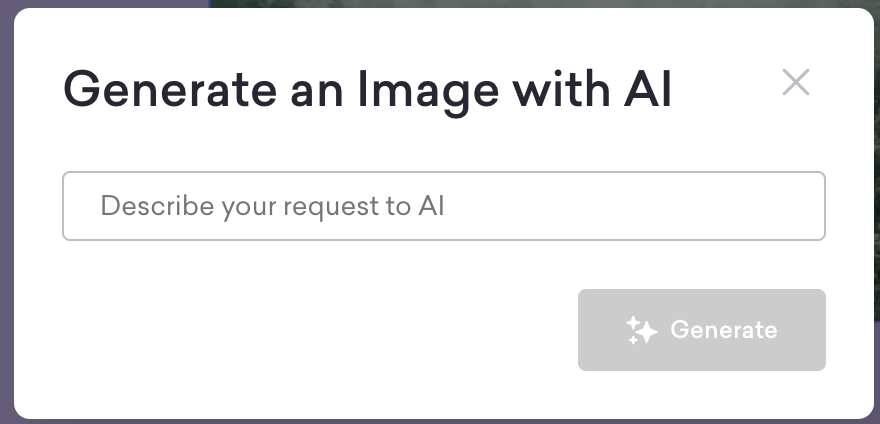
If you want to create your image with AI, simply click on it within the slide and choose "Create with AI" from the options. You can generate an image with AI when you describe it in the opened window and click the ''Generate'' button.
This versatile feature allows you to adjust the roundness of the corners of images in your presentations. With just a few clicks, you can enhance the visual appeal of your slides, adding a touch of sophistication or playfulness, depending on your preference.
Click on your image to find the Corner Radius option.
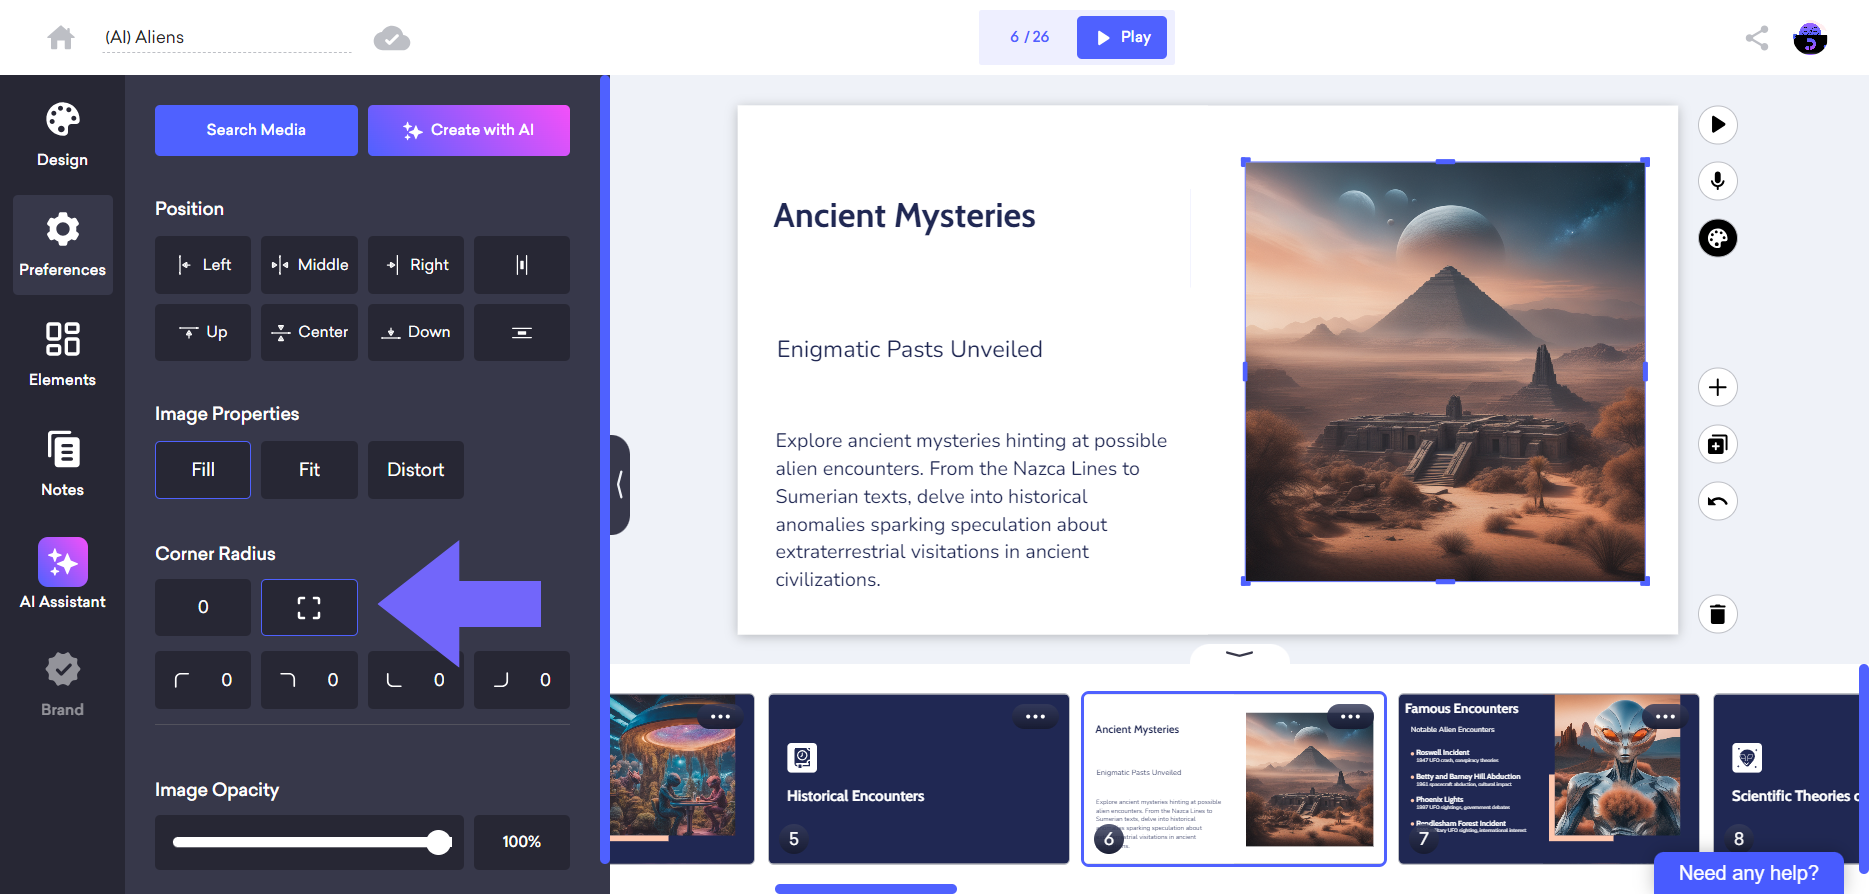
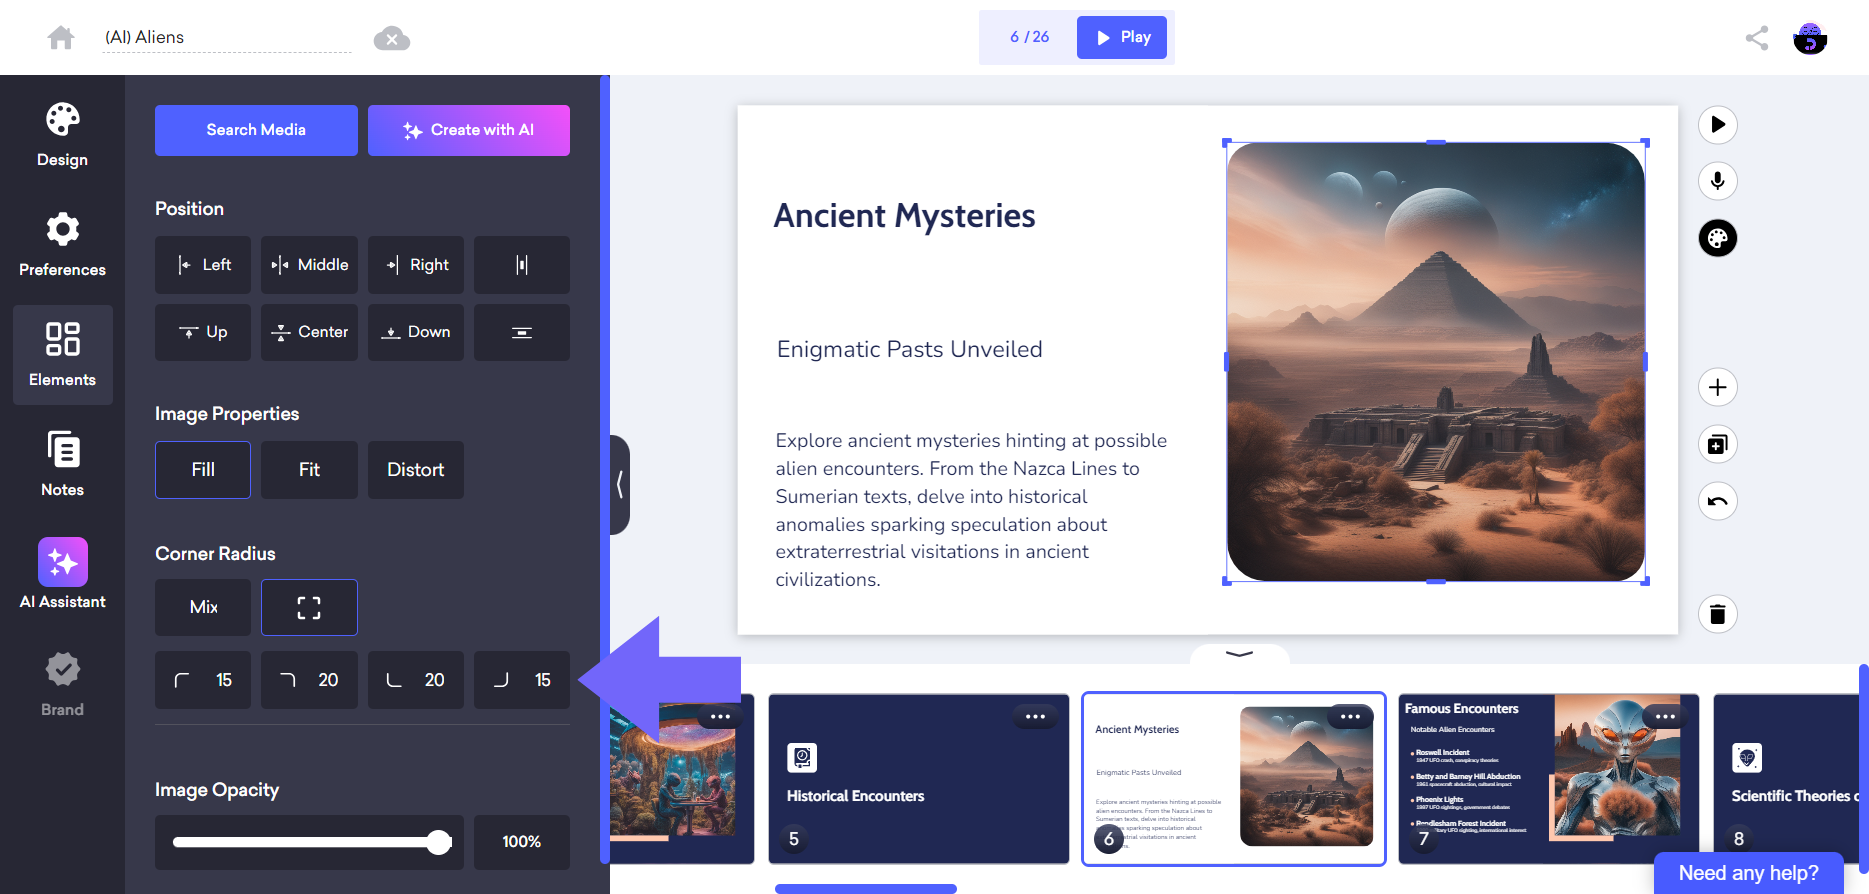
You can soften all corners equally by entering a single number, or customize the images in your presentations by entering the number you want for each corner.
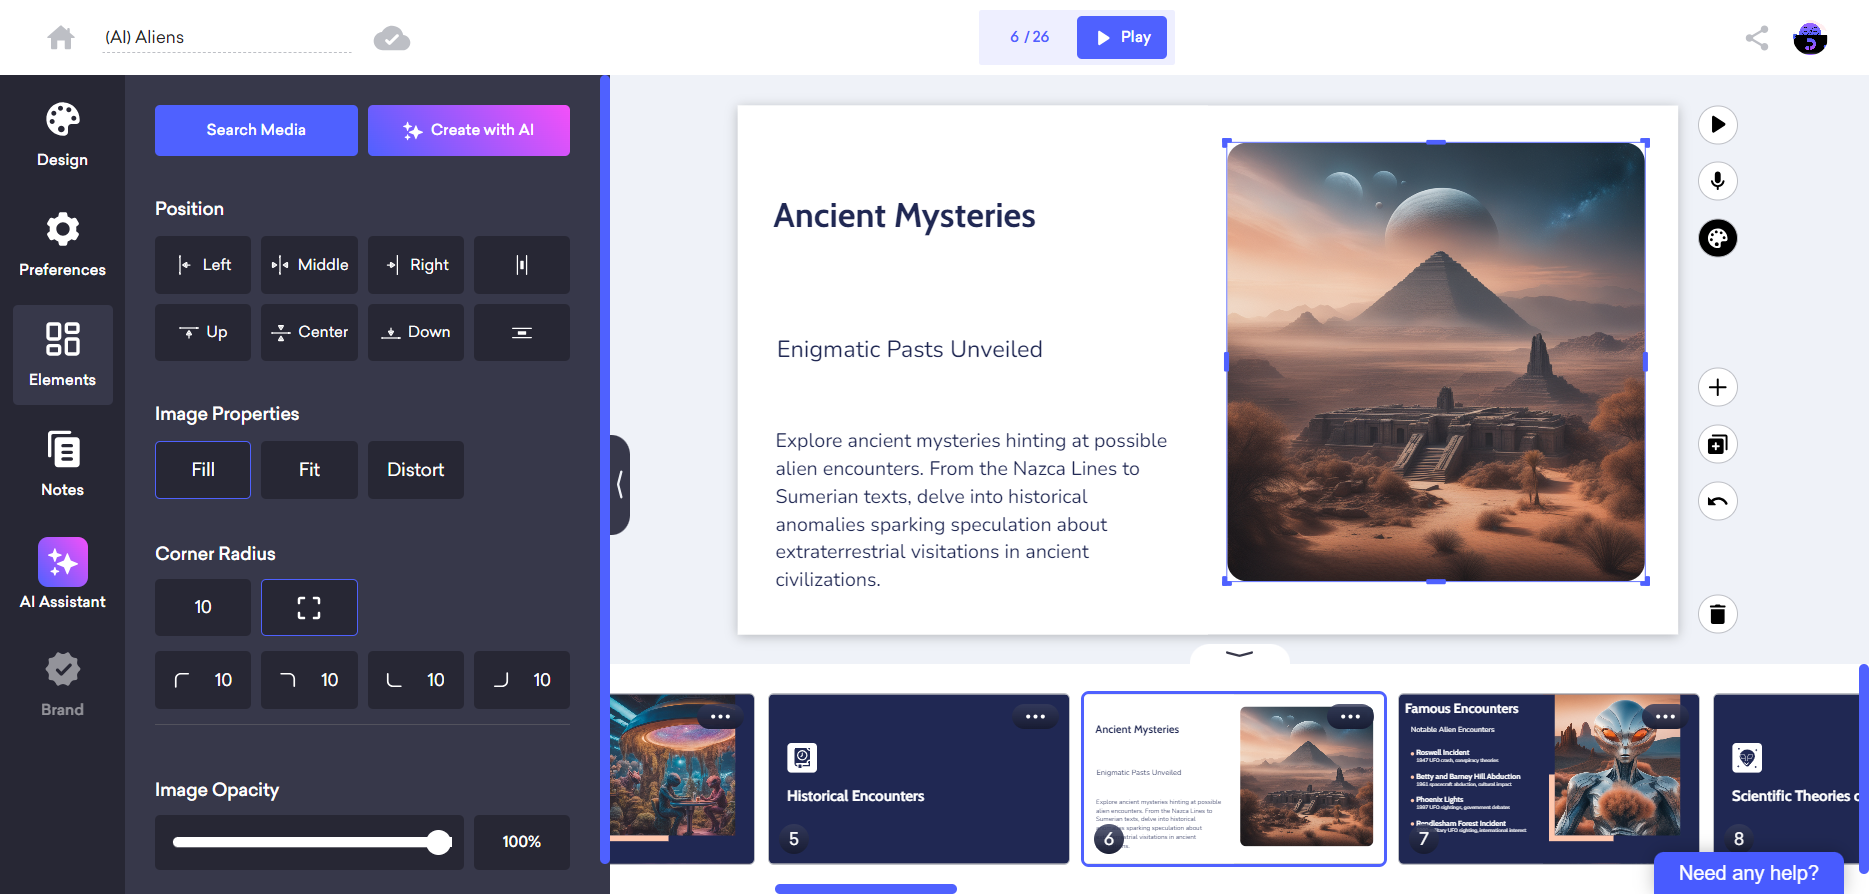
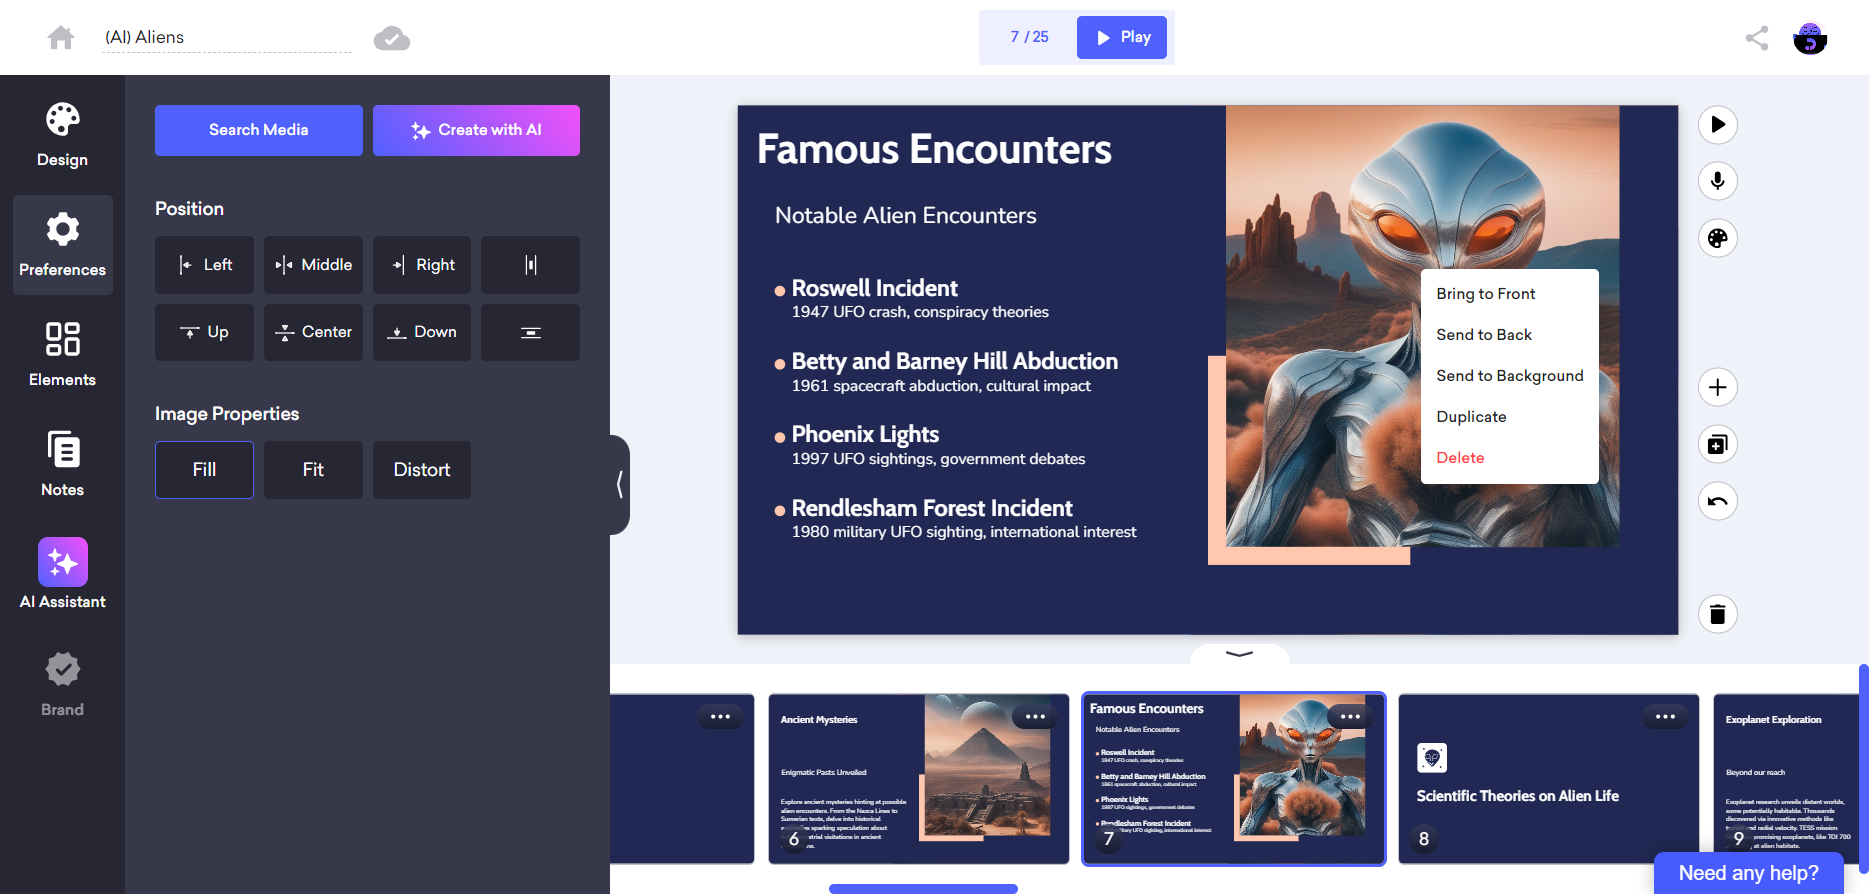
To choose the positioning of the media element, you have the flexibility of using the available options in the editing panel at the left of your screen.
You can bring the media element to the front, send it to the back, copy or delete it by right-clicking on your mouse.
To modify the properties of the media element you choose, you have the ability to adjust its fill, fit, or distortion using the available options in the sidebar menu.
That's all.
If you require any additional assistance, please do not hesitate to reach out to us!