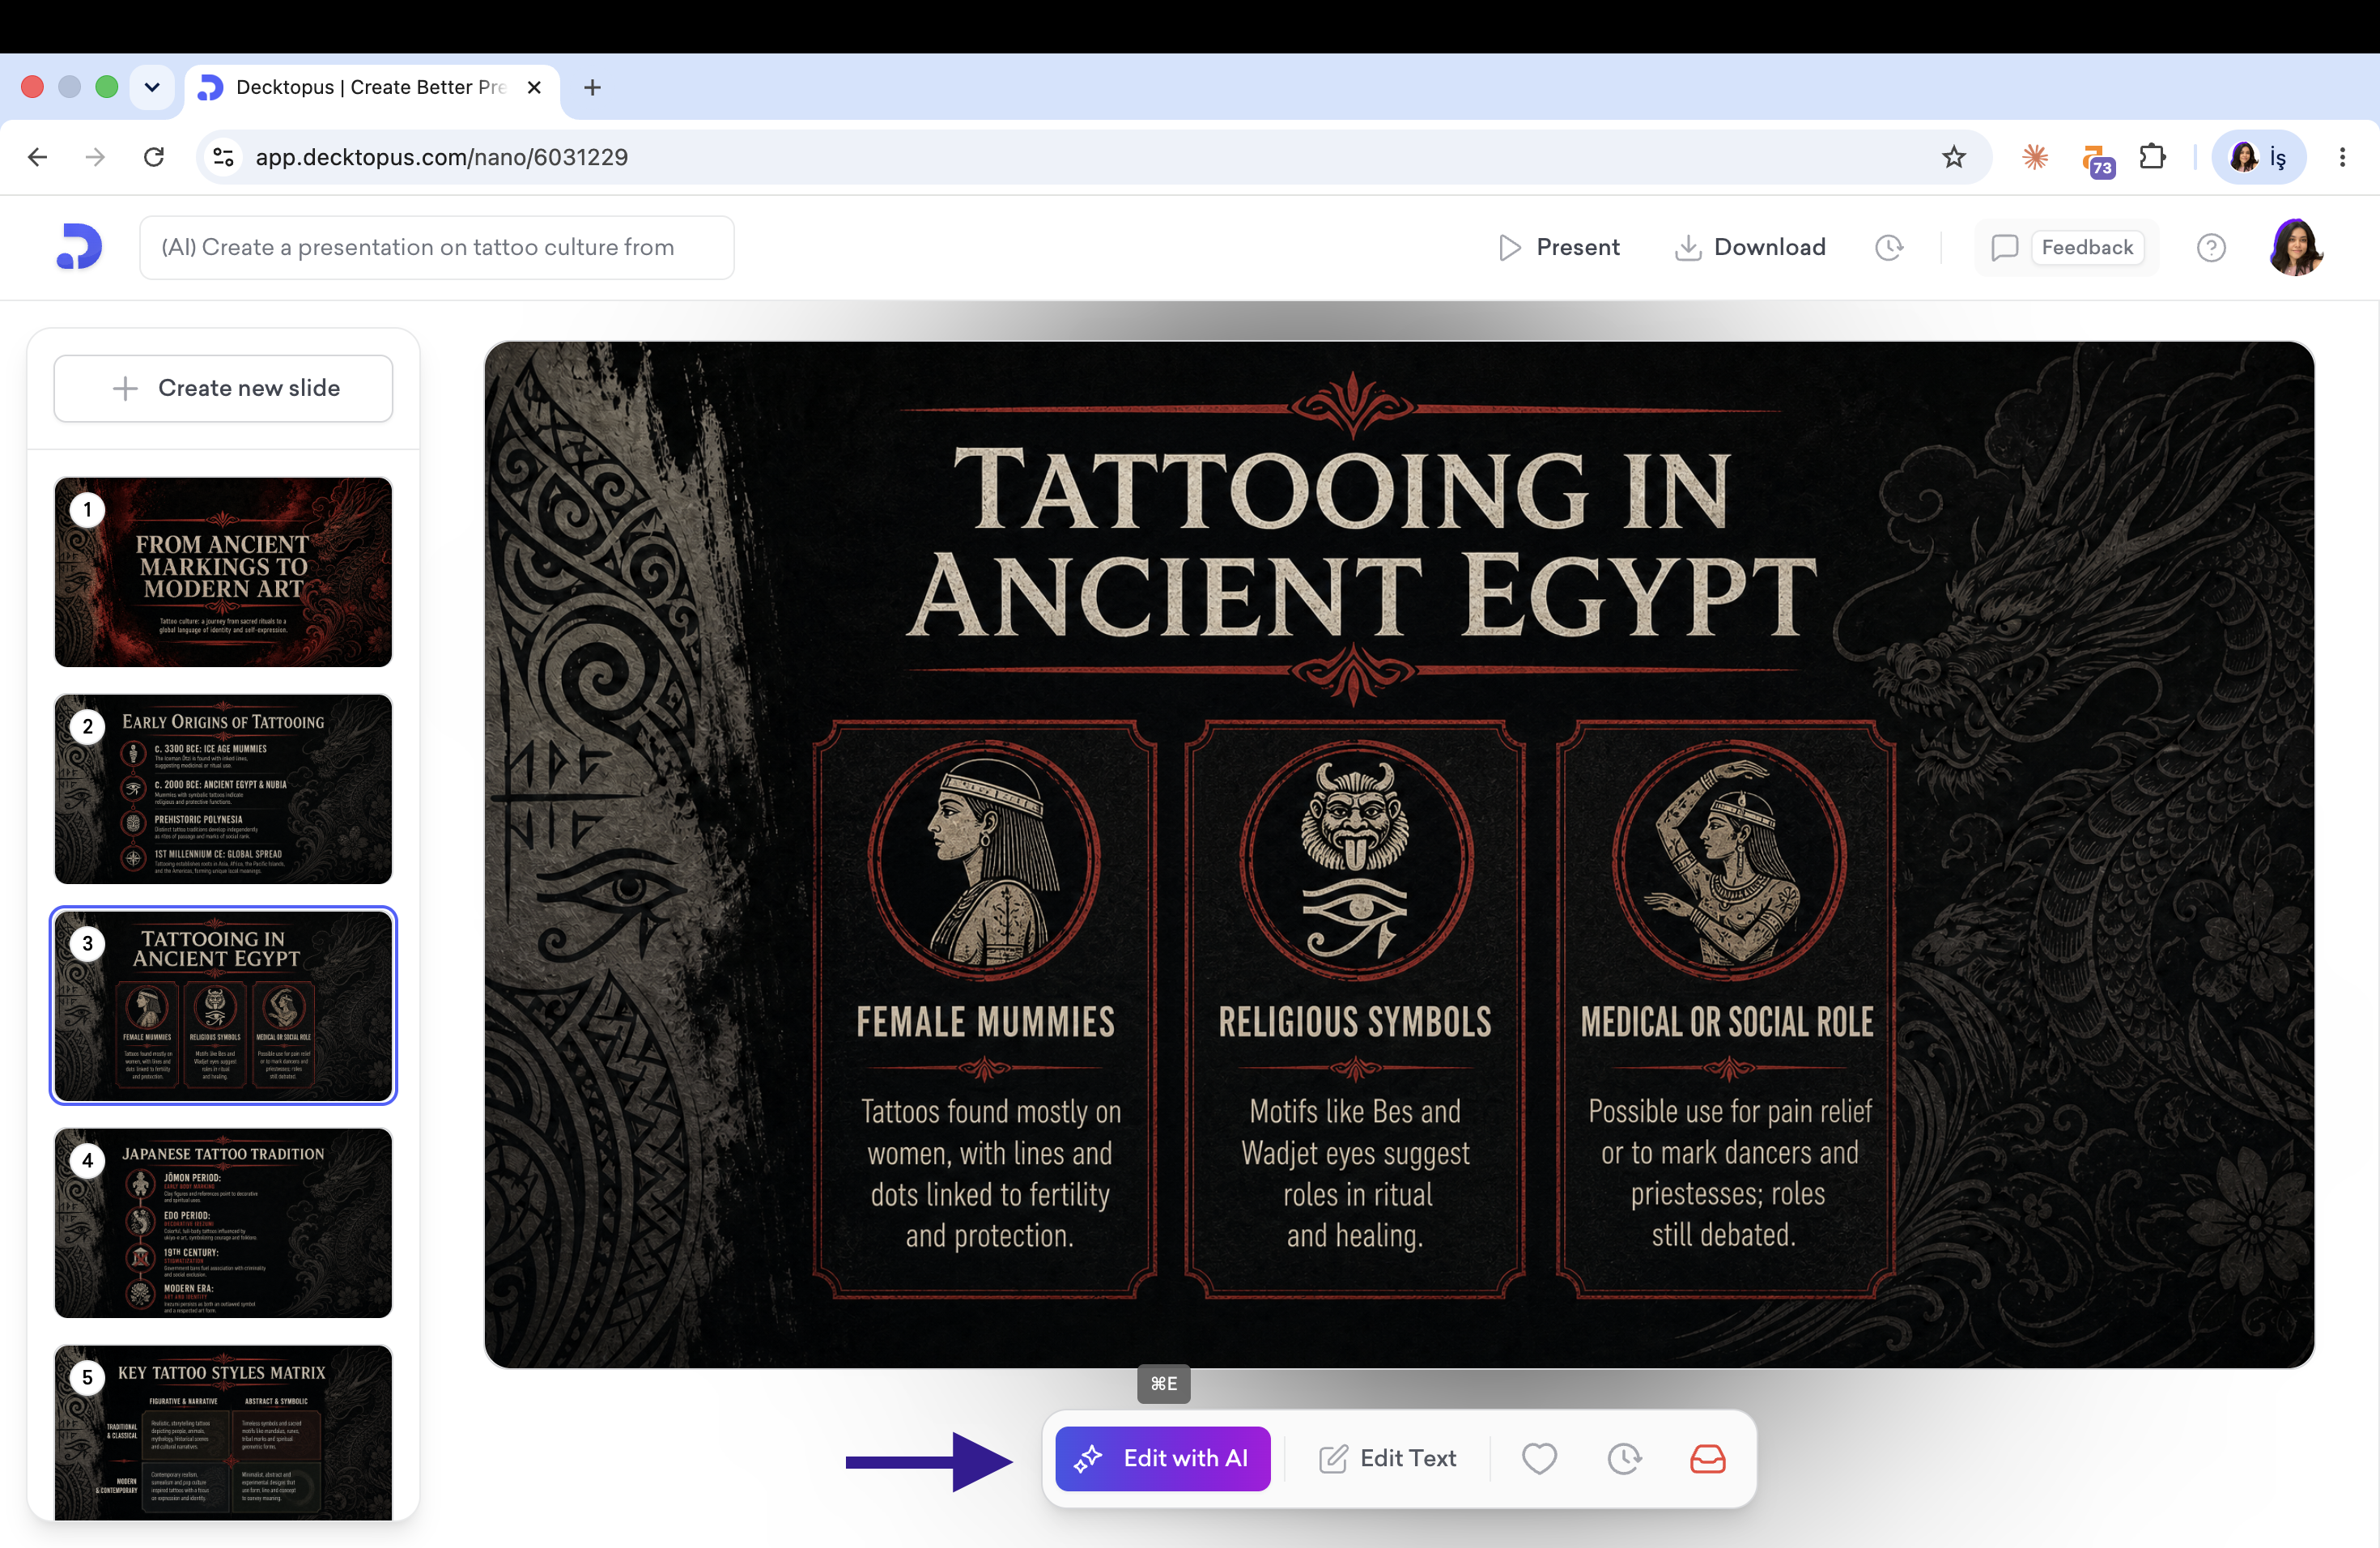
There are three ways to change an image in your slide. All of them start from the AI Assistant:
Open your presentation, select the slide, and click Edit with AI in the toolbar below the slide. This opens the AI Assistant panel on the right.
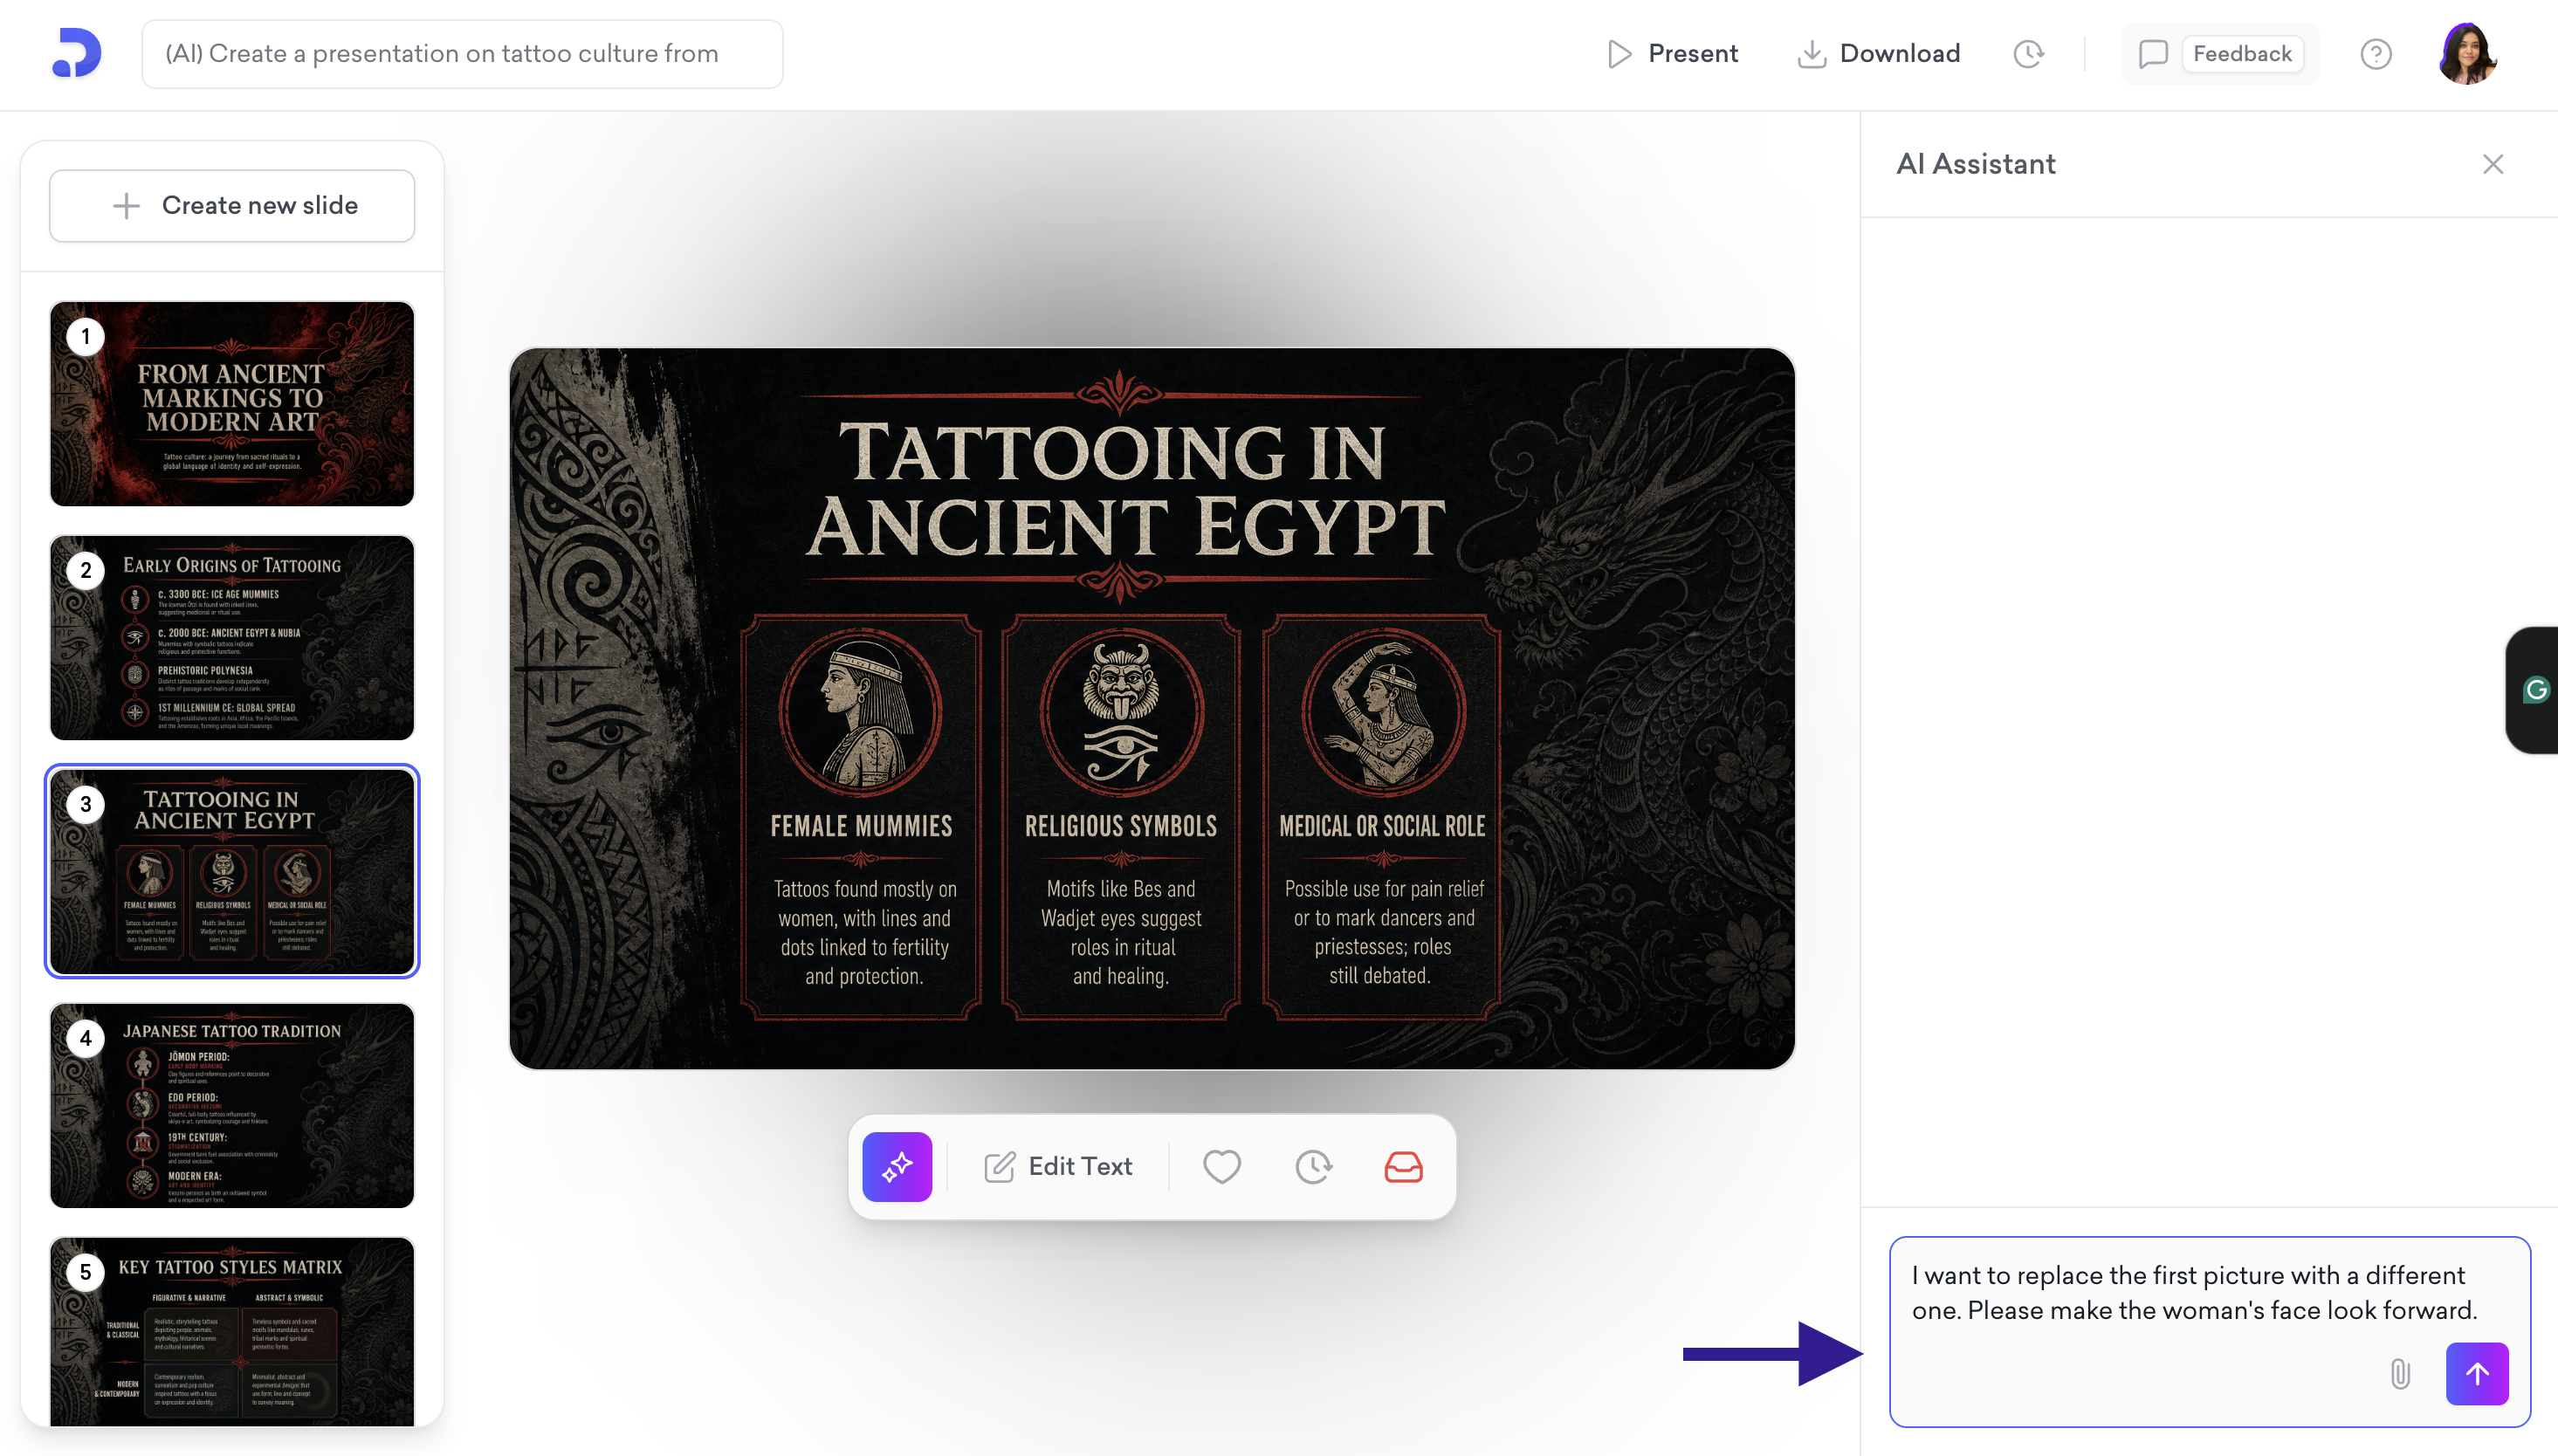
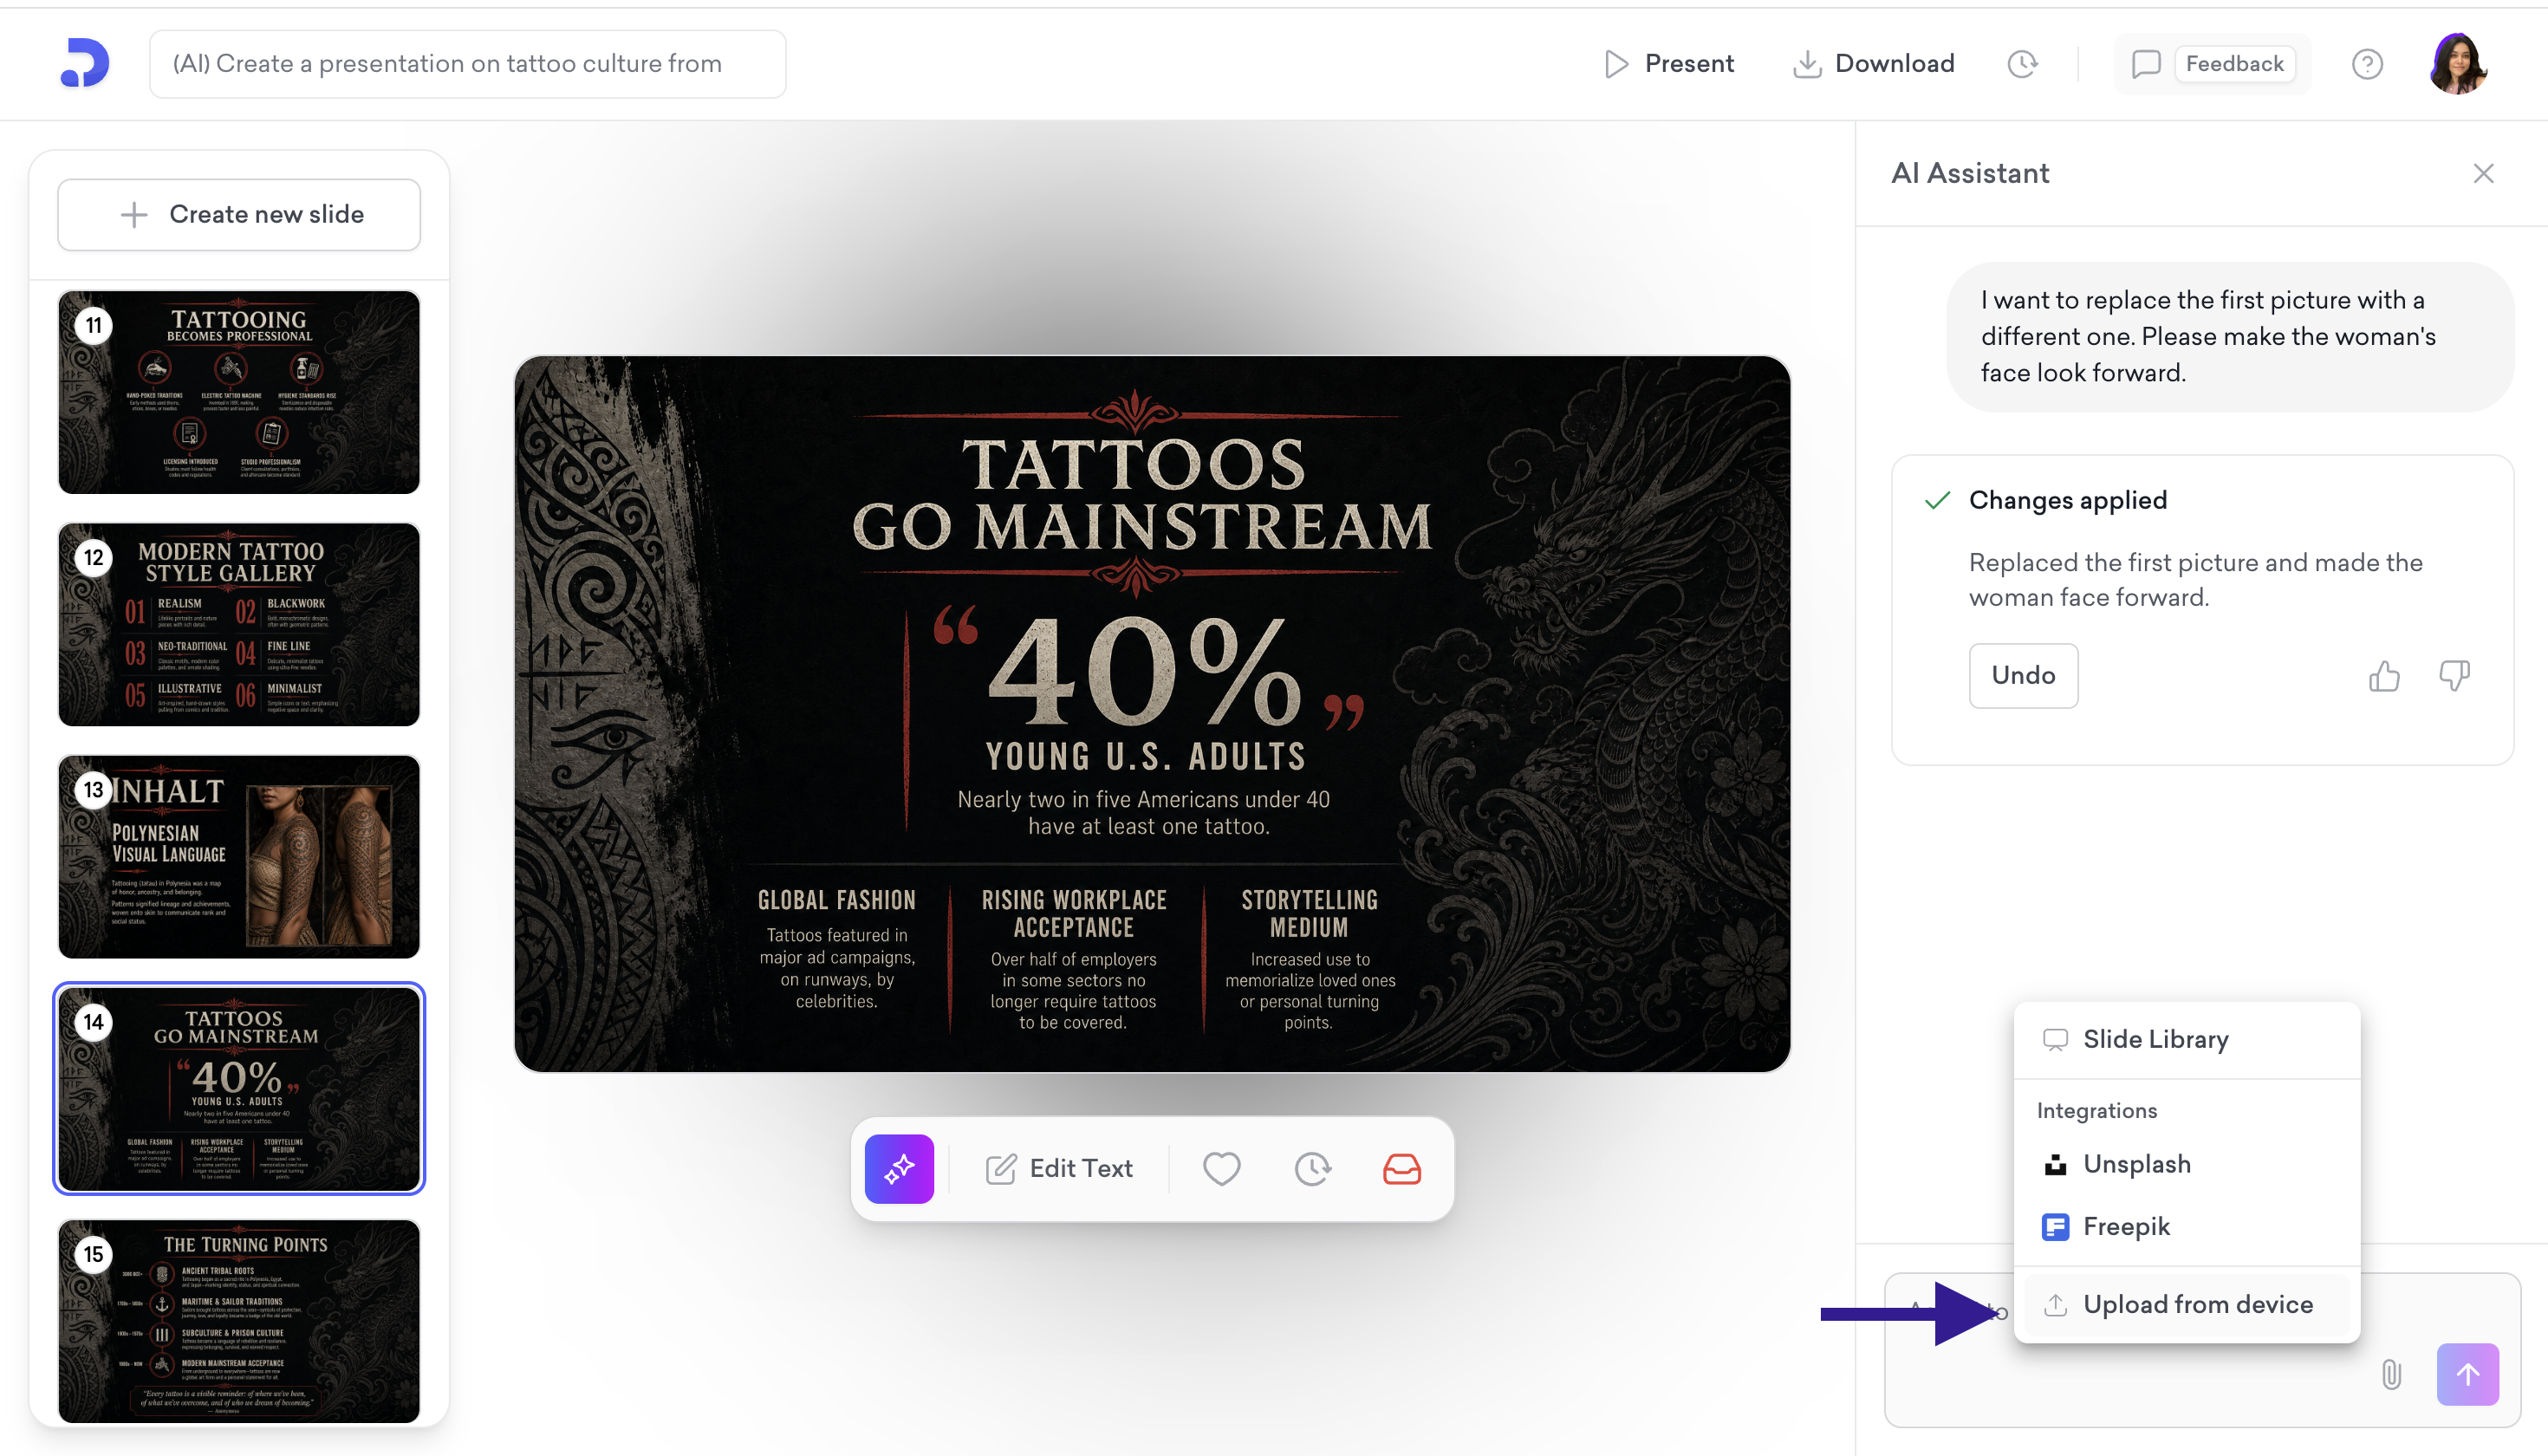
Type what you want into the chat box. For example: "I want to replace the first picture with a different one. Please make the woman's face look forward."
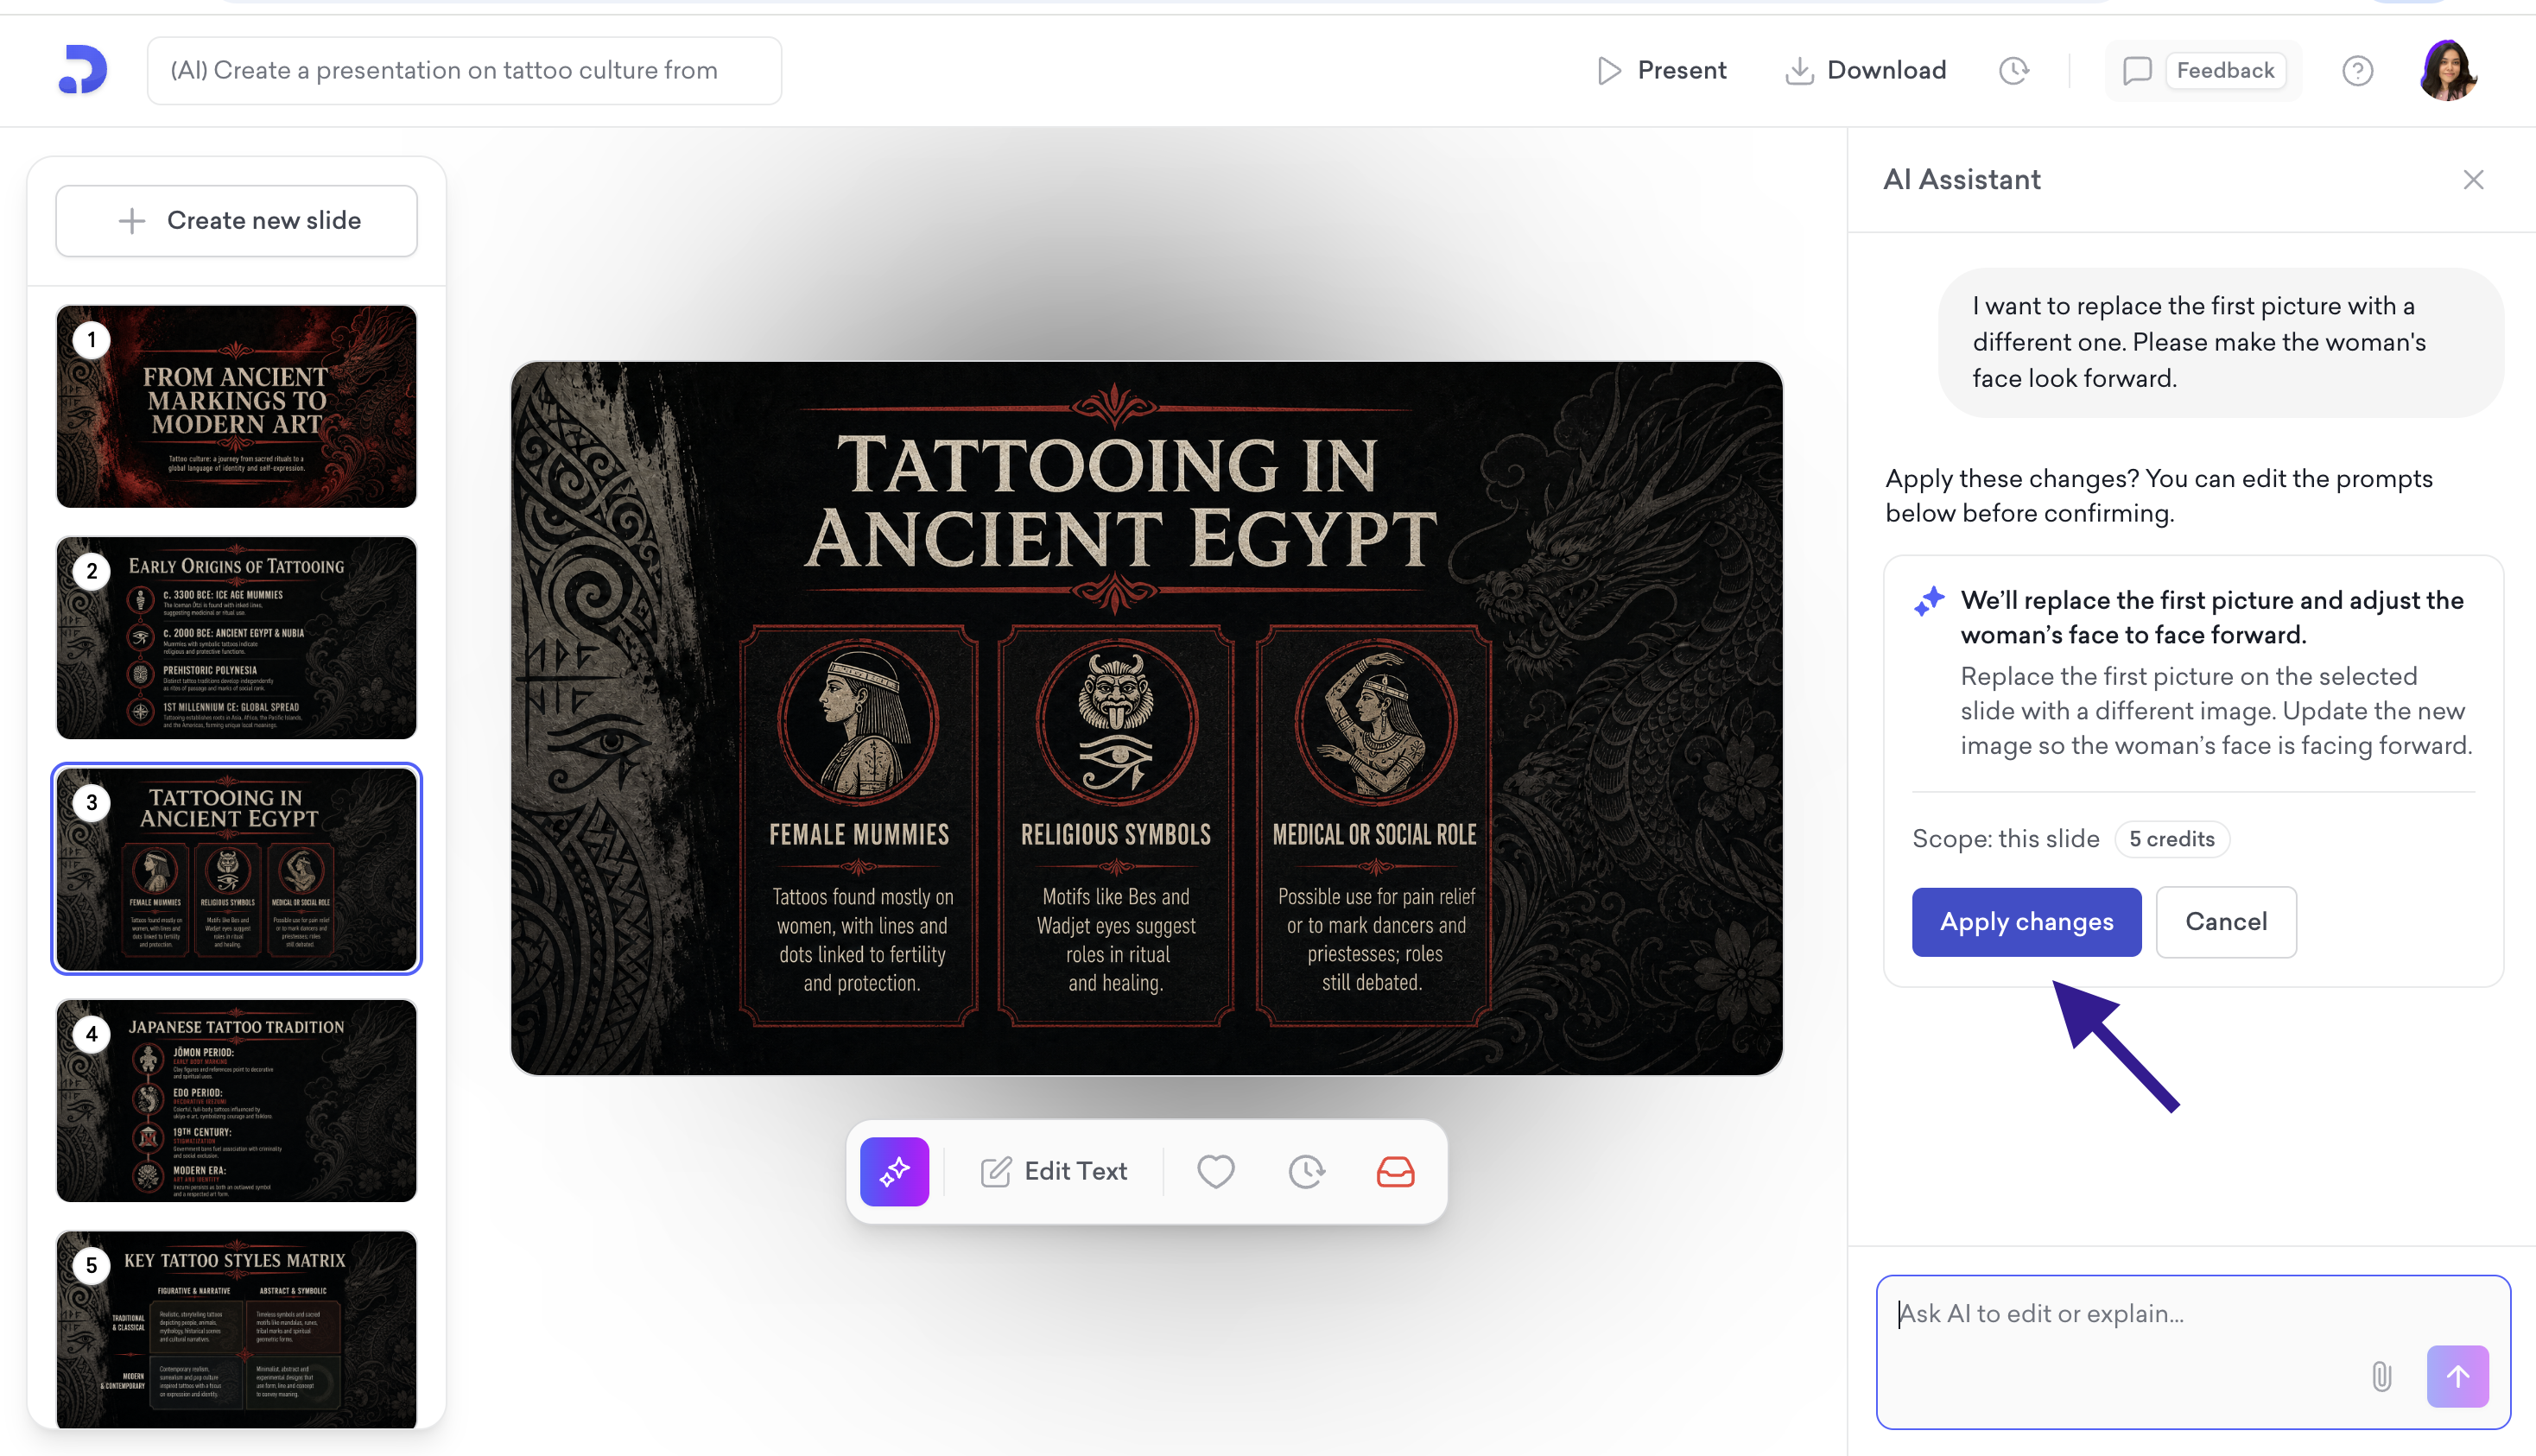
The AI Assistant will show you a summary of the change before applying it. You can edit the prompt before confirming.
Click Apply changes.
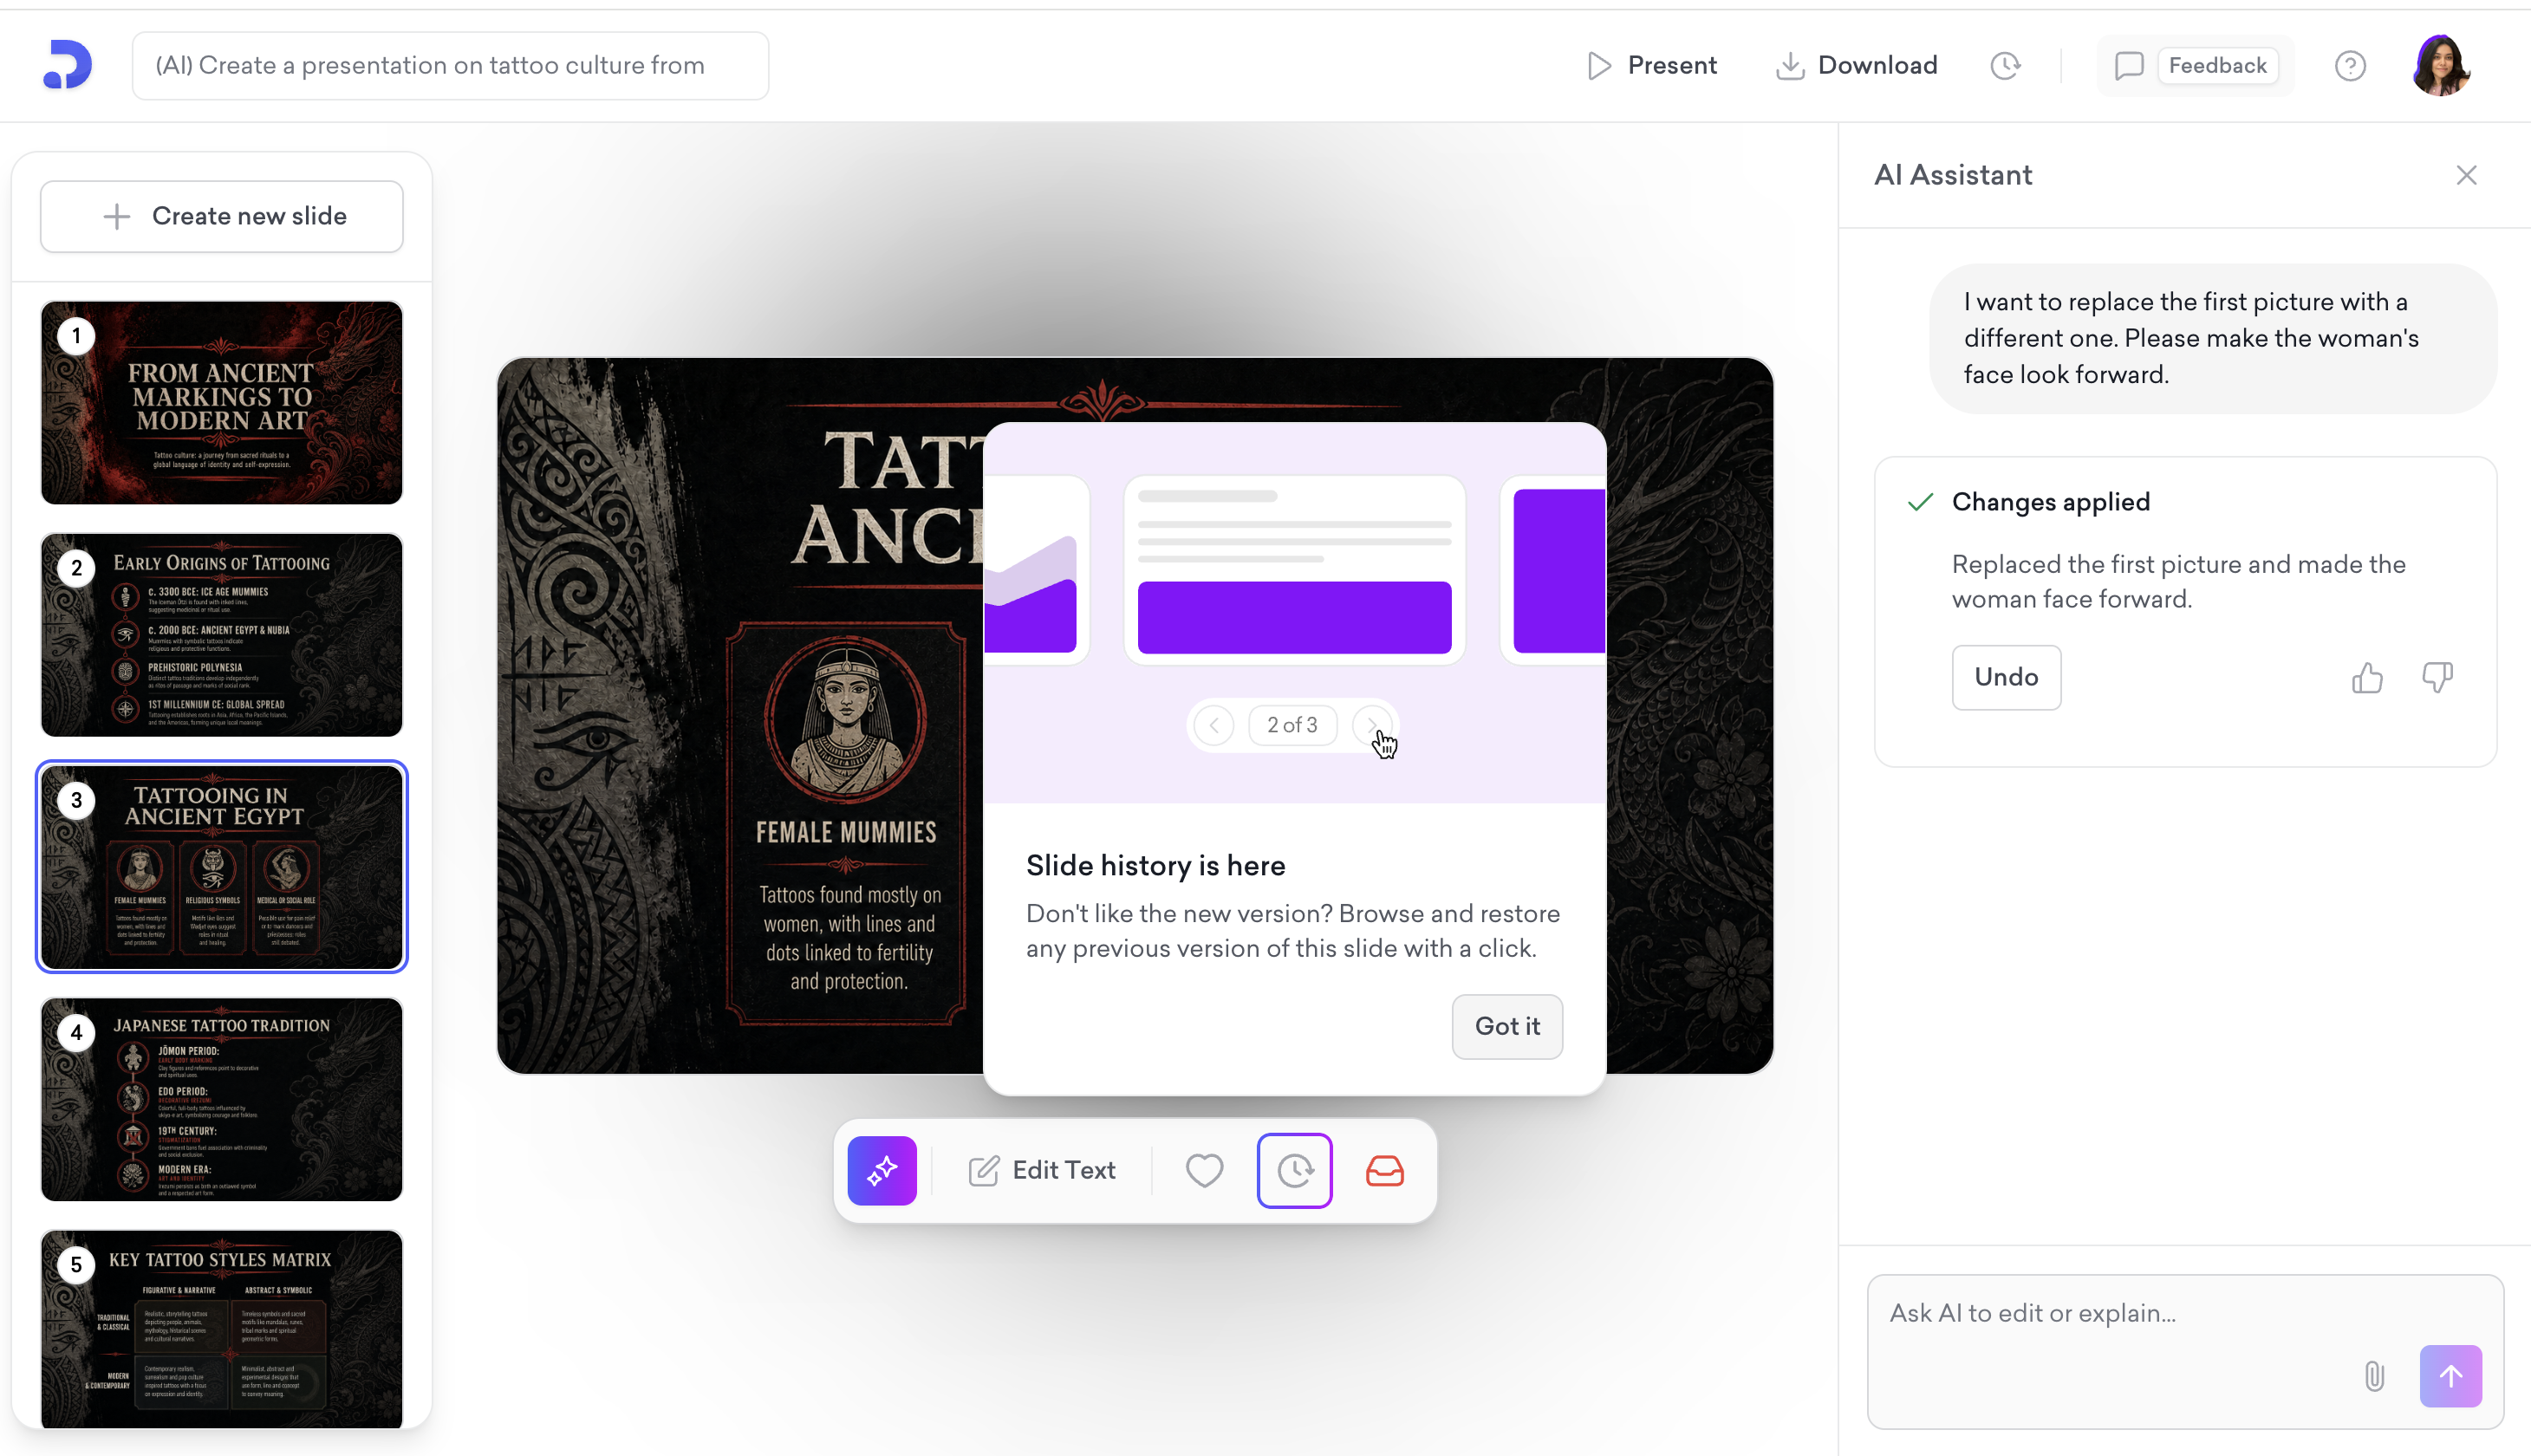
That's it! You'll see a "Changes applied" confirmation. If you don't like the result, click Undo, or use the slide history icon in the toolbar to browse and restore any previous version of the slide.
Click the attachment (paperclip) icon in the chat box and select Upload from device.
Choose your photo, then tell the AI what to do with it, such as "Use this image in this slide."

Review the change and click Apply changes.
Your image will replace the existing one while keeping the rest of the slide unchanged.
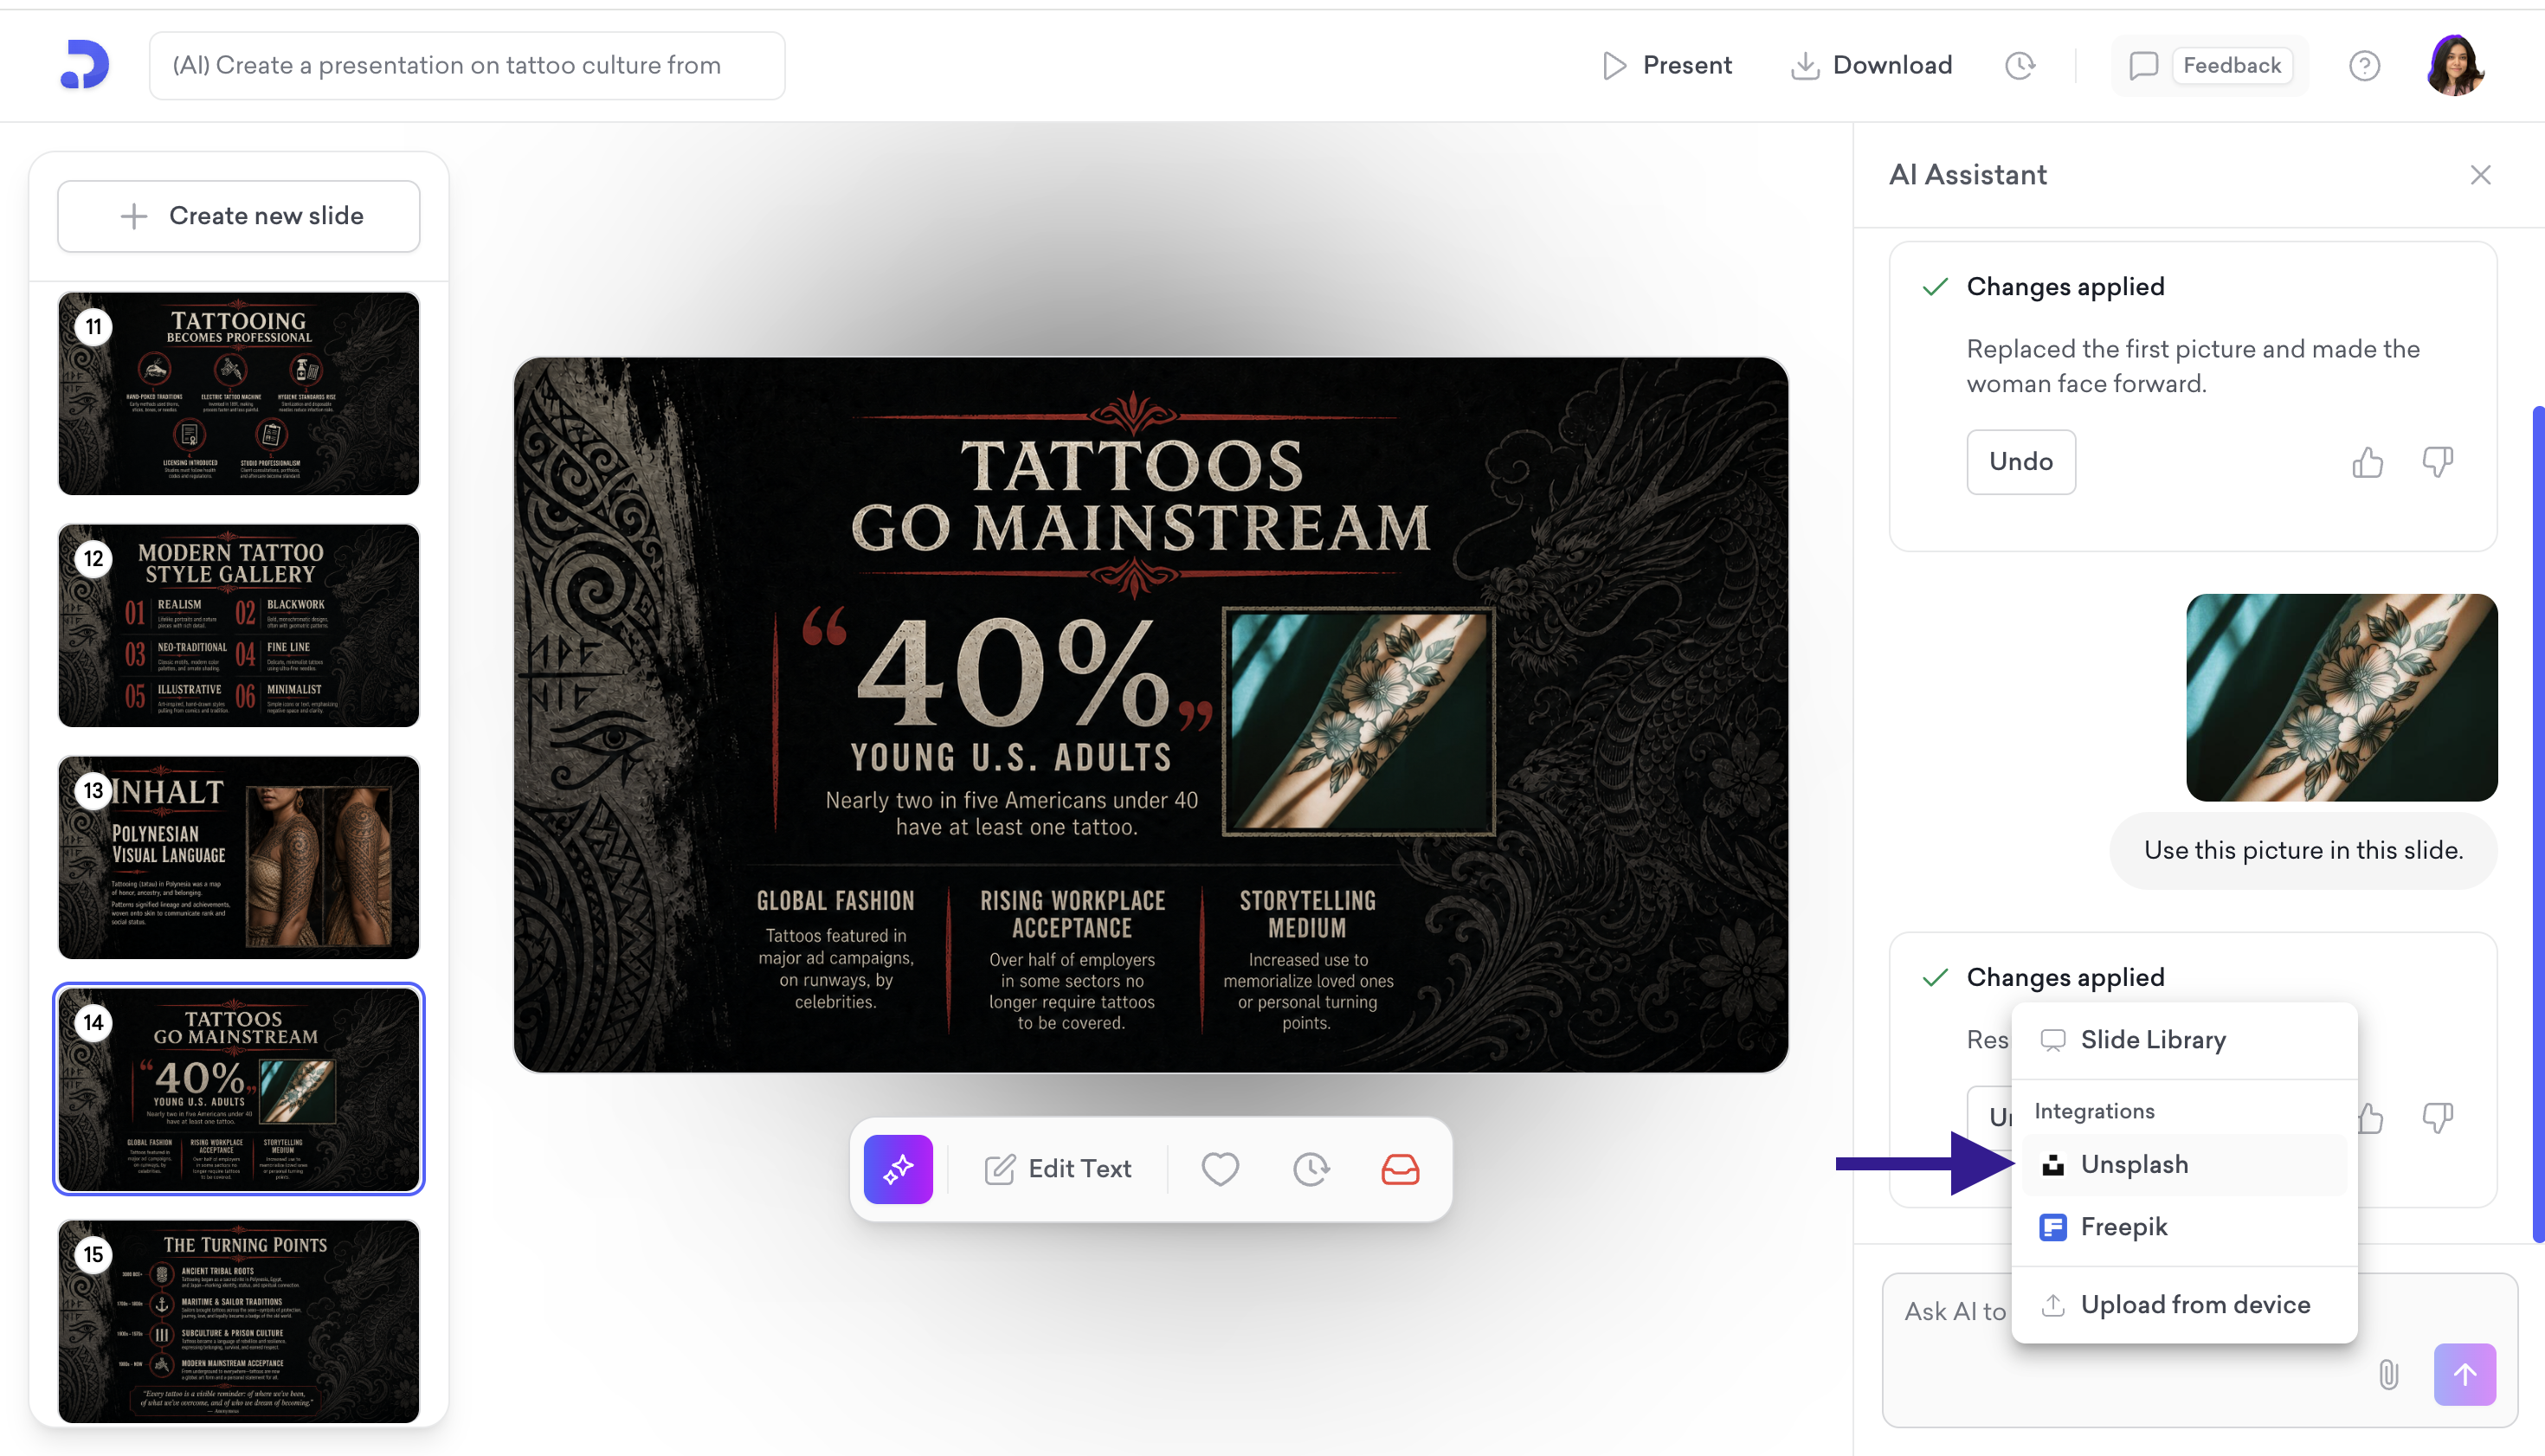
Click the attachment (paperclip) icon and choose Unsplash or Freepik under Integrations.
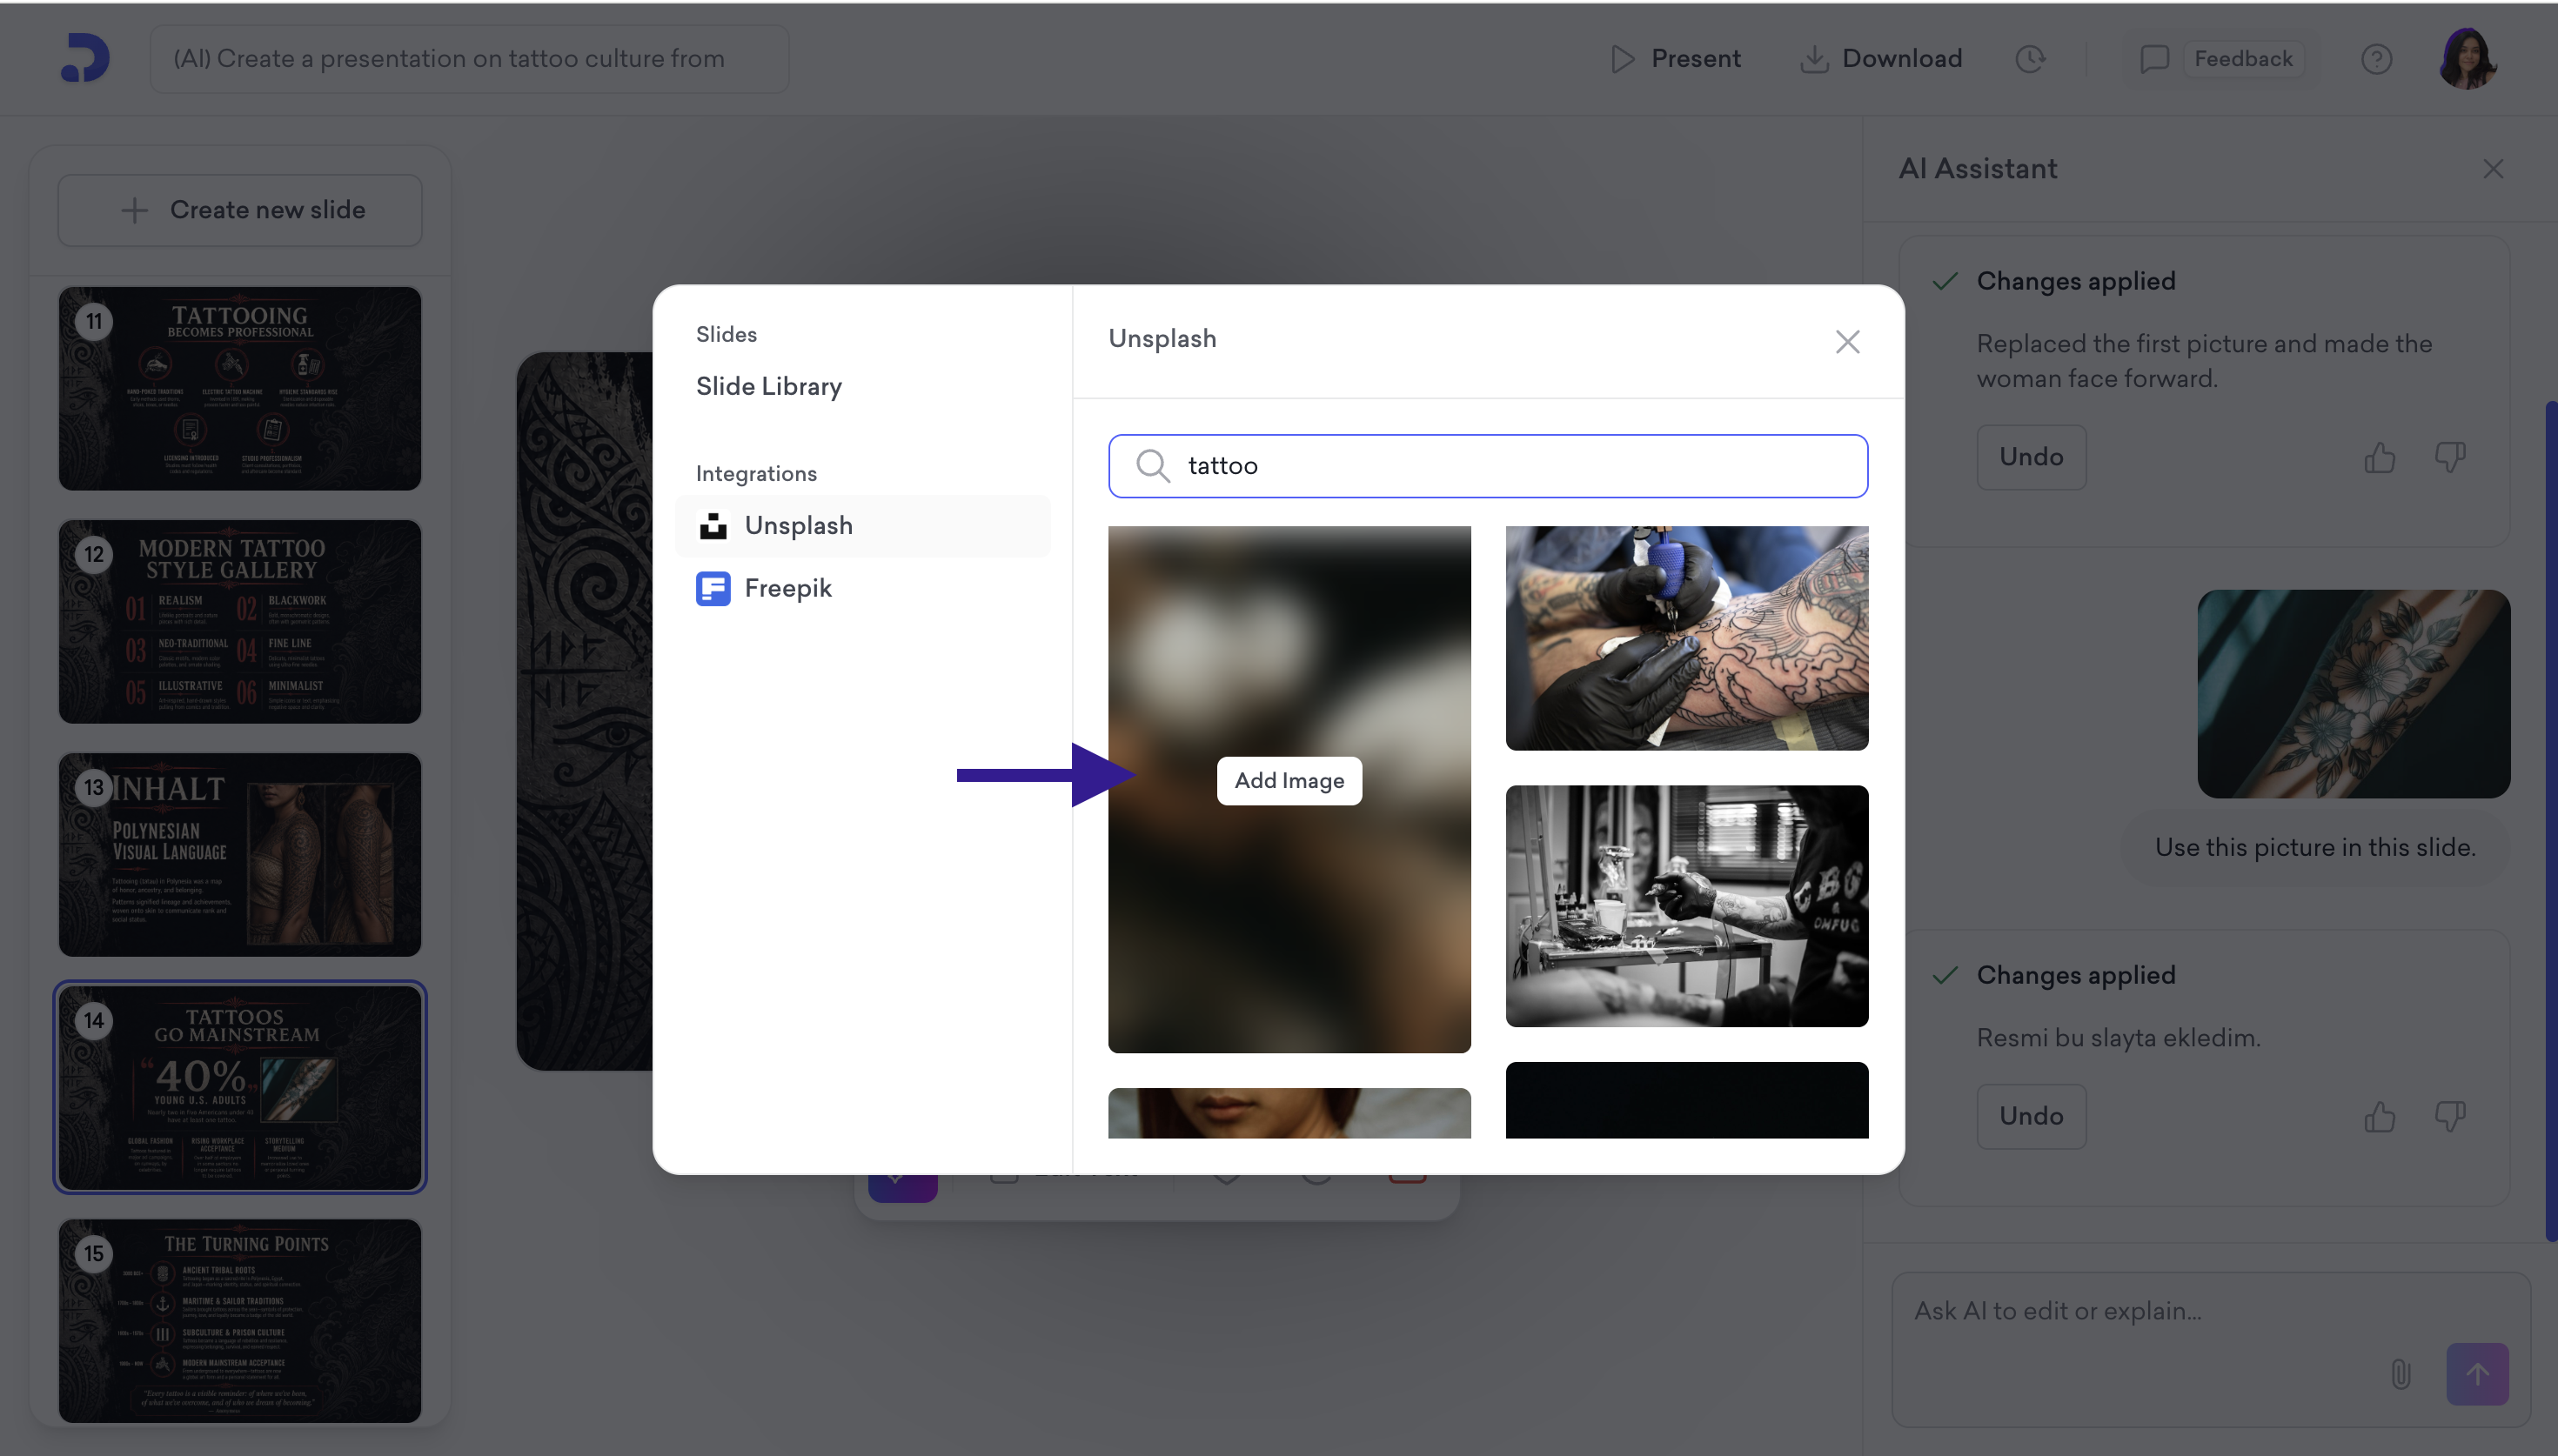
Search for the image you want (e.g., "tattoo") and hover over a result to click Add Image.
The image will be attached to your message. Send it with a prompt like "Use this picture in this slide," then apply the changes.
Please note that AI edits use credits from your plan. The credit cost is shown next to the scope before you apply the change.
That's all!
If you require any additional help, feel free to contact us at [email protected].
