
Open a presentation and select a slide
Click Edit with AI at the bottom of the screen
The AI Assistant panel opens on the right
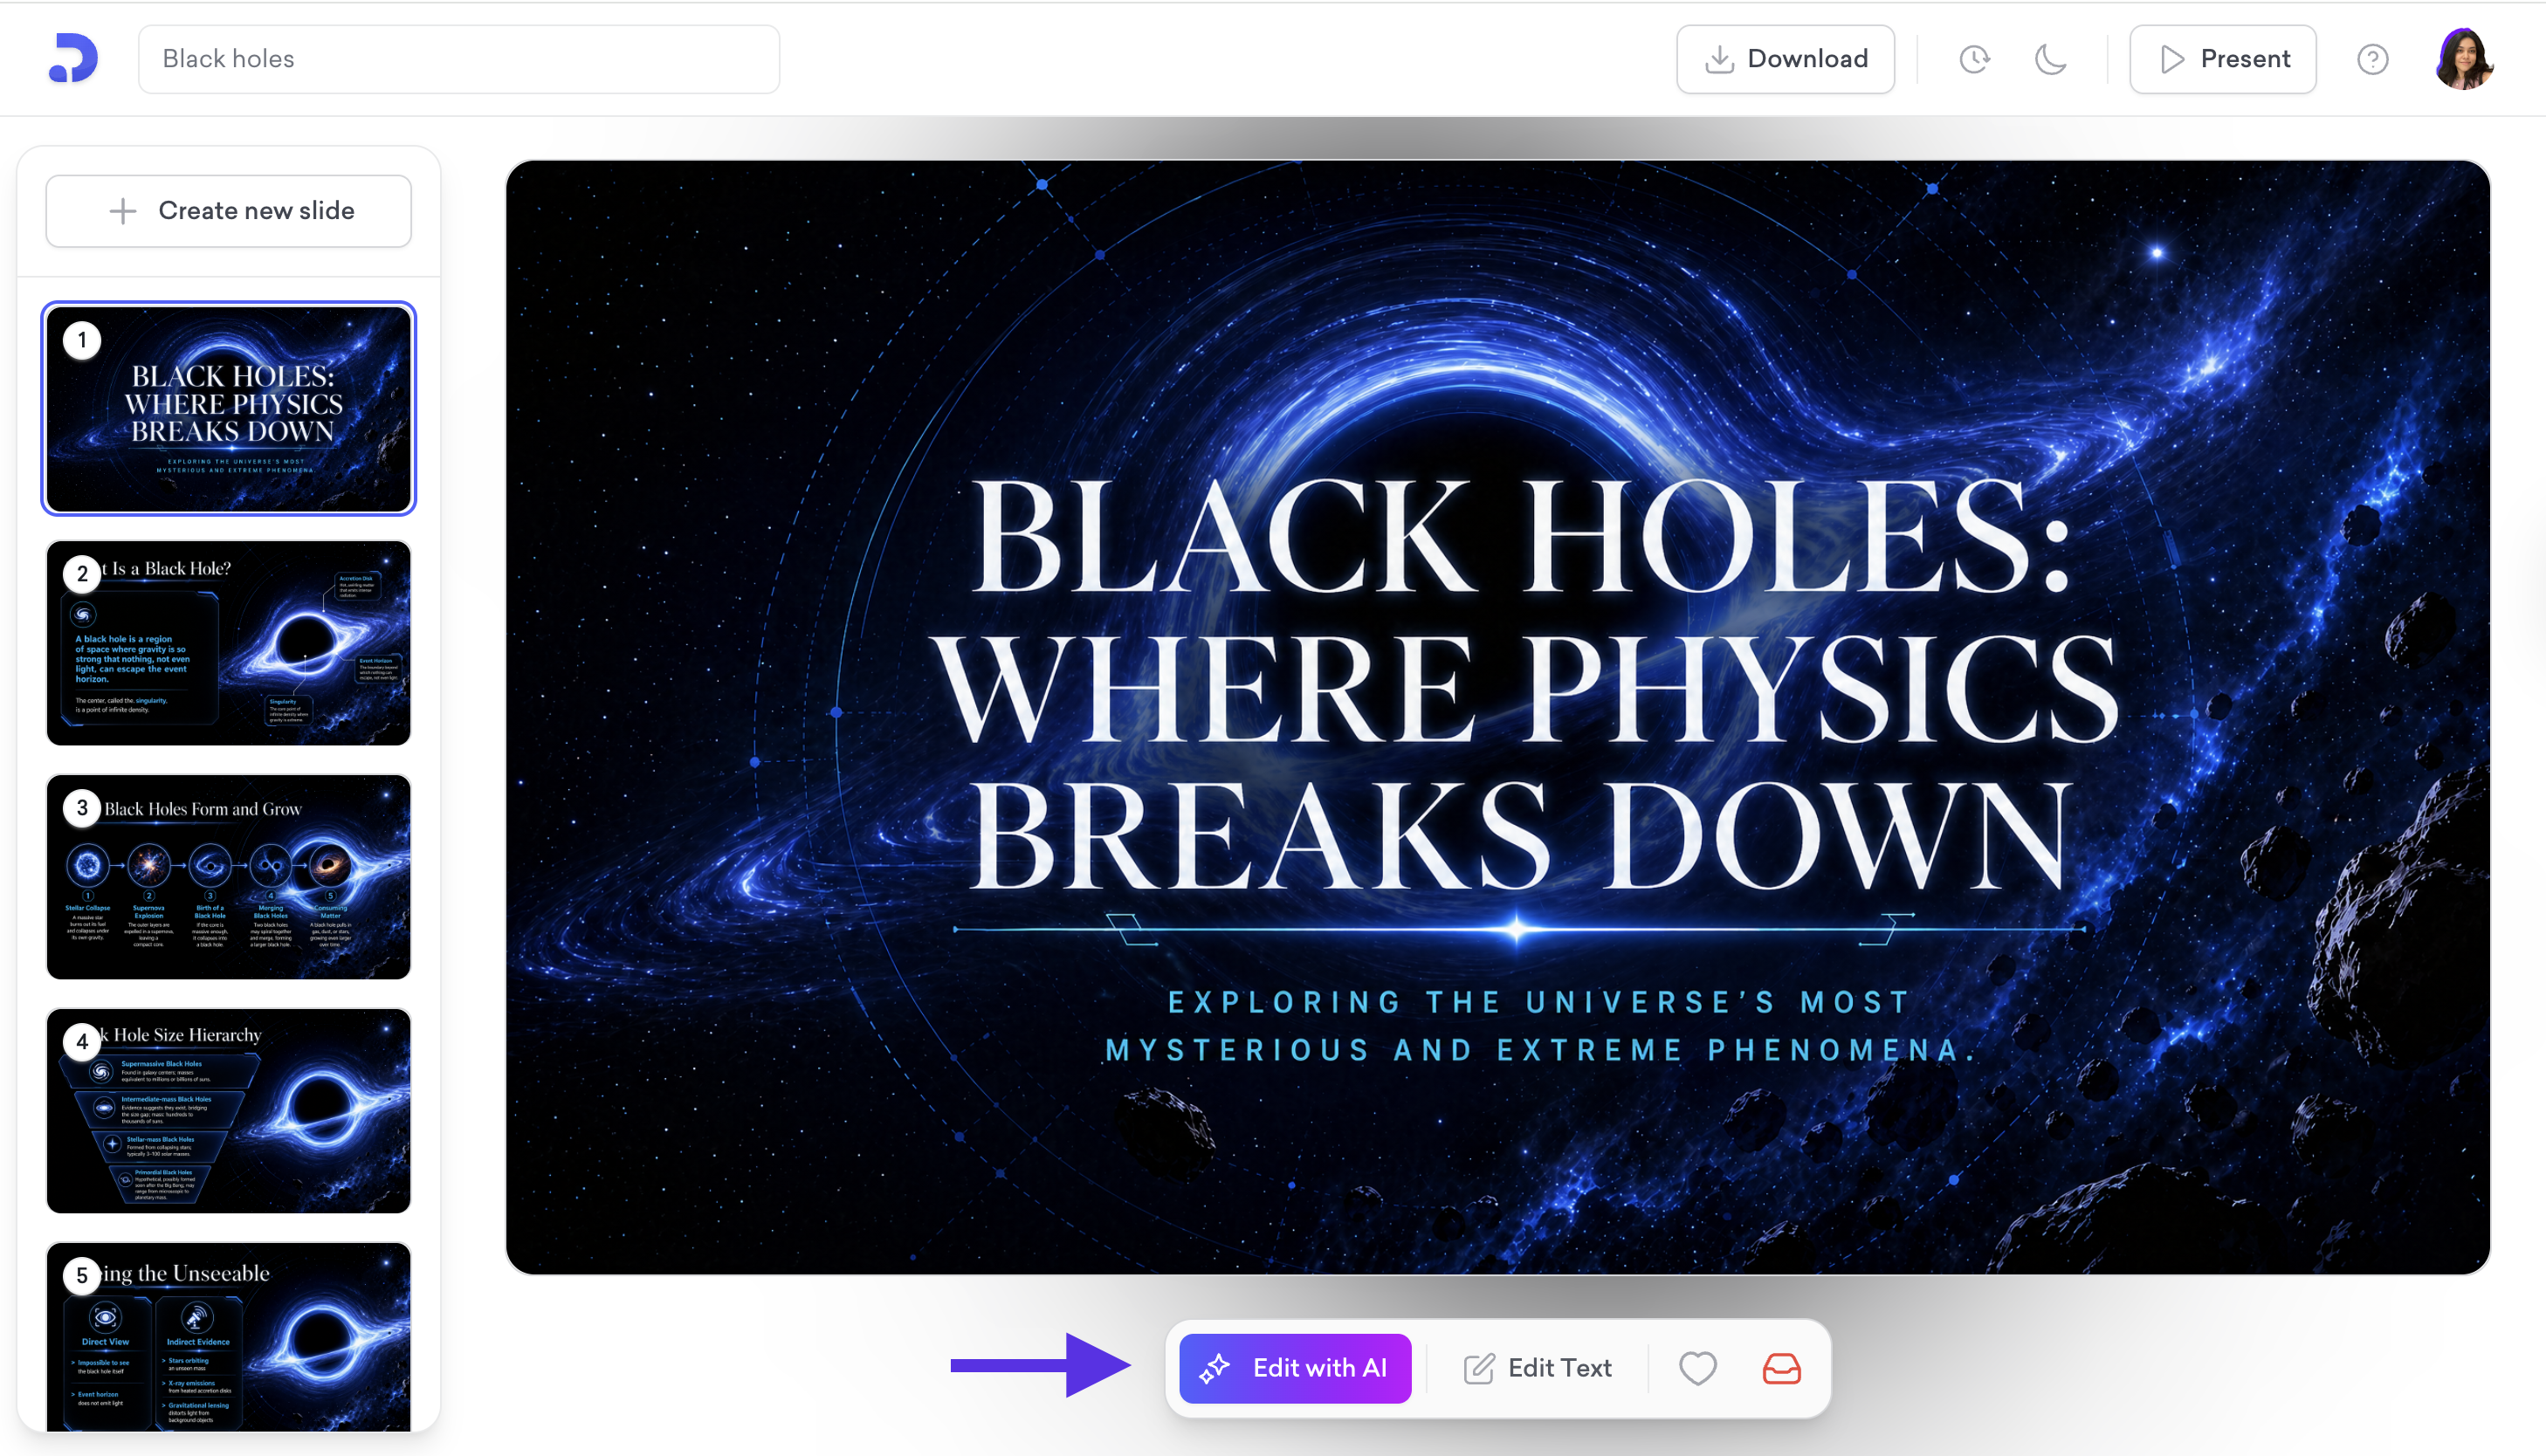
Type your instruction in the prompt bar
AI optimizes your prompt and shows you what it plans to do — confirm to proceed
Click Apply to accept the change, or Undo to revert it
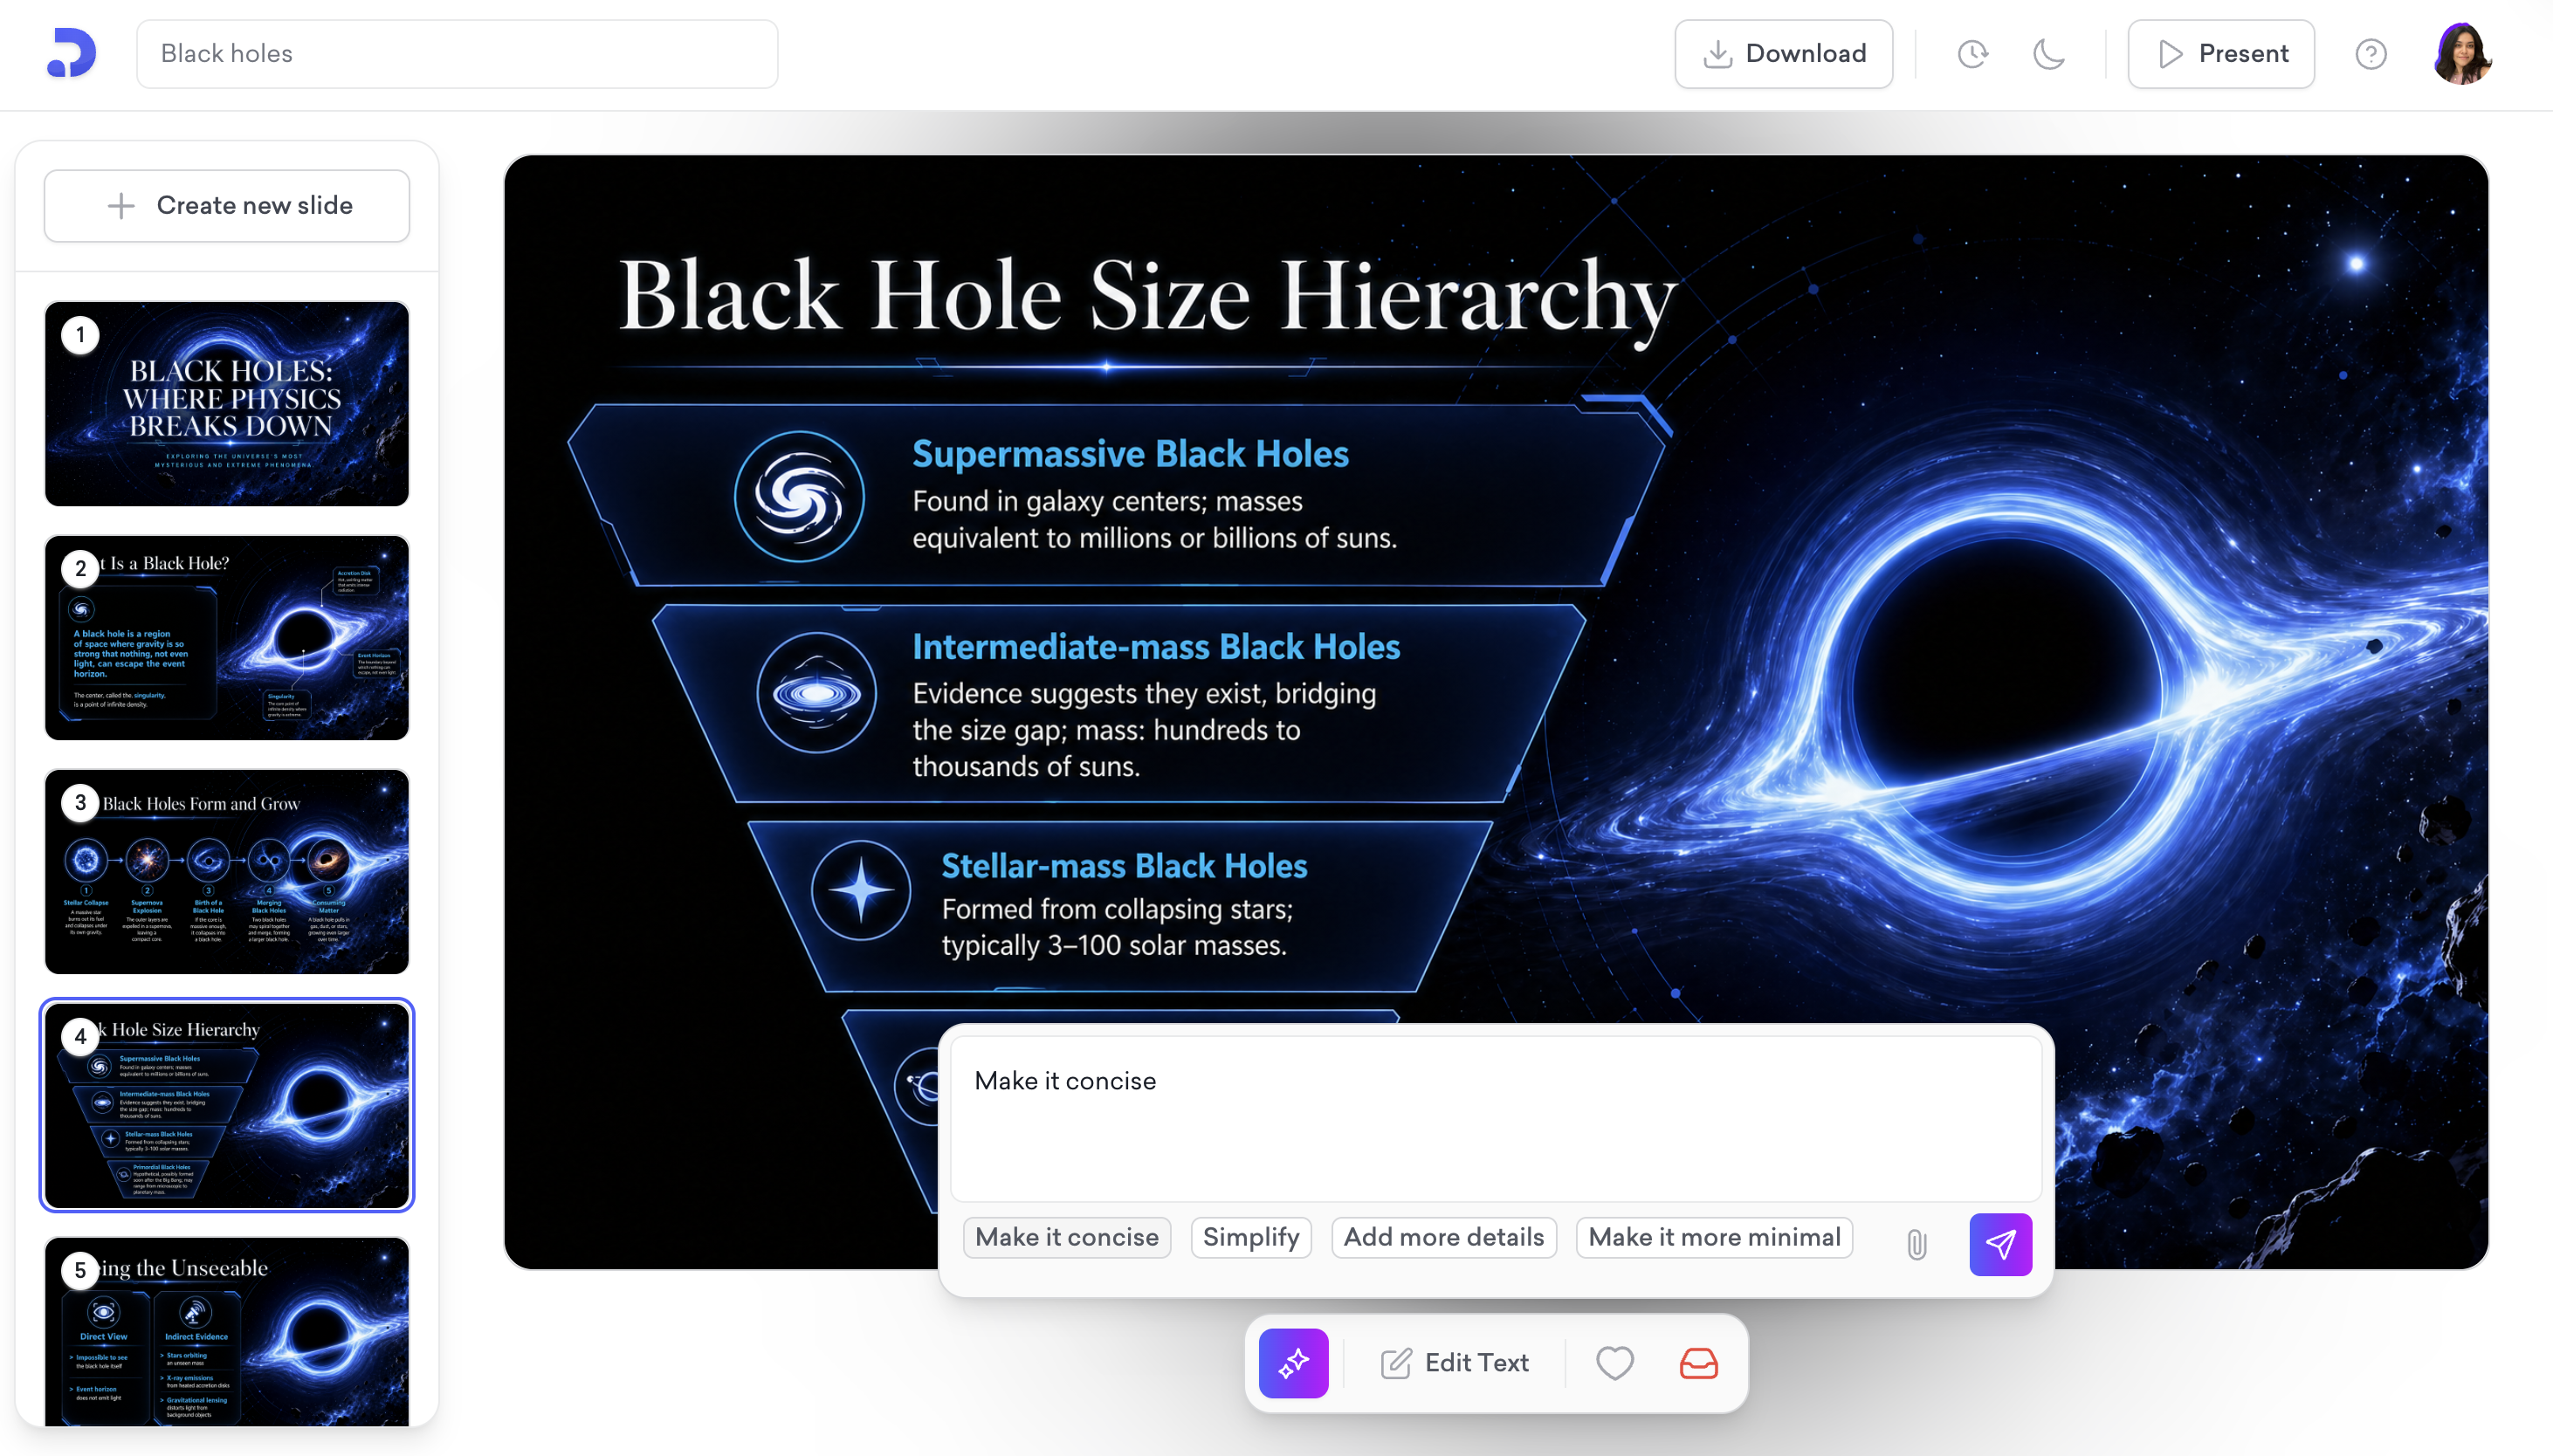
You can also use the quick-action buttons like Make it concise, Simplify, Add more details, or Make it more minimal for faster edits.
Cost: Each AI edit costs 5 credits. The cost is always shown before you apply the change.
Example prompts
"Make the headline shorter"
"Replace the background image"
"Add a stat box"
"Remove the timeline icons"
"Rewrite this in a more formal tone"
Changing images with AI
There are three ways to work with images through Edit with AI:
Describe it: Type what you want the image to look like, and AI generates or finds it
Upload from device: Click the paperclip icon to attach a photo from your device, then tell AI where to place it or what to replace
Stock image search: Search Unsplash or Freepik directly from the AI panel, select an image, and send it with an instruction
Tips
You can make multiple edits to the same slide, one at a time
Every change is previewed before being applied
Undo is available after each edit
That's all!
For any questions, contact us at [email protected].
Watch our video tutorial to see how to edit your slides using natural language prompts.
If you require any additional help, feel free to contact us at [email protected].